
Mastering exposure length tradeoffs means understanding how longer exposures capture more light and detail, making your images brighter and revealing subtle textures. However, they can also introduce motion blur and increase noise if not managed properly. Shorter exposures help freeze motion and prevent overexposure but may result in darker images and more noise at higher ISOs. Balancing these factors depending on lighting conditions is key—keep exploring, and you’ll gain confidence in making the right choices for stunning photos.
Key Takeaways
- Longer exposure captures more light and detail but risks motion blur and increased noise.
- Shorter exposure freezes motion and reduces noise but may result in darker images.
- Adjust exposure length based on lighting conditions: longer for low light, shorter for bright scenes.
- Using a tripod and remote shutter helps manage longer exposures and prevent camera shake.
- Mastering manual settings (ISO, shutter speed) allows balancing exposure length with image quality confidently.

Mastering Long Exposure: The Definitive Guide for Photographers
As an affiliate, we earn on qualifying purchases.
As an affiliate, we earn on qualifying purchases.
Understanding Exposure Length and Its Role in Photography
Understanding exposure length is essential because it directly affects the brightness and motion in your photos. When you choose a longer exposure, your camera’s sensor sensitivity captures more light, making the image brighter and revealing details in low-light conditions. However, longer exposures can also introduce motion blur if your subject moves during the shot, which might be desirable or unwanted depending on your goal. Conversely, a shorter exposure freezes motion, keeping moving objects crisp and clear. Your camera’s sensor sensitivity plays a crucial role here—higher sensitivity allows for shorter exposures in dim environments, reducing motion blur. Adjusting the exposure length carefully lets you balance brightness with sharpness, giving you control over how motion and light are captured in your images. Additionally, understanding energy efficiency ratings can help you optimize your camera settings for better performance in various lighting conditions.
![Camera Remote Shutter Release Wireless: [164'] Radio Control Accessories for Canon Rebel T7 T6 T5 T8i T7i SL3 EOS R RP R100 R7 R6 Mark II III R50V 90D 80D 70D, with AAA Battery & Removable Tripod Clip](https://m.media-amazon.com/images/I/414o9E1cJjL._SL500_.jpg)
Camera Remote Shutter Release Wireless: [164'] Radio Control Accessories for Canon Rebel T7 T6 T5 T8i T7i SL3 EOS R RP R100 R7 R6 Mark II III R50V 90D 80D 70D, with AAA Battery & Removable Tripod Clip
[Compatibility] – Suit for Canon EOS Rebel T7(2000D), Rebel T6(1300D), Rebel T5(1200D), T3(1100D), T8i(850D), T7i(800D), T6i(750D), T6s(760D), T5i(700D),…
As an affiliate, we earn on qualifying purchases.
As an affiliate, we earn on qualifying purchases.
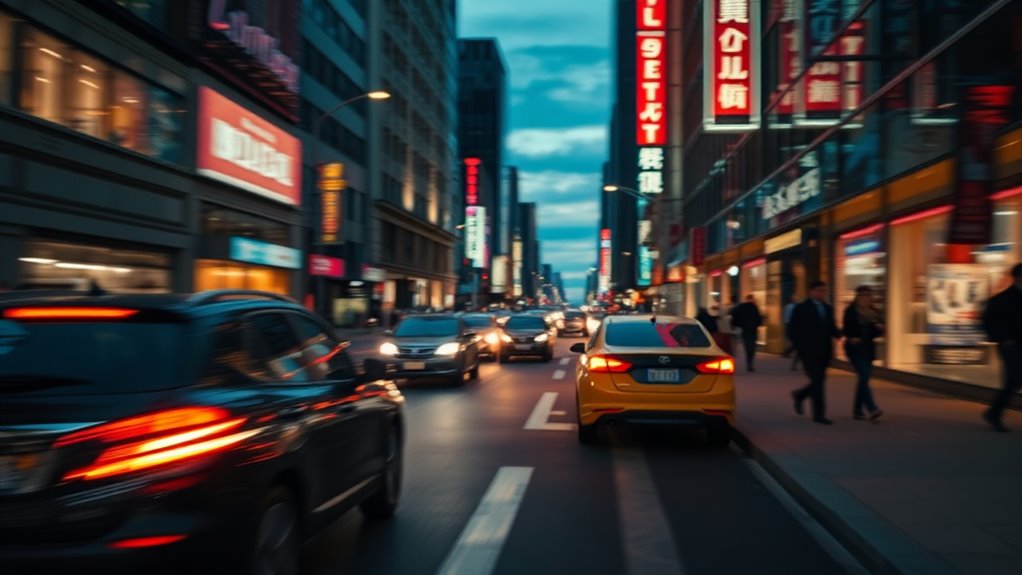
The Impact of Longer Exposure on Image Brightness and Detail

When you opt for a longer exposure, your camera captures more light, resulting in a brighter image that reveals fine details often hidden in low-light conditions. This increased brightness enhances textures and subtle elements, making your photos more vivid. However, extended exposure times can lead to motion blur if your subject moves, which might be desirable or distracting depending on your goal. Additionally, longer exposures tend to increase noise levels, especially in darker areas, as the camera’s sensor amplifies signal to compensate for low light. To balance this, use a tripod to stabilize your camera and consider noise reduction techniques. Understanding projector contrast ratio is also important, as it affects how well your images can display deep blacks and bright highlights, influencing overall image clarity. By understanding these effects, you can intentionally use longer exposures to enrich your images without sacrificing clarity.

EMEET S600 4K Webcam for Streaming – Sony 1/2.55'' Sensor, PDAF Autofocus, 1080P@60FPS, 2 Noise Reduction Mics, Built-in Privacy Cover, 73° FOV, Streaming Camera for Live Commerce/Gaming/Beauty
Unmatched 4K Streaming Quality – The EMEET S600 streaming camera boasts a high-definition 4K sony 1/2.55'' sensor, delivering…
As an affiliate, we earn on qualifying purchases.
As an affiliate, we earn on qualifying purchases.
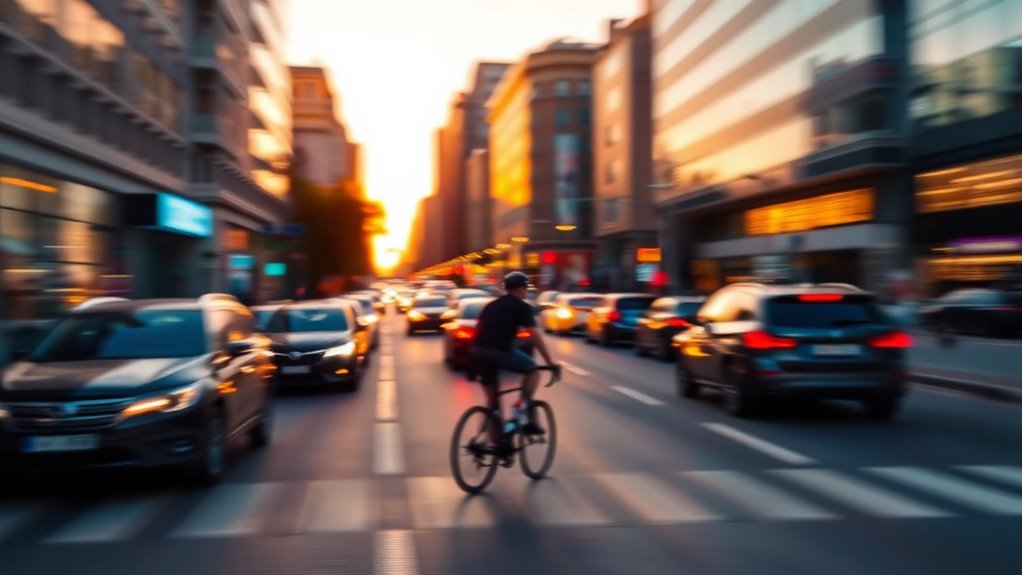
Challenges of Shooting With Short Exposure Times
Shooting with short exposure times can be challenging because it limits the amount of light reaching your camera’s sensor, making it harder to capture well-lit, detailed images in low-light conditions. One major issue is sensor noise, which becomes more apparent when you push ISO settings higher to compensate for the brief exposure. This noise can degrade image quality and obscure fine details. Additionally, short exposures increase the risk of motion blur if your subject moves or if your camera isn’t stabilized properly. Fast shutter speeds freeze motion but often at the expense of brightness, requiring careful adjustments and sometimes secondary equipment like tripods or image stabilization. Balancing these factors is vital to avoid unwanted noise and motion artifacts while maintaining sharp, clear images. Understanding the importance of proper exposure settings can help you make better decisions when shooting with short exposure times.

Photography 101: Pocket Guide: Exposure Basics, Camera Settings, Lens Info, Composition Tips, and Shooting Scenarios (The Pocket Guide Series for Photographers, 18)
As an affiliate, we earn on qualifying purchases.
As an affiliate, we earn on qualifying purchases.
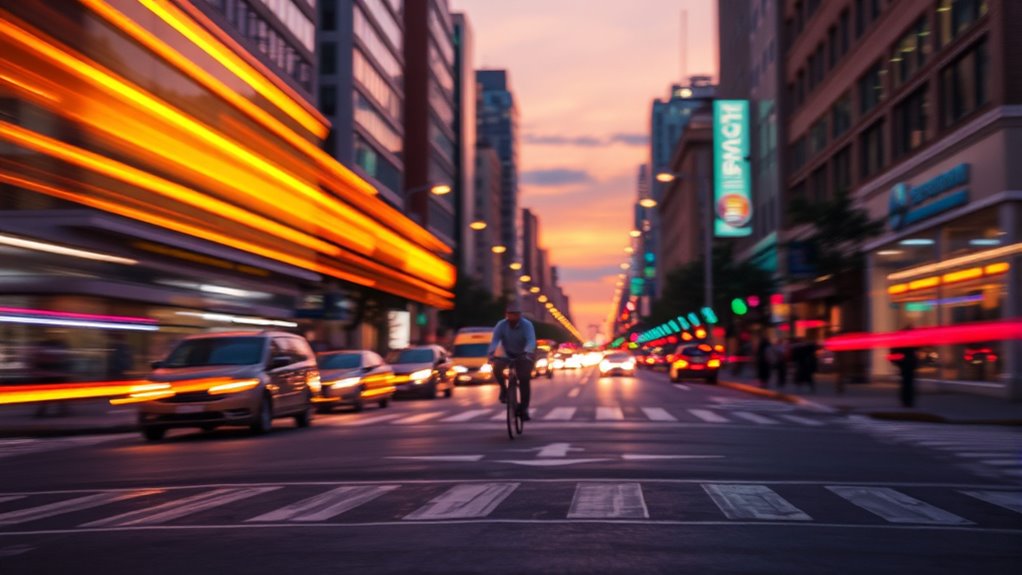
Balancing Exposure Length for Different Lighting Conditions
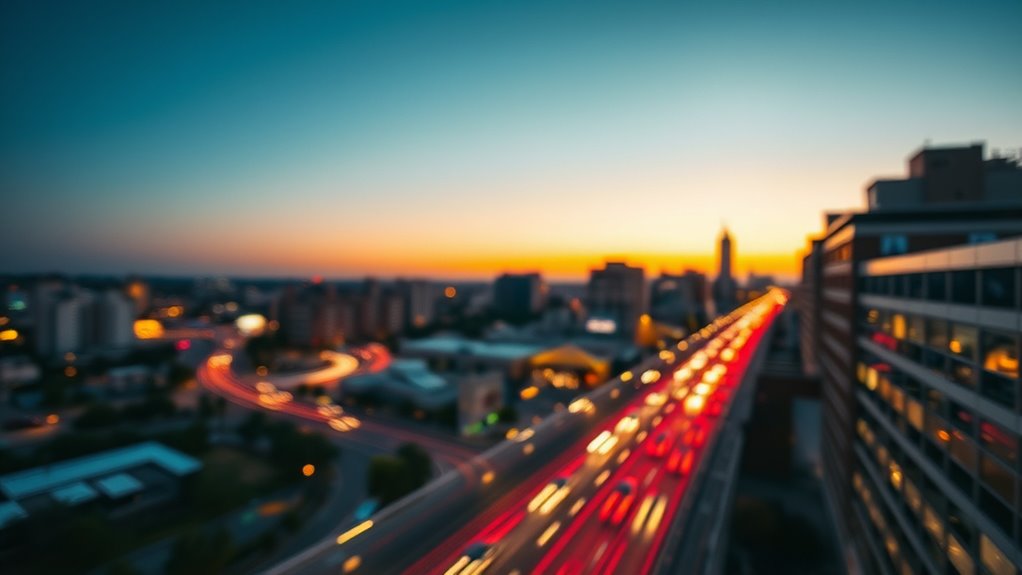
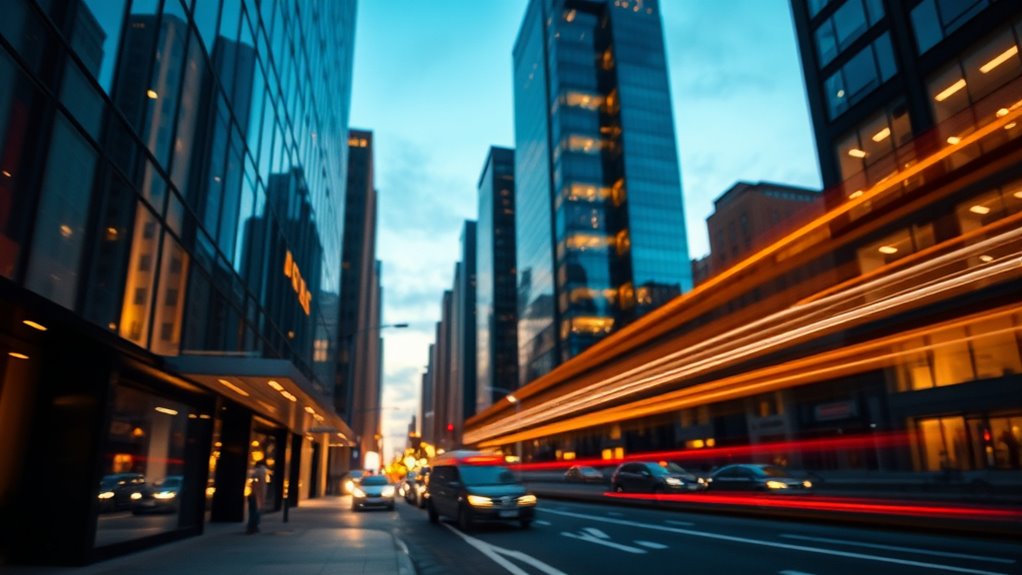
Adapting your exposure length to different lighting conditions is essential for capturing well-balanced images. Longer exposures in low light can create stunning light trails and smooth motion blur, emphasizing movement or atmosphere. Conversely, in bright conditions, shorter exposures prevent overexposure and freeze fast motion. To find the right balance, consider these factors:
Adjust your exposure length for balanced images—longer in low light, shorter in bright conditions.
- For night scenes or dim environments, extend your exposure to capture motion blur and light trails without overexposing.
- During daylight, shorten your exposure to avoid excessive light and keep moving subjects sharp.
- When photographing fast motion, reduce exposure time to prevent unwanted motion blur, unless intentionally creating it for artistic effect.
- Using specialized equipment like tripods or remote shutters can help stabilize your camera and achieve the desired exposure length effectively.
Mastering exposure length helps you control motion blur and light trails, ensuring your photos reflect your creative vision across all lighting conditions.
Practical Tips for Mastering Exposure Length Adjustments
To master exposure length adjustments, start by understanding your camera’s settings and how they influence light intake. Sensor sensitivity, or ISO, affects how your camera responds to light; higher ISO allows for shorter exposure times in low light but can introduce noise. Shutter speed directly controls how long the sensor is exposed to light—slower shutter speeds gather more light, ideal for low-light scenes or creating motion blur, while faster speeds freeze motion and reduce overexposure. Practice adjusting these settings in various lighting conditions, paying attention to how changes affect your image’s brightness and quality. Use manual mode to experiment with different shutter speeds and ISO settings, and review your results. With experience, you’ll intuitively balance sensor sensitivity and shutter speed to achieve perfect exposure length every time. Additionally, understanding how creative techniques can influence exposure outcomes helps expand your photographic skills.
Frequently Asked Questions
How Does Sensor Size Affect Exposure Length Choices?
Sensor size impacts your exposure length choices because larger sensors have more sensor dynamics, allowing them to handle longer exposures without excessive image noise. Smaller sensors need shorter exposures to prevent noise from overpowering your image, but this can limit light capture in low-light situations. By understanding these dynamics, you can balance exposure length and noise control, achieving clearer images whether you’re shooting with a compact camera or a full-frame sensor.
What Are the Best Settings for Handheld Long Exposures?
Tripod techniques are essential for handheld long exposures, but if you’re shooting without one, keep your shutter speed fast enough to prevent motion blur, typically above 1/60s. Use image stabilization if available, and brace yourself against a solid surface. To maximize sharpness, choose a lower ISO, and consider using a remote shutter or timer to avoid camera shake. These tips help you capture clear, stunning long exposures without a tripod.
How Do ND Filters Influence Exposure Length Decisions?
ND filters influence your exposure length decisions by controlling the amount of light hitting your sensor, which depends on the filter strength. With a stronger filter, you can extend your exposure time without overexposing, helping you achieve the desired exposure balance. Adjusting the filter strength allows you to fine-tune your shots, especially in bright conditions, giving you creative control over motion blur and smoothness in water or skies.
Can Exposure Length Impact Color Accuracy?
Think of exposure length as a painter’s brushstroke—longer exposures can wash out vibrant colors, dulling accuracy like faded ink. When you extend exposure, film grain may become more prominent, and your camera’s dynamic range can struggle to capture the full spectrum of colors, leading to less true-to-life photos. Shorter exposures preserve color fidelity, keeping your images sharp and vibrant, like a crystal-clear window into your scene.
What Role Does Camera Stability Play in Exposure Length Selection?
Camera stability is essential when choosing exposure length because shaky hands or unstable equipment cause blur, especially in longer exposures. Using a tripod with good stability minimizes shake, allowing you to extend exposure time without sacrificing sharpness. Additionally, be mindful of shutter delay, which can introduce movement if not properly timed. By ensuring stability and controlling shutter delay, you can confidently select the best exposure length for clear, sharp images.
Conclusion
Think of exposure length as your camera’s heartbeat—setting the tempo for your shot. Short exposures are like a quick sprint, capturing fleeting moments in sharp detail, while longer ones are a gentle dance, revealing hidden textures and motion. Mastering this balance lets you compose your own visual symphony, turning everyday scenes into mesmerizing stories. With practice, you’ll find your rhythm, transforming your camera into an extension of your creative heartbeat.