To guarantee safety and peak performance with backfocus and spacers, you need to carefully select compatible materials, double-check spacer measurements, and follow precise installation procedures. Always handle spacers with clean hands, store them properly, and inspect for damage regularly. Properly securing components prevents focus shifts or equipment failure. Staying attentive to these safety tips helps maintain image quality and equipment longevity—continue exploring these essential steps to master your setup securely.
Key Takeaways
- Always verify spacer compatibility with your camera and lens to prevent focus errors and equipment damage.
- Regularly inspect spacers for cracks, wear, or corrosion to maintain focus accuracy and safety.
- Follow manufacturer guidelines for proper spacer installation, ensuring secure and correct alignment.
- Use precise measurement tools to select spacer thickness tailored to your specific focus and sensor depth needs.
- Handle spacers carefully, store in clean, dry environments, and avoid forcing components during installation to prevent damage.

DSLRKIT Lens Focus Calibration Tool Alignment Ruler Folding Card(Pack of 2)
This compact ruler allows you to determine if your lens is auto-focusing accurately as it should. It is…
As an affiliate, we earn on qualifying purchases.
As an affiliate, we earn on qualifying purchases.
Understanding Backfocus: The Foundation of Precise Imaging
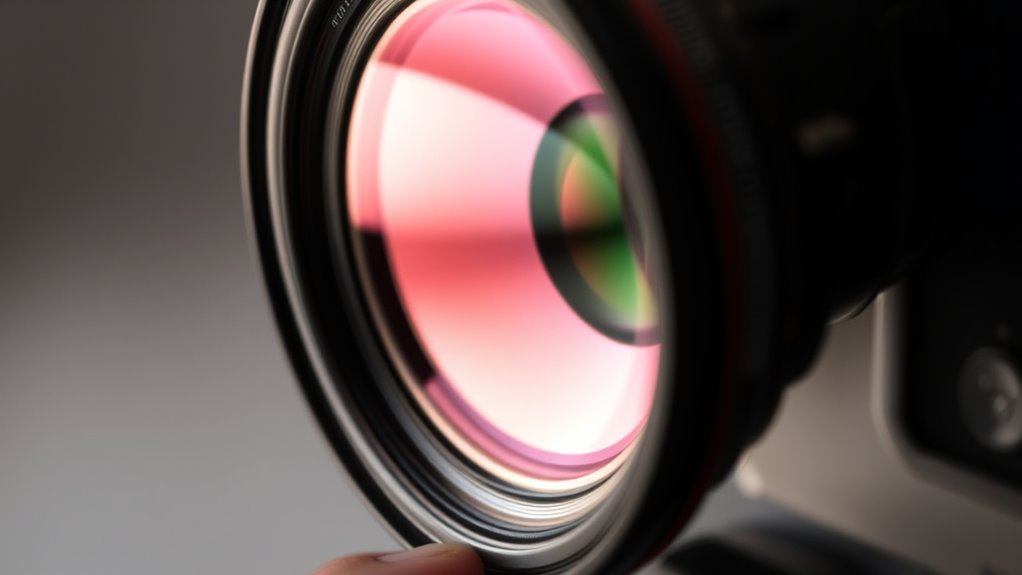
Understanding backfocus is essential for achieving sharp, accurate images. When your camera’s focus isn’t aligned correctly, it can lead to blurry results, impacting focus accuracy. Proper lens calibration guarantees that your lens and camera work together seamlessly, minimizing backfocus issues. You need to verify that the focal plane aligns perfectly with the camera’s sensor, especially when changing lenses or using different setups. Small misalignments can cause significant focus errors, so understanding how backfocus affects your images is vital. By mastering this foundational concept, you can troubleshoot focus problems efficiently and maintain consistent image sharpness. Ensuring correct backfocus setup is a critical step toward achieving the highest focus accuracy in all your photography or imaging projects. Additionally, understanding the celebrity transformations in the industry can provide insights into how professionals adapt and optimize their equipment for different scenarios.

YINETTECH 2PCS Camera C-CS Mount Adaptor Spacer Ring 0.5mm Compatible with CCTV Camera and CS Mount
Compatible with CCTV camera and compatible with C-mount lenses and CS-mount camera bodies.
As an affiliate, we earn on qualifying purchases.
As an affiliate, we earn on qualifying purchases.
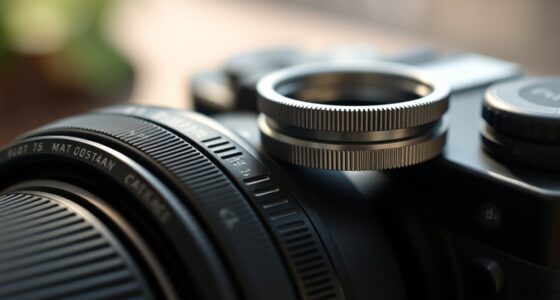
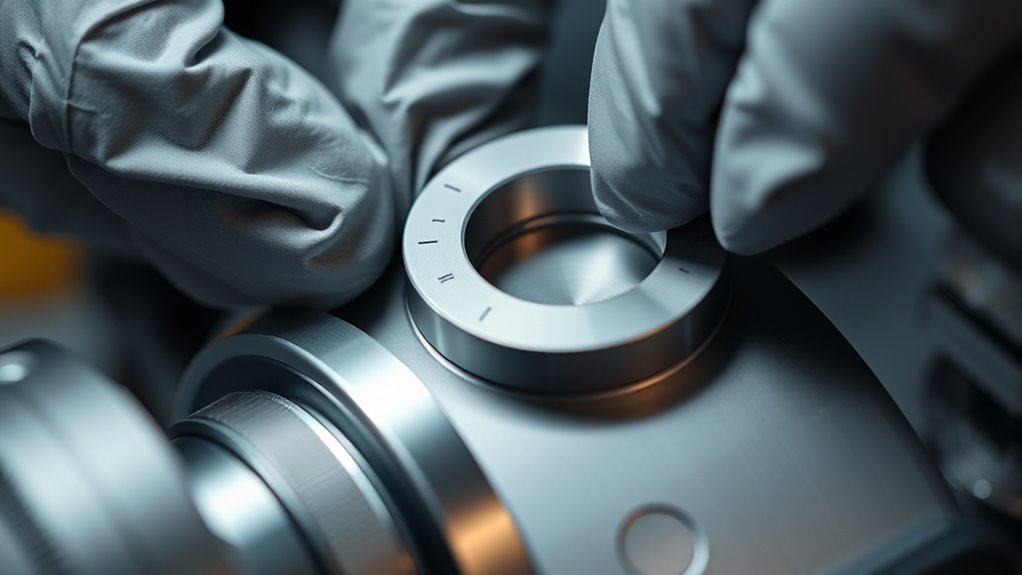
The Role of Spacers in Your Optical Setup
Choosing the right spacer material guarantees compatibility with your optical components and helps prevent damage. Proper spacing techniques ensure your setup maintains ideal focus and image quality. Paying attention to these details keeps your equipment safe and functioning correctly. Additionally, selecting spacers made from materials that do not outgas or degrade over time is essential for preserving color accuracy and overall image integrity.
Spacer Material and Compatibility
Selecting the right spacer material is essential because it directly affects the safety, durability, and performance of your optical setup. Using incompatible materials can lead to compatibility issues, such as material degradation or damage to your equipment. Common spacer materials include plastics, metals, and composites, each with distinct properties. Metals like aluminum offer strength but may cause thermal expansion problems, while plastics are lightweight but less durable. To avoid compatibility issues, verify the material’s chemical resistance and thermal properties against your optical components. Proper matching ensures stability, longevity, and safe operation. Additionally, understanding the historical use of seeds can inspire the selection of materials that are environmentally sustainable and proven in long-term applications.
Proper Spacing Techniques
Proper spacing is vital for ensuring peak performance and safety in your optical setup. To achieve this, you need to pay attention to spacer materials, as different materials offer varying stability and durability. Using compatible spacers is essential; incompatible ones can cause misalignment or damage to your equipment. Always measure precisely to determine the correct spacer thickness, ensuring optimal focus and image quality. When installing spacers, double-check their compatibility with your lens or sensor mount to prevent slipping or stress. Avoid forcing spacers into tight spaces, which can compromise safety and performance. Regularly inspect spacers for wear or deformation, replacing them as needed. Proper spacing techniques help maintain alignment, protect your equipment, and deliver consistent, high-quality results every time. Additionally, understanding the material properties of spacers can help prevent deterioration over time and ensure long-term safety.

M54x0.75 Threaded Extension Tube for Astronomical Telescope and Camera Back Focus Adjustment, Aluminum Optical Alignment Spacer for Astrophotography(M54*0.75-40mm)
5 Spacer Ring: Anodized aluminum construction with matte internal superficies reduces glare and provides lasting performance in astronomical…
As an affiliate, we earn on qualifying purchases.
As an affiliate, we earn on qualifying purchases.
Selecting the Right Spacers for Your Equipment
Choosing the right spacers depends on ensuring compatibility with your camera model and optical setup. You also need to contemplate the material’s durability and safety to prevent damage or failure. Finally, select spacers with precise thicknesses to maintain accurate focus and alignment. Incorporating automation technologies can further optimize your equipment’s performance and reduce manual adjustments.
Compatibility With Camera Models
Since camera models vary widely in their mounting threads and sensor depths, making certain that spacers are compatible with your specific equipment is vital. Using incompatible spacers can hinder lens calibration and compromise focus accuracy. Before selecting spacers, consider these key factors:
- Verify thread compatibility with your camera body
- Check sensor depth to achieve precise focusing
- Confirm spacer thickness matches your lens requirements
- Verify that spacers support your lens mount type
- Read manufacturer guidelines for specific camera models
- Be aware of sensor depth requirements to ensure proper focus adjustment
Matching spacers to your camera model ensures maximum focus accuracy and simplifies lens calibration. Proper compatibility reduces the risk of focus errors and helps you achieve sharper images, especially important when fine-tuning backfocus adjustments. Always double-check specifications before making a purchase.
Material Durability and Safety
Selecting spacers that are durable and safe for your equipment guarantees long-lasting performance and prevents potential damage. When choosing materials, consider how they resist material degradation over time, especially under varying environmental conditions. High-quality spacers made from corrosion-resistant materials, like certain plastics or treated metals, reduce the risk of spacer corrosion, which can compromise stability and image quality. Avoid cheap or incompatible materials that may degrade quickly, leading to inconsistent backfocus and possible equipment damage. Ensuring your spacers are made from robust, non-reactive materials helps maintain their integrity, ensuring reliable operation. Properly selected spacers not only safeguard your gear but also contribute to consistent, high-quality results during your imaging sessions.
Spacer Thickness and Precision
Ensuring the correct spacer thickness is crucial for achieving precise focus and ideal image quality. Choosing the right spacer material and spacer thickness guarantees your equipment aligns perfectly, preventing blurry images or damage. To select the best spacers, consider these factors:
- The specific spacer material’s durability and compatibility
- Accurate measurement of spacer thickness for your setup
- The impact of spacer thickness on focus adjustment range
- Compatibility with your lens or sensor mount
- The need for precision tools when measuring spacer thickness
- Being aware of regional legal resources can also help you navigate technical standards and regulations related to equipment safety and compliance.

Celestron 93618 M42 Spacer Kit – Includes 7.5mm, 12mm and 30mm Spacer Rings to Adjust Back-Focus Between Camera and Telescope, Black
Adjusts back-focus between your camera and telescope for the best astroimaging results
As an affiliate, we earn on qualifying purchases.
As an affiliate, we earn on qualifying purchases.
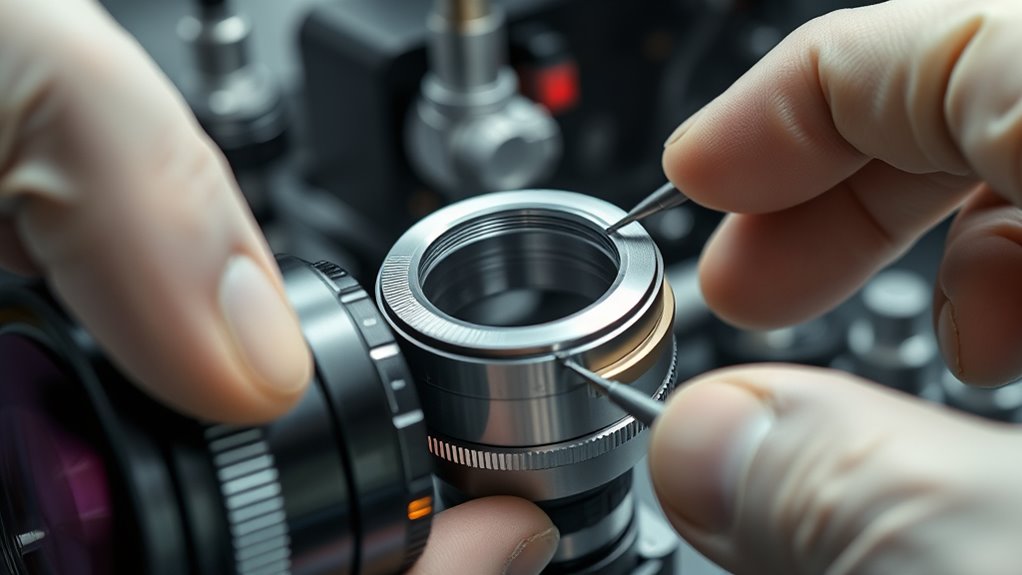
Proper Installation Techniques for Backfocus and Spacers
To properly install backfocus and spacers, you need to follow precise steps to guarantee safety and ideal performance. Begin by ensuring your lens calibration is accurate, as this impacts focus stacking and overall image quality. Remove your lens and carefully attach the spacer or backfocus device, making sure it fits snugly without forcing it. Check alignment to prevent any tilt or shift that could compromise focus accuracy. Use a clean, stable surface to prevent slips during installation. Once secure, reattach the lens, and verify focus by capturing test images or using focus stacking software. Proper installation minimizes the risk of damage and guarantees your system maintains optimal focus across different depths. Vetted ensure your equipment is compatible and reliable before beginning the process. Follow these steps carefully for safe, reliable performance every time.
Common Mistakes That Can Compromise Safety and Performance
Many common mistakes during backfocus and spacer installation can jeopardize both safety and performance. Poor lens alignment can cause blurry images and increase the risk of equipment damage. Using spacers that are too thick or uneven can lead to instability or misfocus, especially in areas with high light pollution where accurate focusing is vital. Failing to secure components properly may result in parts shifting during use, risking injury or equipment failure. Ignoring manufacturer guidelines for installation can compromise safety and image quality. Additionally, neglecting to check for light pollution effects can cause you to misjudge focus or overlook potential safety hazards. Implementing rigorous testing procedures helps ensure that all components are installed correctly and function safely.
- Incorrect lens alignment leading to blurry images
- Using incompatible or unstable spacers
- Over-tightening or under-tightening components
- Ignoring manufacturer safety instructions
- Overlooking light pollution impacts on focus
Adjusting Backfocus for Optimal Focus Accuracy

Properly adjusting backfocus is key to achieving sharp, clear images. Accurate lens calibration ensures your focus accuracy is spot-on, preventing blurry shots. To do this, start by positioning your camera and target at a fixed distance, then fine-tune the focus until the image is crisp. Think of the process as aligning the layers of a sandwich:
| Lens Elements | Focus Plane | Image Sharpness |
|---|---|---|
| Front Element | Sensor Plane | Clear Details |
| Spacers | Focus Ring | Precise Focus |
| Back Focus | Image Plane | Sharp Images |
Adjusting backfocus involves small, incremental changes, testing each step. This method guarantees your lens calibration aligns perfectly, maximizing focus accuracy for every shot. Additionally, using test charts designed for focus calibration can help verify your adjustments with precision.
Routine Maintenance and Inspection of Spacers and Connectors
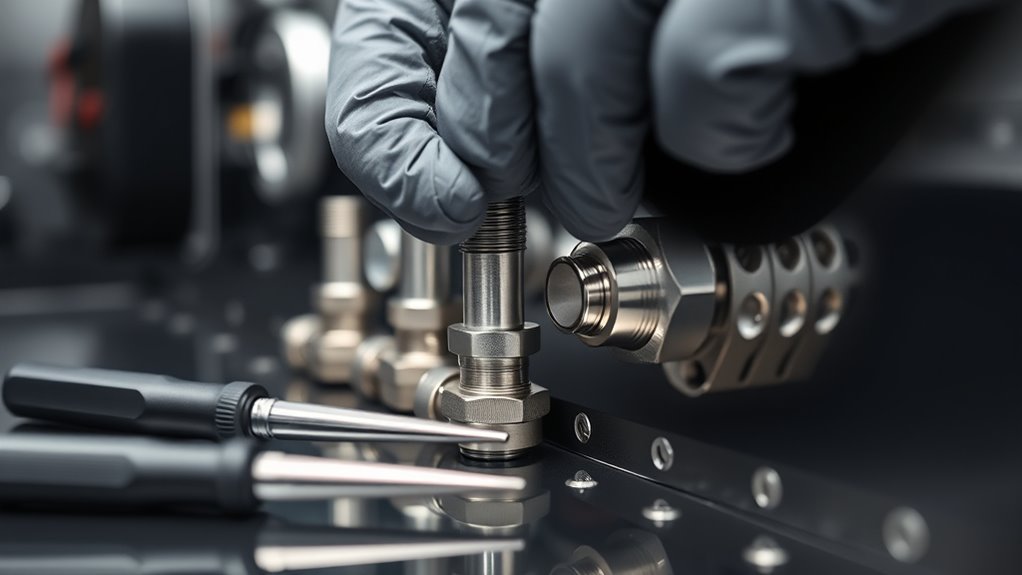
Regularly inspecting and maintaining spacers and connectors is essential to guarantee your camera’s focusing system remains reliable. Over time, spacer material can degrade or become misaligned, affecting focus accuracy. Always check spacer compatibility before making adjustments or replacements, ensuring the spacer fits securely and functions correctly. Proper maintenance prevents equipment failure and preserves image quality.
- Examine spacer material for cracks or wear
- Confirm spacer compatibility with your camera and lens
- Tighten connectors to avoid looseness
- Clean connectors with appropriate tools and solutions
- Replace damaged spacers promptly to maintain focus precision
Troubleshooting Focus Issues and Equipment Damage Risks
When focus issues arise, identifying the root cause quickly can prevent further equipment damage. Start by checking if your lens calibration is accurate; a misaligned lens can cause blurry images and focus errors. Perform focus calibration to ensure your autofocus system is correctly aligned with your camera’s sensor. If images remain out of focus, verify that spacers and backfocus settings are correctly installed and not causing misalignment. Avoid forcing or adjusting spacers without proper guidance, as this can damage delicate components. Regularly test your system’s focus accuracy with test charts or targets. Addressing calibration issues promptly helps prevent long-term damage and guarantees your equipment maintains ideal performance. Proper troubleshooting saves time, reduces repair costs, and prolongs your gear’s lifespan.
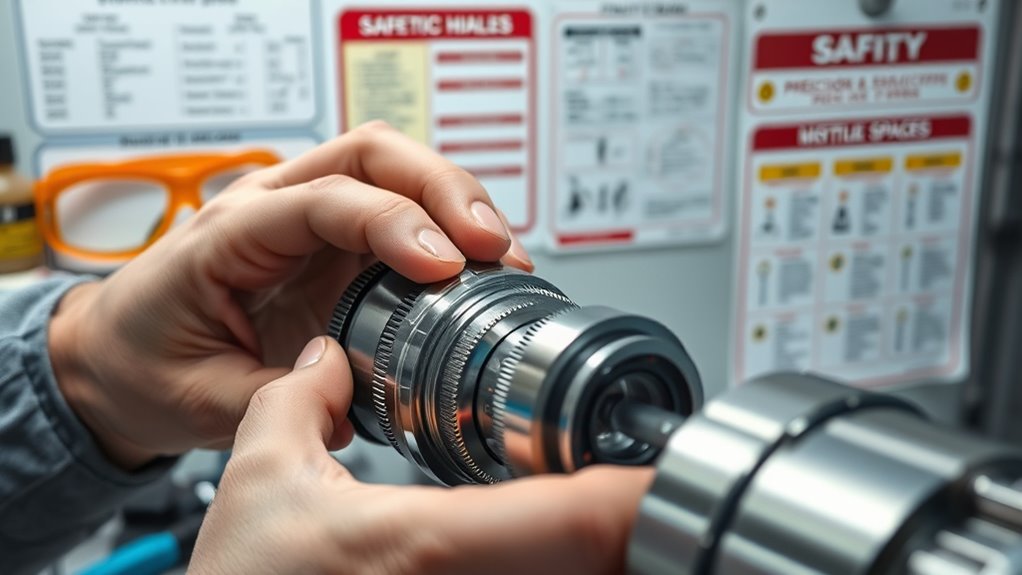
Best Practices for Safe Handling and Storage of Spacers

Handling and storing spacers carefully is crucial to guarantee they function correctly when needed. Proper management ensures compliance with spacer regulations and safety regulations, minimizing risks of damage or misalignment. Always keep spacers in a clean, dry container to prevent dust and corrosion. Follow manufacturer guidelines for storage temperature and handling procedures. Avoid stacking spacers haphazardly, which can cause deformation. Label each spacer clearly for quick identification and proper use. Regularly inspect spacers for signs of wear or damage, replacing them if necessary. Keep spacers away from chemicals or extreme environments that could compromise their integrity. Adhering to these best practices helps maintain spacer precision and ensures safety for all users. Proper handling and storage ultimately support ideal backfocus and equipment longevity.
Frequently Asked Questions
How Do Spacers Affect Long-Term Equipment Stability?
Spacers can impact your equipment’s long-term stability if you choose incompatible spacer materials, which may cause corrosion or deformation over time. Using proper backfocus calibration techniques guarantees proper alignment and minimizes stress on your gear. Always verify spacer material compatibility with your equipment and regularly check the setup to prevent misalignments. Properly selected and maintained spacers support stable, consistent performance, safeguarding your investment and ensuring ideal imaging results.
Are There Industry Standards for Spacer Safety Ratings?
Think of spacers like the foundation of a house; their safety ratings are guided by industry standards to guarantee stability. Yes, there are standards that address material compatibility and spacer customization, making sure your equipment remains safe and reliable. These standards help you select the right materials and design, preventing issues over time. Always check for compliance to confirm your setup is secure, just as a sturdy foundation supports a strong house.
Can Improper Backfocus Damage Sensitive Optical Components?
Yes, improper backfocus can cause optical damage to sensitive components, especially if the camera or lens is pushed beyond recommended distances. It can also lead to component misalignment, which reduces image quality and stresses the system. Always verify your backfocus is correctly set according to manufacturer guidelines to prevent optical damage and maintain proper alignment, safeguarding your equipment and achieving ideal imaging results.
What Are the Signs of Spacer Wear or Degradation?
You’ll notice wear indicators like scratches, dents, or uneven surfaces on your spacers, signaling degradation signs. If the spacer feels loose, develops cracks, or shows discoloration, these are clear signs of deterioration. Regular inspections help you catch these issues early, preventing potential damage to optical components. When you observe these wear indicators or signs of degradation, it’s essential to replace the spacer promptly to maintain system safety and performance.
How Do Environmental Factors Influence Spacer Safety and Performance?
Think of environmental factors as the silent architects of spacer safety. You should be aware that environmental corrosion weakens spacer integrity over time, and temperature expansion can cause misalignments or damage. These factors influence spacer performance by accelerating wear or degrading materials. Regular inspections, proper material selection, and environmental controls help maintain spacer safety, ensuring your equipment functions reliably and prevents potential failures caused by these invisible forces.
Conclusion
Mastering backfocus and spacers is crucial for sharp, safe imaging. But the real challenge begins when you push your equipment to its limits—what hidden risks could lurk in your setup? Stay vigilant, follow proper procedures, and never cut corners. The difference between flawless images and costly damage might be just one careful adjustment away. Ready to access your system’s full potential? The next step could change everything—are you prepared?