To quickly and reliably keep your imaging sharp, use a laser collimator or Cheshire eyepiece for precise, incremental adjustments. Make small tweaks to primary and secondary mirrors, focusing on alignment and color correction. Regularly verify your setup with star tests or distant targets, especially after transport or maintenance. Avoid rushing adjustments to prevent misalignment. Mastering these fast techniques guarantees your equipment stays precisely collimated over time—continue to discover detailed tips and troubleshooting strategies.
Key Takeaways
- Use laser collimators or Cheshire eyepieces for quick, accurate initial alignment of optical components.
- Make small, incremental adjustments and verify consistency over multiple tests.
- Perform regular star tests or distant object checks to confirm collimation stability.
- Recheck collimation after transport, maintenance, or significant temperature changes.
- Keep detailed logs of adjustments and testing to monitor long-term collimation stability.
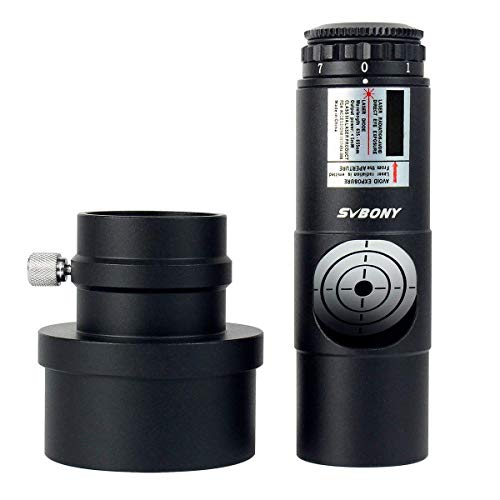
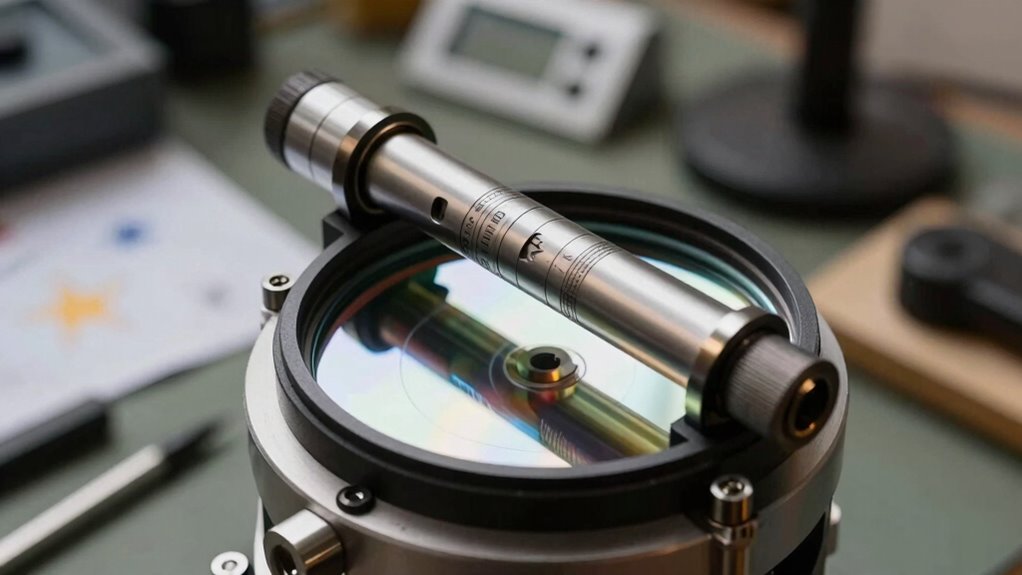
SVBONY Red Laser Collimator for Newtonian Marca Telescope Alignment 1.25 inches 7 Bright Levels Triple Cemented Lens with 2 inches Adapter
Designed for calibrating reflecting telescopes; SVBONY laser collimator allows anyone easily collimate 1.25'' and 2'' reflector telescopes; come…
As an affiliate, we earn on qualifying purchases.
As an affiliate, we earn on qualifying purchases.
Why Proper Collimation Is Essential for Sharp Imaging
Proper collimation is essential because it directly affects the sharpness and clarity of your images. When your equipment isn’t properly aligned, lens distortion can occur, causing straight lines to look curved and images to lose their crispness. Misalignment also impacts autofocus calibration, making it harder for your camera to lock onto subjects accurately. If your system isn’t correctly collimated, you’ll notice blurry details and reduced overall quality. Accurate collimation guarantees all optical elements work harmoniously, minimizing distortions and optimizing autofocus performance. This results in sharper, more precise images. Investing time in proper collimation boosts your image quality and makes your equipment perform at its best, especially when capturing fine details or working with high-resolution sensors. Additionally, maintaining your gear is crucial for ensuring longevity and optimal performance. Understanding essential safety tips for your equipment can further enhance your shooting experience. Exploring new content formats can enhance your understanding of how different techniques impact imaging quality. Implementing risk management strategies can also significantly improve your gaming experience, making it crucial for capturing fast-moving subjects.

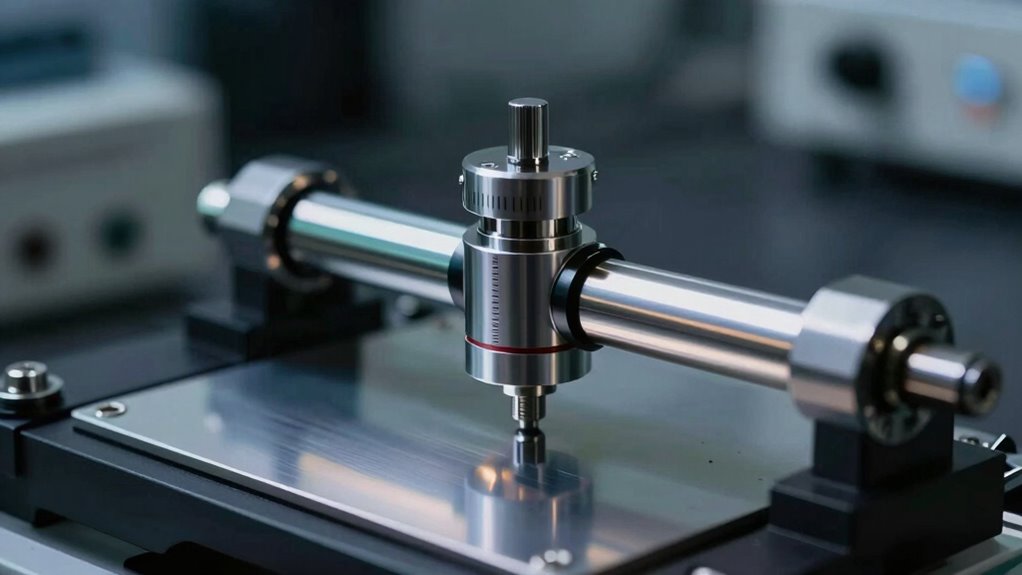
Celestron 94182 Cheshire 1.25 inch Collimation Eyepiece, Black
Celestron Collimation Eyepiece – 1-1/4'' – 94182
As an affiliate, we earn on qualifying purchases.
As an affiliate, we earn on qualifying purchases.
How to Recognize When Your Equipment Needs Collimation
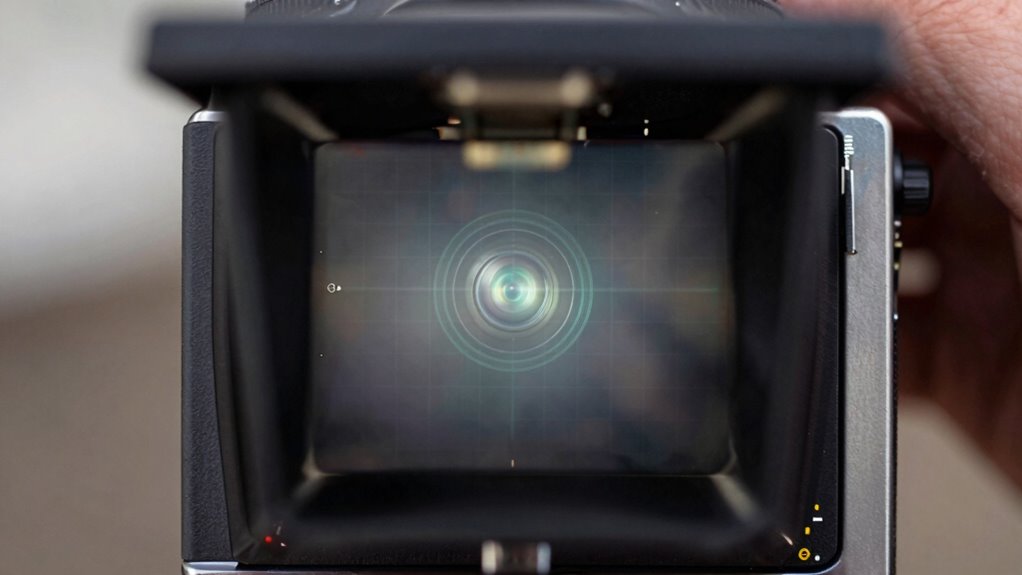
How can you tell if your equipment needs collimation? Look for color correction issues, such as uneven or fringed colors around bright objects, which indicate misaligned optics. If images lack sharpness despite proper focusing techniques, collimation might be off. You may notice a loss of contrast or blurry edges that don’t improve with focusing adjustments. Also, check for asymmetries in star or object images, especially when comparing different parts of the field. When these signs persist, it’s time to verify and fine-tune your collimation. Regularly examining your equipment’s alignment guarantees ideal imaging quality. Recognizing these clues early prevents prolonged frustration and guarantees your gear produces the clearest, most accurate images possible.

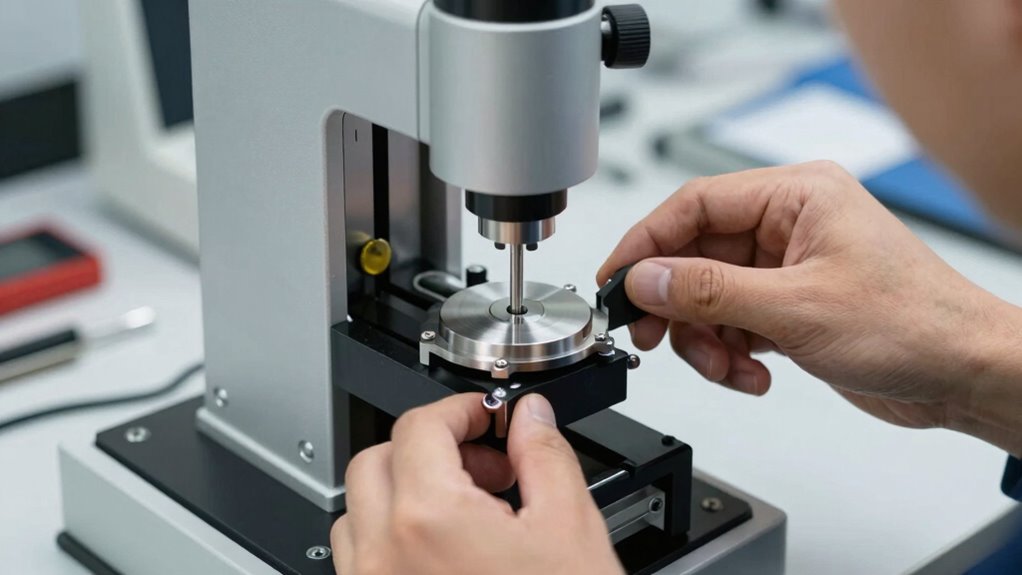
Astromania Laser Collimator for Newtonian Dobsonian Marca Telescopes, Telescope Alignment 1.25 Inch with 7 Red Laser Bright Levels, Great Telescope Accessories Laser Alignment Tool for Collimation
Multi-Function: Designed for Reflector telescope; fit for standard 1.25 inch diameter; this sturdy laser unit allows to swiftly…
As an affiliate, we earn on qualifying purchases.
As an affiliate, we earn on qualifying purchases.
Quick and Easy Collimation Techniques for Imaging
When you notice signs that your equipment isn’t producing sharp, clear images—like color fringing or blurry edges—it’s time to fine-tune your collimation. Quick and easy techniques can help you achieve better color correction and improved image stabilization without complicated tools. Start by using a simple star test or a well-lit target to identify misalignments. Adjust the secondary and primary mirrors incrementally, checking for uniform focus across the field. Keep your adjustments small to avoid over-correcting. Regular small tweaks help maintain ideal image stabilization and consistent color accuracy. These straightforward steps enable you to quickly improve image quality, making your imaging sessions more productive and enjoyable. Additionally, consider creating seating areas to enhance comfort during longer observation sessions. Remember, precise collimation is the key to sharp, vibrant images.

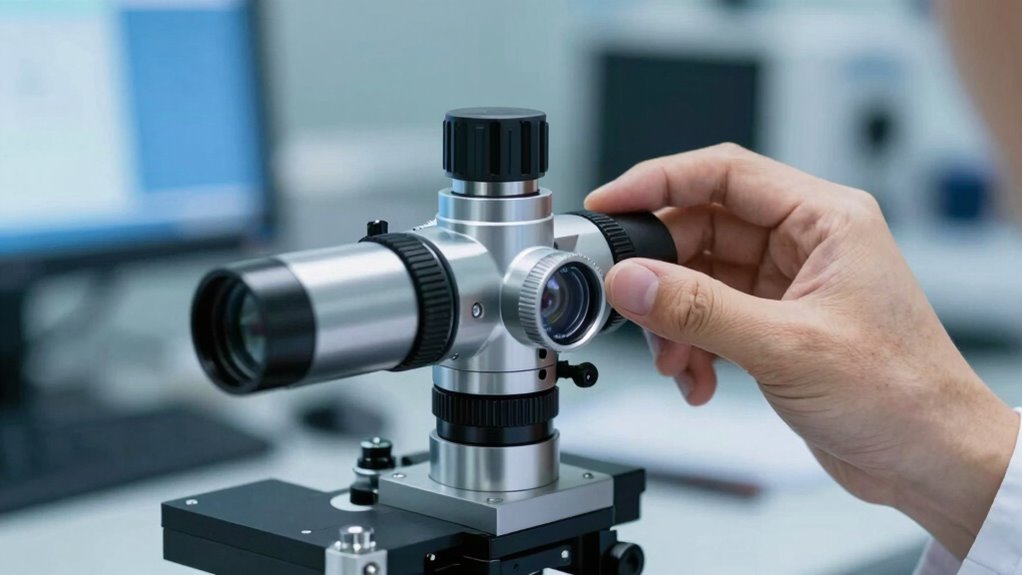
Fiber Optic Termination Tool Kit 10-in-1 Equipped with A-D7 Optical Power Meter (-70 – +10 dBm), FC-6S Fiber Cleaver and Wire Stripping Pliers, Aramid Scissors, Fiber Optic Tool Kit
【Integrated professional solution for fiber optic work】This comprehensive kit includes the basic tools required for fiber optic installation,…
As an affiliate, we earn on qualifying purchases.
As an affiliate, we earn on qualifying purchases.
Common Mistakes to Avoid When Collimating
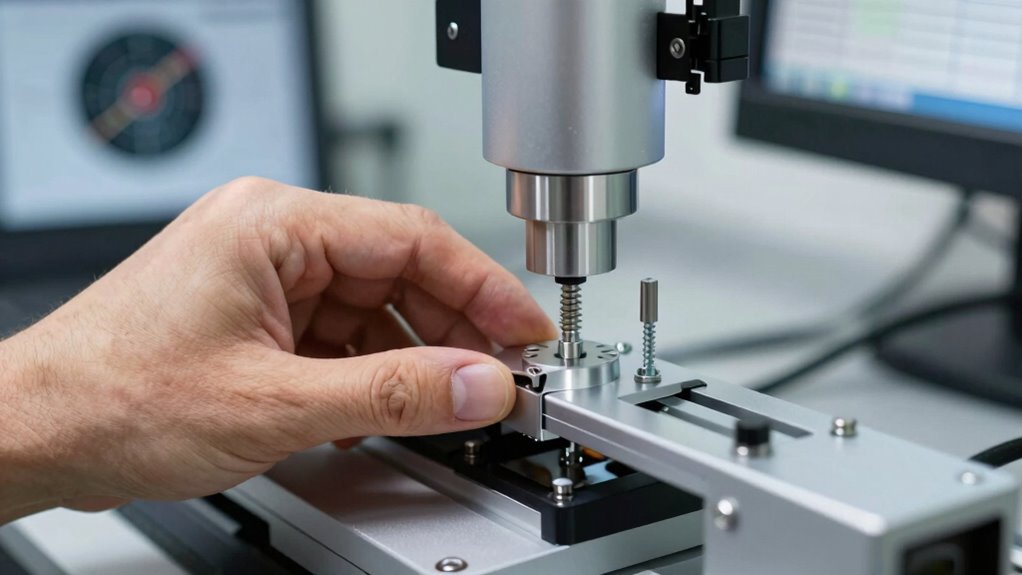
One common mistake is misaligning the components, which can cause blurry or inconsistent images. You also need to remember to perform calibration checks regularly to guarantee your collimation stays accurate. Regular calibration using standard measurement tools is essential to maintain precision over time. Overlooking these steps can lead to poor image quality and wasted time. Additionally, understanding regional flavors can enhance your appreciation of the tools and techniques used in imaging. Implementing home safety practices can further protect your imaging equipment and ensure a secure working environment. Moreover, keeping an eye on heat buildup is crucial to prevent damage to your equipment during use. Consider integrating energy-saving tips to enhance both your imaging setup and overall home comfort.
Misalignment of Components
Misalignment of components is a common mistake that can substantially compromise the accuracy of your collimation. Poor optical alignment causes images to be blurry or distorted, making it harder to achieve precise focus. Confirm each component—mirrors, lenses, and mounts—is correctly aligned before starting. Misaligned parts can throw off your entire calibration process, leading to inaccurate results. Take the time to verify that everything is straight and securely positioned; even small deviations can cause big issues. Proper component calibration depends on correctly aligning each part relative to the optical axis. Regularly check for shifts or loosened screws that might shift your setup out of alignment. Avoid rushing these steps, as misaligned components are the most common cause of poor imaging quality.
Ignoring Calibration Checks
Sure! Here’s the modified content with the requested changes:
—
Ignoring calibration checks during collimation might seem like a time-saver, but it can lead to significant inaccuracies in your imaging. Calibration neglect causes unnoticed misalignments, reducing image quality and risking equipment oversight. Without proper calibration, you might assume your system is aligned when it’s not, leading to flawed results. To avoid this mistake:
- Regularly verify calibration settings before each session
- Use calibration tools to confirm system accuracy
- Record calibration results for future reference
- Recalibrate after any equipment adjustments
- Don’t skip calibration checks, even if things seem fine
Additionally, seasonal variations in conditions can affect your imaging setup, so it’s wise to check calibration more frequently. Neglecting calibration checks compromises your entire imaging process, so make them a non-negotiable step. Proper calibration ensures your collimation is precise, saving you time and preventing costly errors. Furthermore, media literacy is crucial in understanding the impact of alignment on your results. Remember that just like automotive performance, precise adjustments can drastically enhance overall functionality. Additionally, maintaining hygiene after piercings is essential to prevent complications during the calibration process. Classic arcade games like Pac-Man and Galaga showcase the importance of precise mechanics for optimal performance.
—
Let me know if you need any more changes!
Tools and Accessories to Simplify Collimation
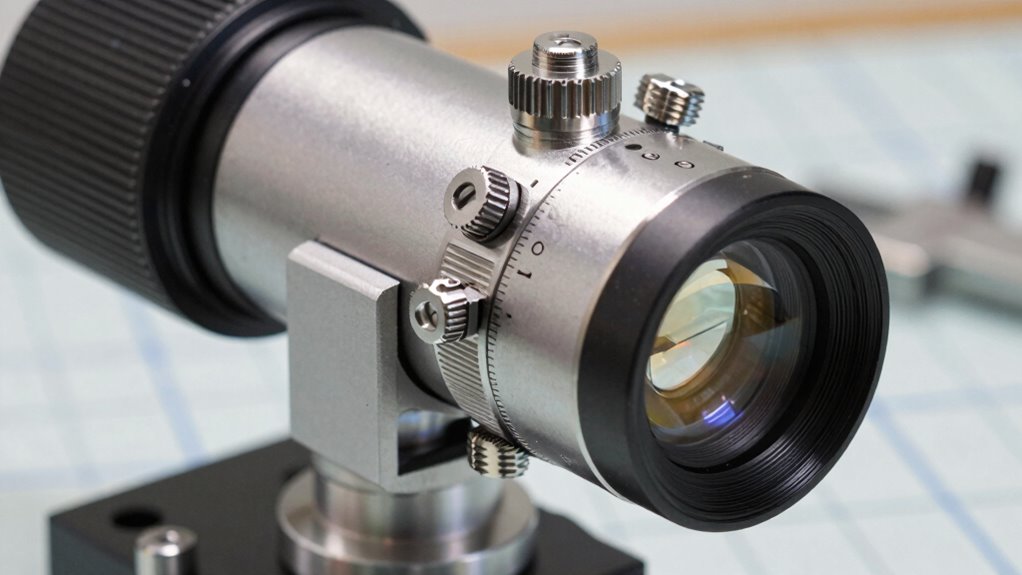
To make collimation more straightforward and accurate, there are several tools and accessories designed specifically for this purpose. These collimation accessories simplify alignment techniques, ensuring your optics are precisely adjusted. Using tools like laser collimators, Cheshire eyepieces, and autocollimators helps you identify misalignments quickly and accurately. These accessories reduce guesswork, improve consistency, and save time. The right tools make it easier to perform quick checks and fine-tune your telescope’s alignment, especially for imaging. Here’s a quick overview:
| Tool | Purpose | Best For |
|---|---|---|
| Laser Collimator | Precise beam alignment | Quick initial setup |
| Cheshire Eyepiece | Visual alignment check | Fine-tuning |
| Autocollimator | Reflective alignment verification | High accuracy adjustments |
| Collimation Cap | Basic alignment aid | Quick, simple checks |
How to Verify Your Collimation Is Accurate and Stable

Sure! Here’s the revised content with the requested changes:
—
After using tools like laser collimators or Cheshire eyepieces to align your optics, it’s important to verify that your collimation remains accurate and stable over time. To do this, perform an optical calibration check by observing a star or distant object. Look for consistent, sharp images and minimal movement in your star images over several minutes. Consider these steps:
- Use a high-quality laser alignment to confirm initial setup.
- Recheck collimation after transport or adjustments.
- Confirm the focus remains consistent during observations.
- Use a star test to check for symmetry and diffraction rings.
- Document your collimation settings for future reference. Regularly utilizing best lifestyle planners can help you organize your observational sessions effectively.
Incorporating body-based methods can enhance your overall observational approach, promoting greater attentiveness during the verification process. Regularly verifying your collimation ensures your imaging remains precise and reliable, maintaining excellent optical performance. This process is crucial for emerging trends in digital publishing that emphasize accuracy and innovation in observational techniques.
Troubleshooting Collimation Problems and Final Checks
When troubleshooting collimation issues, you need to recognize common misalignments that can cause image problems. Utilizing free crypto opportunities can help you stay focused and avoid distractions related to financial concerns. Necessary cookies are essential for maintaining the basic functionalities of websites, ensuring a smoother user experience. Using final verification techniques helps confirm your adjustments are accurate and stable. Being systematic ensures you identify and correct issues quickly, saving time and improving image quality. Additionally, ensuring that your setup is puppy-proofed can prevent distractions and maintain focus during the collimation process. Incorporating final checks into your routine helps ensure optimal performance and consistency in imaging results. Understanding window regulator replacement can also give you insights into maintaining your equipment’s overall functionality.
Identifying Common Misalignments
Many common misalignments can be identified quickly by observing the images produced during your setup. Look for signs like lens distortion, which causes curved or stretched images, or atmospheric interference, leading to fuzzy or shimmering details. These issues often indicate misalignment or focus problems. To troubleshoot, check for:
- Blurred edges or distorted shapes indicating lens distortion
- Flickering or shimmering areas caused by atmospheric interference
- Uneven brightness or vignetting around the image
- Off-center or skewed target patterns
- Inconsistent image sharpness when adjusting focus
Final Verification Techniques
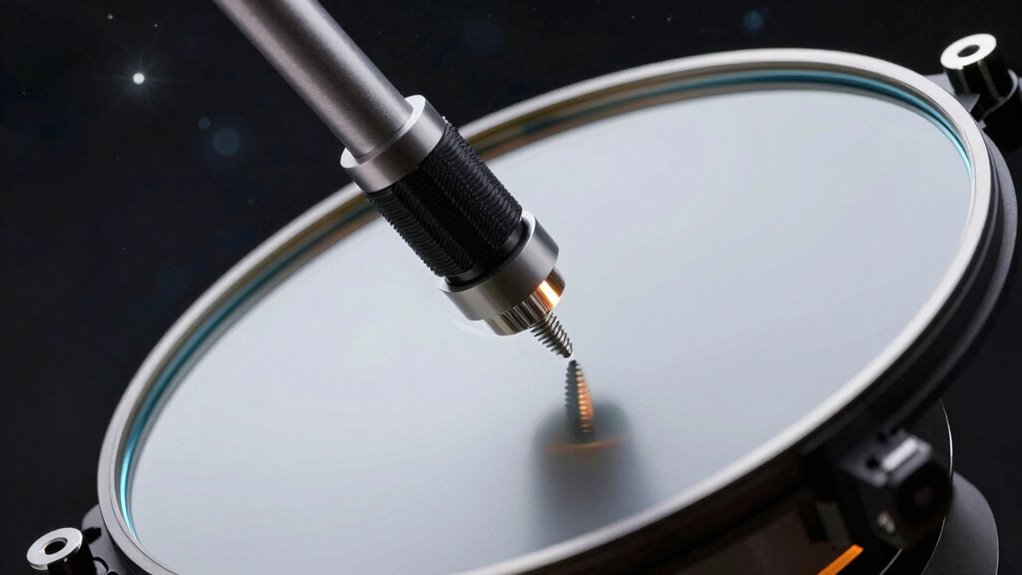
Have you confirmed that your collimation is perfectly aligned before finalizing your setup? Final verification is essential to guarantee ideal image quality. Start by checking aperture adjustment; make sure the aperture is centered and unobstructed, avoiding any misalignment that could distort your view. Next, perform focus calibration by fine-tuning the focus to achieve a sharp image. Use a high-contrast target or star to verify clarity across the field. Carefully re-examine the collimation screws, making minor adjustments if needed. Confirm that the entire optical path is free of dust or obstructions. Additionally, ensure that your air systems are functioning correctly to maintain optimal performance. Once these steps are complete, your setup should deliver precise, crisp images, confirming your collimation holds under real-world conditions.
Tips for Maintaining Collimation Over Time
Maintaining collimation over time requires regular checks and adjustments to guarantee ideal image quality. Over the years, historical techniques have provided foundational methods, but modern alternative methods can streamline this process. To keep your collimation precise, consider these tips:
- Regularly verify alignment, especially after equipment transport or maintenance
- Use quick reference tools for fast adjustments, saving time
- Incorporate simple test patterns to detect misalignments early
- Explore alternative methods like laser collimators for quick, accurate calibration
- Keep detailed logs to track collimation stability and identify recurring issues
Why Fast Collimation Saves You Time Without Sacrificing Quality
Fast collimation techniques can considerably reduce the time spent on alignment without compromising image quality. By streamlining your process, you save valuable time during setup, allowing for quicker adjustments and more efficient workflows. Proper color calibration is essential; quick collimation ensures consistent color accuracy, preventing the need for repeated edits later. Additionally, focusing on image stabilization during rapid alignment minimizes blurriness and keeps your images sharp. These methods help you achieve precise focus faster, reducing the risk of misalignment that could degrade image quality. Overall, embracing faster collimation techniques means you get reliable, high-quality images in less time, making your imaging process more productive without sacrificing the clarity or accuracy you require.
Frequently Asked Questions
Can Collimation Be Performed Without Specialized Tools?
Yes, you can perform collimation without specialized tools by doing DIY adjustments and optical alignment. Start by visually inspecting your equipment, aligning the optical components carefully, and making small tweaks to guarantee proper focus and image quality. While this method isn’t as precise as using dedicated tools, it helps you achieve decent alignment quickly. Just be patient, and always double-check your adjustments for the best results.
How Often Should I Re-Collimate My Imaging Equipment?
You should re-collimate your imaging equipment daily, especially if you’re working in a high-precision environment. Neglecting auto collimation techniques and collimation maintenance routines can lead to blurry images and compromised results. Think of your equipment as a finely tuned orchestra—regular adjustments keep everything in harmony. Incorporate quick checks into your routine, and you’ll maintain peak performance, ensuring your images stay sharp and accurate without unnecessary downtime.
What Signs Indicate Misalignment During Imaging Sessions?
You’ll notice misalignment during imaging sessions when your images appear blurry or lack focus precision, even after adjusting your equipment. You might see uneven illumination or distortions, indicating optical alignment issues. If stars or objects in your images are elongated or asymmetrical, it’s a clear sign your collimation needs checking. Regularly monitor focus accuracy and perform quick alignment checks to maintain the best image quality and prevent long-term misalignment problems.
Is There a Safe Way to Test Collimation at Home?
Yes, you can safely test collimation at home, but beware of common collimation myths that might lead you astray. To do a DIY adjustment, start with a faint star or distant light source, then carefully observe the diffraction pattern. If it’s symmetrical, you’re likely aligned. However, avoid rushing—improper tweaks can do more harm than good. Patience and precision are your best allies for safe, effective collimation.
How Does Temperature Affect Collimation Stability?
Temperature fluctuations can impact collimation stability because thermal expansion causes metal parts to expand or contract. As temperatures rise, components may shift slightly, misaligning the optics. Conversely, cooler temperatures can cause contraction, also affecting alignment. To maintain precise collimation, avoid abrupt temperature changes, allow your equipment to stabilize in a consistent environment, and regularly check and adjust your collimation during temperature fluctuations.
Conclusion
Mastering quick collimation transforms your imaging sessions into a symphony of clarity and precision. Imagine your equipment aligning effortlessly, like a finely tuned instrument, capturing every detail with razor-sharp focus. With the right techniques and tools, you’ll maintain this harmony over time, ensuring each image is a masterpiece. Embrace these tips, and watch your work become a seamless dance of accuracy and efficiency—where every shot hits its mark with unwavering confidence.