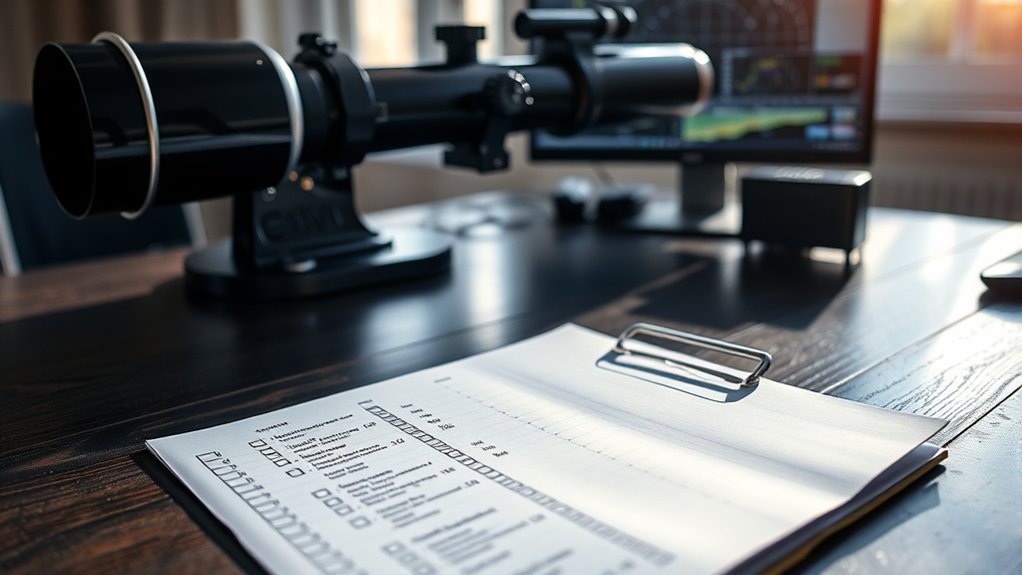

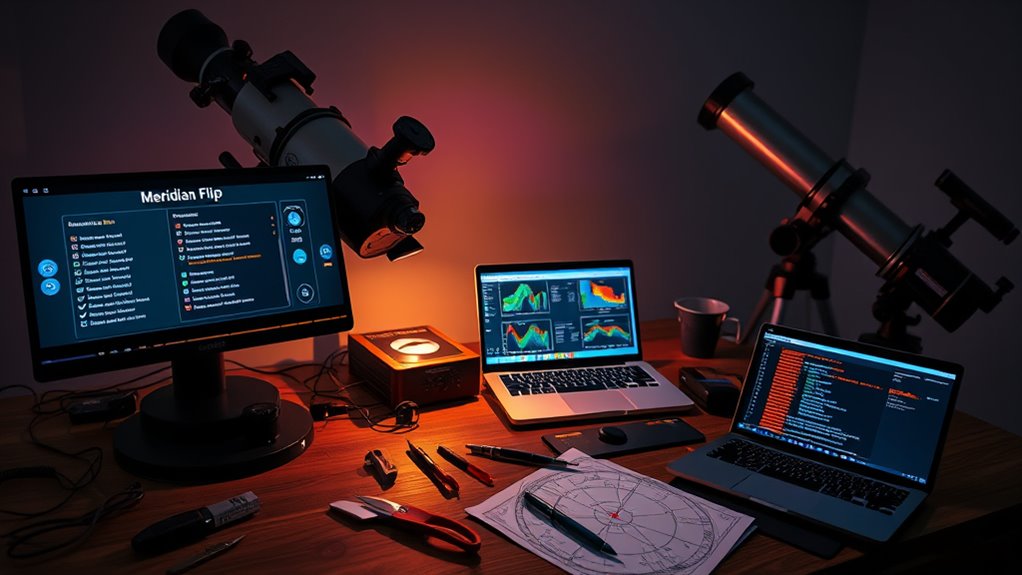
To stop guessing, follow a structured meridian flip planning checklist. Verify your equipment and software compatibility, make certain precise polar alignment, and calculate the exact timing based on your target and focal length. Prepare your mount, set up automated alerts, and configure your imaging software for a smooth flip. Create a detailed flip plan and run a dry test before your session. Keep these steps in mind, and you’ll gain confidence with every imaging session. Keep going to learn more.
Key Takeaways
- Ensure precise polar alignment and verify mount firmware and software compatibility before imaging sessions.
- Calculate optimal meridian crossing times considering focal length and mount tracking accuracy.
- Automate flip triggers and set alerts to monitor during imaging, reducing manual intervention.
- Conduct thorough system tests and dry runs to confirm smooth flip execution and prevent errors.
- Synchronize mount and software settings, and plan step-by-step flip procedures to maintain image quality.
Top picks for "stop guess meridian"
Open Amazon search results for this keyword.
As an affiliate, we earn on qualifying purchases.
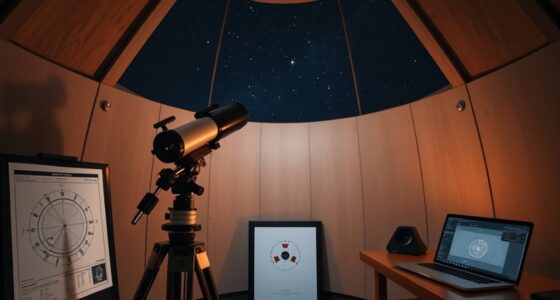
Understanding Meridian Flips and Why They Matter

Understanding meridian flips is essential because they occur when your telescope crosses the local meridian, causing it to switch the side of the mount it’s tracking on. This switch is rooted in celestial mechanics, which govern how objects move across the sky. To perform accurate astrophotography, you must maintain precise polar alignment; misalignment can complicate the flip, leading to errors or star trails. Meridian flips happen naturally as a consequence of tracking objects across the celestial sphere, but knowing when and why they occur helps you plan your session. By understanding the mechanics behind these flips, you can minimize disruptions, reposition your equipment efficiently, and ensure your images stay sharp and well-aligned throughout your night of observation. Additionally, employing float mounting textile art techniques can help in creating stable, damage-free displays of astrophotography prints, ensuring your work remains pristine even after handling.
Assessing Your Equipment and Software Compatibility

Before you start planning your meridian flip, make sure your equipment is fully compatible. Check that your mount and camera work seamlessly together, and confirm your software can synchronize with your hardware. Ensuring these components integrate properly will help prevent surprises during your imaging session. Additionally, verifying your system’s automation capabilities can streamline the process and improve overall efficiency.
Hardware Compatibility Checks
To guarantee a smooth meridian flip, you need to verify that your equipment and software are compatible and work seamlessly together. Check that your mount’s firmware is up to date, as outdated firmware can cause issues during flips. Consider if hardware upgrades are necessary for better performance or reliability. Ensure your camera, focuser, and filters are compatible with your mount and control software. Performing these compatibility checks helps prevent potential problems during your session.
Software Synchronization Methods
Ensuring your software components communicate effectively is crucial for a successful meridian flip. You need reliable software synchronization to coordinate your mount, camera, and planning tools seamlessly. Start by verifying compatibility between your guiding software, planetarium programs, and mount control applications. Proper celestial coordinate alignment depends on accurate data exchange; any mismatch can cause miscalculations during the flip. Use common protocols like ASCOM or INDI to facilitate communication and reduce synchronization errors. Test your setup beforehand by simulating a meridian flip to confirm that all software components stay in sync throughout the process. Additionally, understanding software protocols and their capabilities can help you troubleshoot and optimize communication between devices. Keeping your software synchronized ensures precise celestial coordinate alignment, minimizes errors, and streamlines the entire flipping procedure, ultimately helping you avoid frustration and missed imaging opportunities.
Mount and Camera Integration
Have you confirmed that your mount and camera are compatible with each other and your control software? Ensuring proper integration is essential for smooth meridian flips. Check that your mount supports your camera’s focal length to avoid vignetting or focus issues. Accurate polar alignment is also critical for tracking accuracy during long exposures. Use the table below to verify compatibility:
| Mount Model | Camera Compatibility | Software Support |
|---|---|---|
| EquatorialX | Yes, via ASCOM | Supported (v2.0) |
| Alt-AzPro | Limited, needs adapter | Partial support |
| StarGazer 3000 | Yes, direct USB | Fully compatible |
| SkyTracker | No, incompatible | Not supported |
| AstroMaster | Yes, via third-party | Partial support |
Double-check these details to prevent issues during your meridian flip. Additionally, compatibility testing is vital to ensure your equipment works seamlessly together before a session.
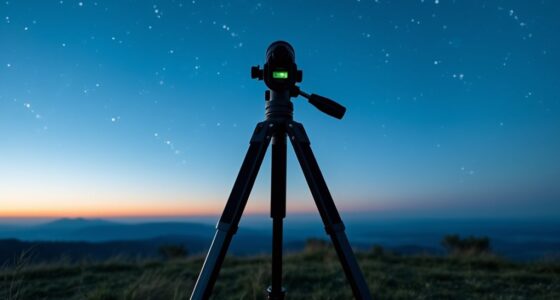
Calculating the Optimal Time for Your Flip
Calculating the ideal time for your flip is crucial to guarantee smooth transitions between targets. To do this accurately, confirm your polar alignment is precise, as even small errors can shift the meridian timing. Your focal length also influences the timing, since longer focal lengths require more careful planning to avoid image rotation issues during the flip. Use star charts or software to determine when your target crosses the meridian, marking the best flip window. Consider the mount’s tracking accuracy and the altitude of your target—higher targets may need slightly different timing. Additionally, understanding the contrast ratio of your projector can help you optimize image quality during different viewing conditions. By carefully analyzing these factors, you can identify the best moment for the flip, minimizing downtime and guaranteeing your imaging session proceeds seamlessly.
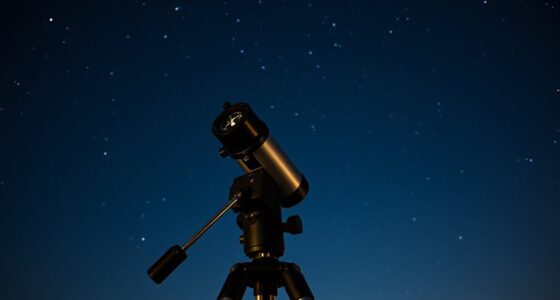
Preparing Your Mount and Tracking Settings
Are you ready to fine-tune your mount and tracking settings for a smooth meridian flip? First, guarantee your mount is properly balanced; an uneven load causes tracking errors and can complicate the flip. Double-check that your telescope’s weight distribution is even, so your mount moves smoothly. Next, verify your polar alignment; precise polar alignment ensures accurate tracking throughout your session. Use a polar scope or software to confirm your mount is aligned with the celestial pole. Once aligned, set your tracking rate to standard or sidereal, depending on your equipment. Make sure your mount’s tracking is steady before proceeding. Proper mount balancing and accurate polar alignment are key to minimizing errors during the flip and ensuring seamless tracking across the meridian. Additionally, precise calibration of your mount can significantly reduce the risk of errors during the meridian flip.
Setting Up Automated Alerts and Notifications

Once your mount is properly balanced and tracking steadily, setting up automated alerts and notifications helps keep you informed throughout your imaging session. With effective notification setup, you’ll receive real-time updates on critical events like meridian flips, tracking issues, or unexpected interruptions. Automated alerts can be configured through your imaging software or external monitoring tools, ensuring you don’t miss important moments. This proactive approach allows you to stay focused on your imaging while remaining aware of any problems that may arise. Proper alert management ensures you’re always in control, ready to respond promptly when an automated alert signals a necessary action. Incorporating alert customization options can further enhance your monitoring system by tailoring notifications to your specific needs.
Configuring Your Imaging Software for Seamless Flips
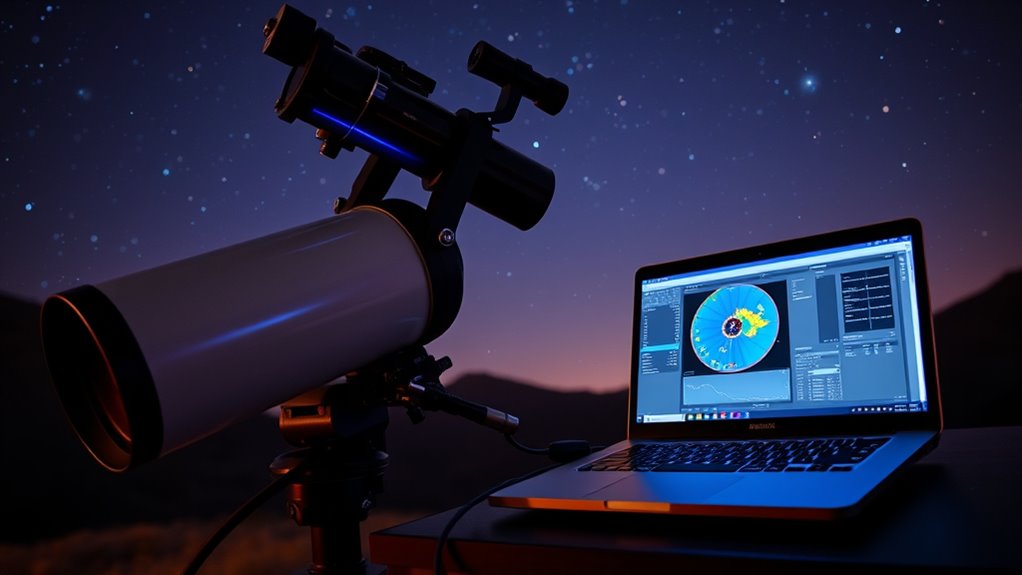
To guarantee smooth flips, you need to synchronize your mount settings with your imaging software. Automating flip triggers helps make the process more reliable and hands-free. Testing your setup thoroughly guarantees that everything works seamlessly during your imaging session. Additionally, implementing robust safety measures can help prevent unexpected errors during flips.
Synchronize Mount Settings
Synchronizing your mount settings is essential for a smooth meridian flip process, guaranteeing your imaging software knows exactly how to handle the shift. Properly aligned mount settings prevent miscommunication during flips, reducing errors and downtime. Start by verifying your mount alignment to ensure accurate tracking. Next, perform software calibration to synchronize your mount’s coordinate system with your imaging software. Adjust the flip parameters so your software recognizes when the mount reaches the meridian. Double-check the overall configuration to avoid surprises. Consistent synchronization minimizes manual adjustments during a flip, saving you time and frustration. Remember, well-calibrated mount settings are the foundation for seamless flips and precise astrophotography results. Additionally, understanding the importance of vetted equipment can help ensure your setup is reliable and safe for accurate imaging.
Automate Flip Triggers
Automating your flip triggers in your imaging software guarantees seamless meridian flips without manual intervention. To do this effectively, verify your polar alignment is precise, as misalignment can cause inaccurate trigger points. Set the trigger based on your focal length because longer focal lengths require earlier triggers to prevent image trailing during the flip. Most software allows you to specify an offset or margin before the target crosses the meridian, ensuring the mount flips smoothly. You can also configure your camera or mount to send a trigger signal once the target reaches a predefined position. This automation minimizes downtime and keeps your imaging session uninterrupted. Properly setting these triggers based on your polar alignment and focal length streamlines your workflow, making meridian flips effortless and reliable.
Test Coordinated Flips
After setting up your flip triggers, it’s time to verify that your imaging software correctly handles coordinated flips. Properly testing this guarantees your polar alignment remains accurate and your focal length settings are maintained during the flip. To do this effectively:
- Confirm the software recognizes the flip point based on your target’s position
- Ensure the camera and mount sync during the flip, avoiding image shifts
- Check that your focal length settings are preserved post-flip for accurate framing
- Test the sequence with your actual polar alignment to prevent drift
- Verify that the software triggers the flip seamlessly, reducing downtime during imaging sessions
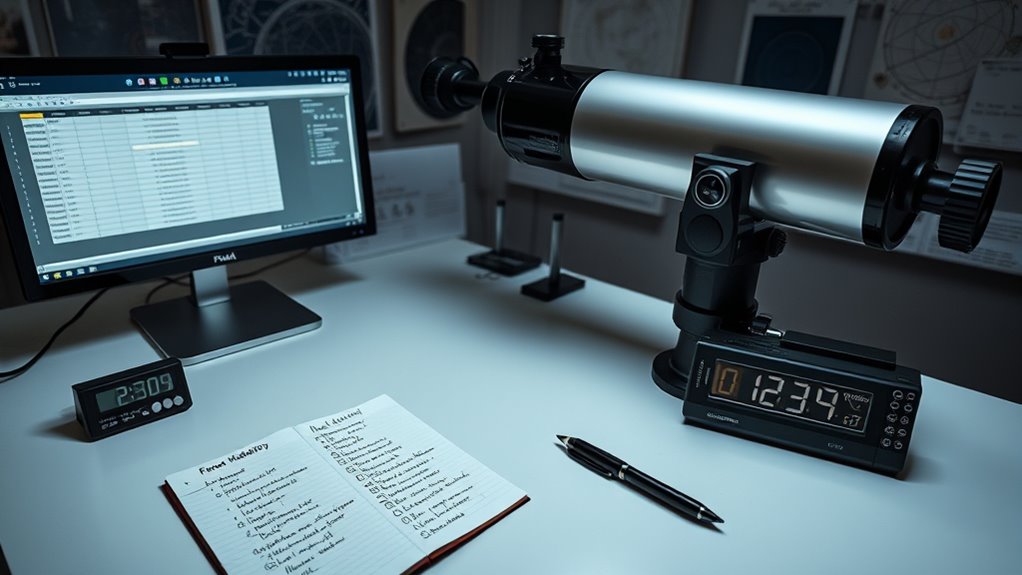
Creating a Step-by-Step Flip Plan

To guarantee a smooth meridian flip, you need a clear, step-by-step plan that guides you through each stage of the process. Start by confirming your polar alignment is precise, as any misalignment can complicate the flip. Next, consider your telescope’s focal length, since longer focal lengths require more attention to tracking accuracy during the flip. Map out the exact moment your target approaches the meridian, and plan your camera’s position and orientation accordingly. Include steps for pausing your mount’s tracking just before the flip, then safely performing the flip maneuver. Finally, verify your settings afterward to ensure everything resumes smoothly. Having this detailed plan minimizes surprises, helping you execute the flip efficiently and with confidence.
Conducting a Dry Run Before Actual Imaging Sessions

Before you attempt your first imaging session, it’s wise to run through a dry run of your meridian flip procedure. This helps you identify potential issues and guarantees smooth operation during real imaging. During the dry run, check your polar alignment to confirm your mount tracks accurately through the flip. Pay attention to your focal length, as longer focal lengths make precise flip timing more critical. Practice executing the flip manually, noting any delays or miscommunications. Confirm that your software correctly triggers the flip at the right time. Review your entire process, from target acquisition to post-flip focusing. This preparation reduces surprises and builds confidence.
- Verify polar alignment stability
- Test focal length accuracy during the flip
- Simulate flip timing with your software
- Check camera and mount communication
- Record any adjustments needed
Troubleshooting Common Issues During Meridian Flips
Encountering issues during a meridian flip can disrupt your imaging session and compromise data quality. One common problem is poor polar alignment, which affects how smoothly the mount executes the flip, leading to misalignments or tracking errors. Verify your polar alignment before starting, especially if your focal length is long, as tracking becomes more sensitive. If the flip causes a sudden shift in framing or star trails, double-check your mount’s calibration and ensure your guiding software is properly configured. Sometimes, the flip can trigger focus drift; having a focus checklist can help you quickly re-establish ideal focus. Regularly practicing your flip routine and keeping troubleshooting tools handy will minimize downtime and help maintain consistent, high-quality imaging results.
Frequently Asked Questions
How Does Weather Impact the Timing of Meridian Flips?
Weather substantially impacts the timing of meridian flips because cloud cover can obscure your view, delaying the necessary observations. Temperature fluctuations also affect equipment stability, potentially causing focus shifts or guiding issues that require adjustments before flipping. You should monitor weather forecasts closely, especially for cloud cover and temperature changes, to plan your session effectively. Being prepared for these conditions helps guarantee smooth meridian flips and ideal observation quality.
Can I Automate Flips Across Multiple Telescopes Simultaneously?
Imagine juggling multiple balls—automation challenges can make this tricky. You can automate flips across multiple telescopes, but it depends on your mount compatibility. Some mounts offer built-in automation features, making it easier to synchronize flips, while others require custom scripting. To succeed, guarantee your equipment supports simultaneous commands and software integration. With proper setup, you’ll streamline your observing, reducing manual adjustments and maximizing imaging time across all your telescopes.
What Are the Best Practices for Managing Flip Errors During Imaging?
To manage flip errors during imaging, you should regularly check your mount alignment, ensuring accurate tracking and smooth flips. When errors occur, troubleshoot promptly by reviewing error logs and verifying hardware connections. Keep your software up-to-date and calibrate your mount periodically. Using automation tools can help catch and correct flip errors quickly, minimizing downtime and ensuring consistent imaging results. Proper maintenance and troubleshooting are key to successful flips.
How Do Different Mount Types Influence Flip Planning Strategies?
Different mount types markedly influence your flip planning strategies because of their unique mount compatibility and flip mechanics. Fork mounts often require careful timing and precise positioning, while German equatorial mounts simplify flip procedures due to their inherent design. Understanding your mount’s flip mechanics helps you plan better, minimize errors, and guarantee smooth transitions during imaging sessions. Always familiarize yourself with your mount’s specific capabilities to optimize your flip planning approach.
Is There a Recommended Frequency for Updating My Flip Plan?
You should update your flip plan whenever you perform calibration or software updates, ensuring accuracy. Regular calibration frequency depends on how often you use your mount, but at least once every few months is recommended. Keep your software up-to-date to benefit from improvements and fixes. Always review and adjust your flip plan after any calibration or software update to maintain precise and reliable flip scheduling, preventing missed or incorrect flips during your observations.
Conclusion
By understanding meridian flips, evaluating your gear, preparing your software, and practicing your plan, you guarantee smooth, error-free sessions. Embrace automation, stay alert for issues, and review each step to build confidence. With thorough planning, you’ll minimize disruptions, maximize imaging time, and capture better astrophotos. Commit to preparation, embrace flexibility, and keep learning—because mastering meridian flips isn’t just about avoiding problems; it’s about elevating your entire astrophotography experience.