
To polar align with a polar scope, start by locating Polaris and positioning it near the middle of the reticle, aligning it with the circle or symbols that represent the celestial pole. Then, rotate the mount until the RA adjustment shows that Polaris stays fixed, confirming your mount’s axis points toward Earth’s rotational axis. Mastering these steps helps guarantee accurate tracking, and if you keep going, you’ll discover how to fine-tune and perfect your alignment further.
Key Takeaways
- Use the reticle’s concentric circles or grid to position Polaris within the designated guide area for rough alignment.
- Adjust the mount’s azimuth and altitude until Polaris appears centered and stable in the reticle.
- Rotate the RA axis to match the reticle’s rotation circle or marker, ensuring Polaris remains stationary relative to Earth’s rotation.
- Fine-tune the mount using drift or star alignment after initial polar scope setup for increased accuracy.
- Confirm Polaris stays within the reticle’s guide area during RA rotation to verify proper RA axis alignment.
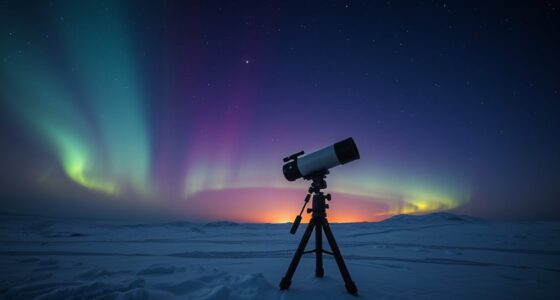
Polar aligning your telescope with a polar scope is a essential step for accurate astrophotography and precise tracking. When you’re setting up your equipment, proper mount alignment ensures that your telescope follows celestial objects smoothly as they move across the sky. A good polar alignment minimizes star trails and helps you achieve sharp, clear images. To do this effectively, you need to understand your polar scope’s reticle and how to account for RA (Right Ascension) rotation.
Polar alignment with a polar scope ensures precise tracking and sharp astrophotos by minimizing star trails and accurately aligning your mount.
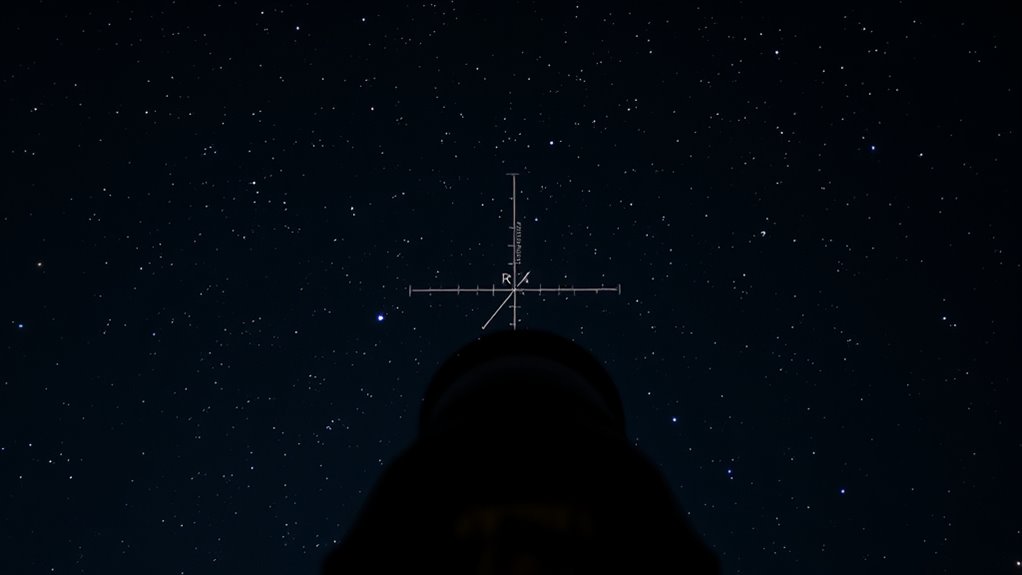
The reticle inside your polar scope is designed with markings that help you locate Polaris or the North Celestial Pole. These markings are calibrated to match your geographic latitude, providing a visual guide to align your mount correctly. As you look through the polar scope, you’ll see concentric circles or grid lines, along with specific symbols or stars, which guide you in positioning Polaris precisely. The goal is to center Polaris within the reticle’s designated area, which indicates that your mount is roughly aligned with the celestial pole. This process is essential for mount alignment because it establishes the initial calibration point for your telescope.
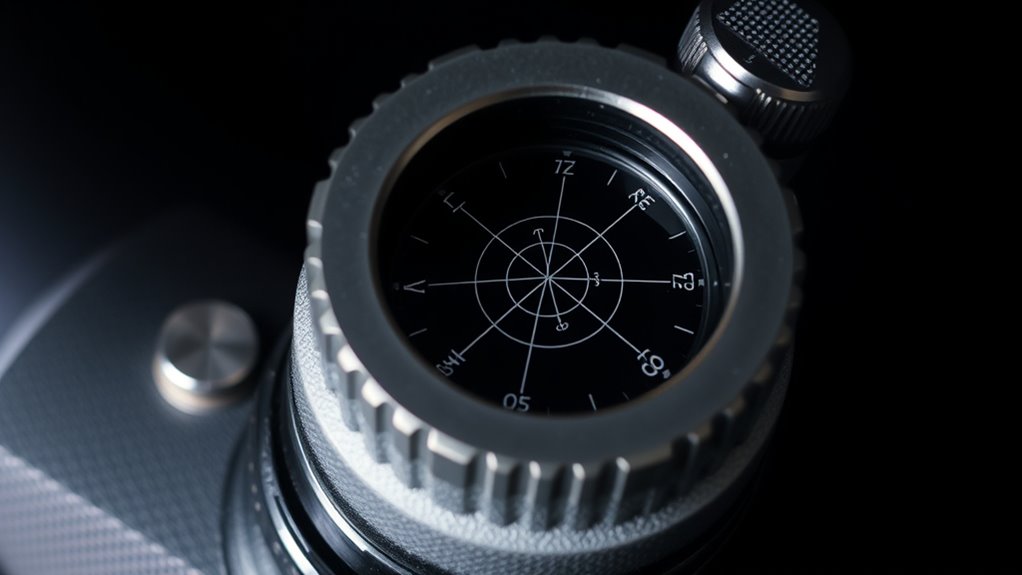
Once you’ve centered Polaris, you need to consider RA rotation. RA, or Right Ascension, is the celestial equivalent of longitude and measures how objects move across the sky. Because Earth rotates, your mount’s RA axis must be aligned with Earth’s axis for tracking to work smoothly. During polar alignment, you’ll often need to adjust for the slight rotation of Polaris around the celestial pole, which varies with the time of night and your geographic location. This is where understanding RA rotation becomes crucial. Your polar scope reticle often includes a rotation circle or a specific marker indicating the direction of RA correction. Adjust your mount slowly, using the reticle as a guide, until Polaris appears stationary in the field of view, confirming that your RA axis is aligned with Earth’s axis.
Telescope calibration goes hand in hand with mount alignment; it involves fine-tuning the tracking accuracy after the initial polar alignment. Once you’ve achieved a rough polar alignment using the reticle and RA rotation adjustments, you’ll perform calibration steps, such as star alignment or drift alignment, to refine the setup. Proper calibration ensures that your mount compensates perfectly for Earth’s rotation, allowing long exposures without star trails. Remember, the key to successful astrophotography is iterative adjustment—use the reticle and RA rotation cues to get close, then refine through calibration to perfect your mount’s alignment. This careful process guarantees precise tracking, ultimately leading to stunning astrophotos.
Frequently Asked Questions
Can I Polar Align During Daylight Hours?
Yes, you can do daylight polar aligning, but you need to take sunlight precautions seriously. Use a red flashlight or cover the polar scope to prevent sunlight from damaging the reticle. Make sure the Sun is sufficiently below the horizon or in a safe position, and avoid looking directly at it. Daylight polar aligning is possible with proper equipment and safety measures, ensuring you get accurate alignment even during the day.
How Do Temperature Changes Affect Polar Alignment Accuracy?
Temperature changes can impact your polar alignment accuracy through thermal expansion and atmospheric refraction. As temperatures fluctuate, metal components expand or contract, causing slight misalignments. Additionally, atmospheric refraction varies with temperature, affecting star positions near the horizon. To maintain accuracy, recheck your alignment after significant temperature shifts, allow your equipment to reach thermal equilibrium, and use stable mounting methods to minimize these effects during your astrophotography sessions.
What Are Common Mistakes When Using a Polar Scope?
You might think perfect star tracking is easy, but common mistakes can ruin your alignment accuracy. Don’t rush or skip calibrating your polar scope; this leads to misaligned stars. Avoid ignoring temperature effects, which can shift your view. Make certain the reticle is properly centered, and don’t forget to account for RA rotation. Double-check your polar scope’s alignment regularly to keep your star tracking precise and your images sharp.
Is It Necessary to Re-Align After Moving the Telescope?
Yes, you should re-align your telescope after any mount movement. Moving the mount can cause the polar alignment to shift, so it’s crucial to perform calibration checks to guarantee accuracy. Re-aligning helps maintain precise tracking, especially during long exposures. Regularly verifying your alignment after adjustments or relocations keeps your observations sharp and your astrophotography clear, preventing star trails and ensuring peak performance of your mount.
How Often Should I Check and Adjust My Polar Alignment?
You should check your polar alignment regularly, especially if you notice visual drift or if your tracking becomes inconsistent. For stable alignment, it’s best to verify every few hours during long sessions or after moving your telescope. Sudden temperature changes or vibrations can affect stability, so frequent checks help guarantee precise tracking. Staying attentive to drift allows you to make timely adjustments and maintain accurate polar alignment throughout your observing or imaging session.
Conclusion
Mastering polar alignment with a polar scope guarantees your astrophotos stay sharp and true. Imagine capturing a stunning Milky Way shot, only to realize it’s perfectly aligned thanks to your precise setup. Like Alex, who thought he’d never get pinpoint stars, but after learning this technique, his images became breathtaking. With patience and practice, you’ll experience that same rewarding feeling, knowing your telescope is accurately tracking the night sky, turning your astrophotography dreams into reality.