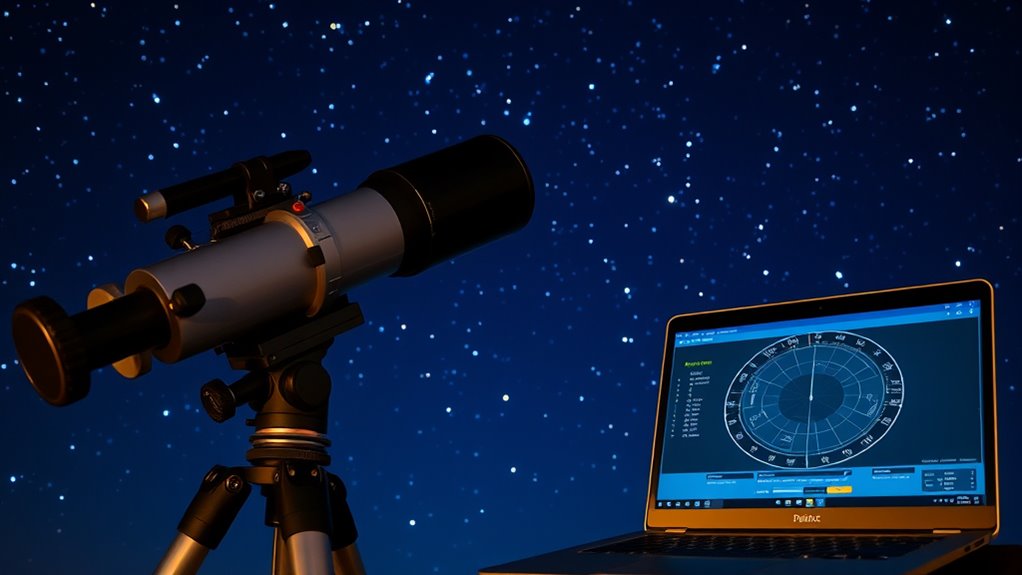

A polar alignment methods calculator guides you through aligning your telescope mount accurately with the celestial pole, ensuring sharper images and better tracking during astrophotography. It considers your location, equipment, and preferred technique—whether polar scope or drift alignment—to give you precise calibration results. This tool helps you understand any misalignments and how to correct them effectively. Keep exploring the details, and you’ll find ways to improve your approach for ideal observation and imaging results.
Key Takeaways
- The calculator determines necessary adjustments for accurate polar alignment using input location and equipment data.
- It supports both polar scope and drift alignment methods, guiding users through precise setup procedures.
- Proper data entry, like geographic coordinates and mount details, ensures reliable calibration results.
- It helps identify misalignments by analyzing calibration deviations, improving star tracking and image quality.
- Regular use and interpretation of results optimize mount alignment, reducing star trails and enhancing astrophotography.

Astromania Polar Alignment Scope for EQ-5, Quickly and Easily Align Your Equatorial Mount with The North Celestial Polar – The Foundations for Successful Astrophotography
Full metal; Good alignment of the mount with the North Celestial Pole can be achieved in a short…
As an affiliate, we earn on qualifying purchases.
As an affiliate, we earn on qualifying purchases.
Understanding the Purpose of the Polar Alignment Methods Calculator

Ever wondered why precise polar alignment matters for astrophotography and amateur astronomy? Just like in mountain biking, where you need to perfectly align your gears for a smooth ride, accurate polar alignment ensures your telescope tracks celestial objects precisely. Think of the polar alignment methods calculator as your culinary arts toolkit—it helps you mix the right ingredients (or alignments) for ideal results. Without proper alignment, your star images will blur, much like a dish ruined by incorrect seasoning. The calculator guides you through the process, saving you time and frustration. It also helps you understand imaging scale and field‑of‑view considerations, which are crucial for capturing detailed deep-sky images. Whether you’re capturing deep-sky objects or simply exploring the night sky, understanding its purpose helps you achieve sharp, clear images and a more enjoyable experience, just as mastering your craft improves your mountain biking or cooking skills.

Celestron 94224 CG-5/AVX/CGEM Polar Telescope Finderscope, Black
POLAR ALIGN YOUR CELESTRON GERMAN EQUATORIAL MOUNT: Compatible with Celestron CGEM, Advanced VX, and CG-5 equatorial mounts.
As an affiliate, we earn on qualifying purchases.
As an affiliate, we earn on qualifying purchases.
Different Techniques for Polar Alignment Explained
You can align your telescope using different techniques, each with its own advantages. The Polar Scope Method offers a quick and straightforward approach, while the Drift Alignment Technique provides precise results through careful adjustments. Understanding these methods helps you choose the best one for your observing needs. Additionally, Remote Hackathons can be a valuable resource for gaining new skills and collaborating with others in the astronomy community.
Polar Scope Method
How does the polar scope method simplify the process of aligning a telescope with Earth’s rotational axis? It allows you to view the celestial pole directly through the polar scope, making precise adjustments easier. By aligning the reticle with the North Star (Polaris) or the celestial pole, you can quickly set your mount’s axis accurately. The polar scope provides a visual guide, reducing guesswork and improving alignment accuracy. This method is straightforward because it relies on direct observation rather than complex calculations or prolonged drift tests. With a properly calibrated polar scope, you can achieve a high level of precision in just a few minutes, ensuring your telescope is accurately aligned for long exposure astrophotography or detailed observations. Additionally, automation in astronomy has led to the development of advanced polar alignment tools that further enhance accuracy and ease of use.
Drift Alignment Technique
The drift alignment technique offers an effective way to fine-tune your polar alignment by observing the movement of stars over time. You focus on the Polaris or another bright polar star, watching for slight deviations from true north. If the star drifts east or west, you adjust your mount’s azimuth; if it drifts north or south, you tweak the altitude. This method improves your alignment accuracy by eliminating small errors that can affect astrophotography or long-exposure imaging. To perform drift alignment, keep the star centered in your finderscope or eyepiece and monitor its position over 10-15 minutes. Regular adjustments ensure your mount’s polar axis aligns precisely with the celestial pole, resulting in smoother tracking and better image quality.

Astromania Laser Collimator for Newtonian Dobsonian Marca Telescopes, Telescope Alignment 1.25 Inch with 7 Red Laser Bright Levels, Great Telescope Accessories Laser Alignment Tool for Collimation
Multi-Function: Designed for Reflector telescope; fit for standard 1.25 inch diameter; this sturdy laser unit allows to swiftly…
As an affiliate, we earn on qualifying purchases.
As an affiliate, we earn on qualifying purchases.
How to Input Your Location and Equipment Details

To get accurate results, you need to enter your location details correctly. Make sure to select your precise latitude and longitude or use the map tool if available. Additionally, input your equipment specifications, like mount type and camera details, to tailor the calculations to your setup. Remember, understanding environmental considerations can also influence your alignment accuracy.
Location Data Entry
Wondering how to input your location and equipment details accurately? Start by selecting your precise geographic coordinates—latitude and longitude—to guarantee proper mount alignment. This detail is vital because accurate location data helps the calculator determine the star tracking position and timing. When entering your equipment details, include your mount type and any accessories that affect movement, as these influence the alignment process. Double-check your data for typos to prevent errors that could skew the results. If your location changes frequently, update the data regularly for best accuracy. Properly inputting these details ensures your polar alignment calculations are precise, helping you achieve better star tracking and more successful astrophotography sessions. Additionally, understanding how AI security measures are integrated into software can help protect your data during the process.
Equipment Specifications Input
Accurately inputting your location and equipment details is essential for precise polar alignment calculations. Your mount alignment depends on correct data to optimize star tracking and avoid drift. When entering your equipment specs, consider:
- Mount type and model, which influence adjustment procedures and calibration.
- Telescope aperture and focal length, affecting tracking accuracy and field of view.
- Camera or guiding equipment, necessary for fine-tuning star tracking performance.
Providing accurate information ensures the calculator accounts for your specific setup, improving alignment precision. Properly entered data helps identify the best alignment method for your equipment, reducing errors caused by mismatched parameters. Accurate input ultimately results in better star tracking, sharper images, and more reliable astrophotography results. Additionally, understanding the hydrocolloid material used in acne patches can help in choosing the right product for your skin type.

Astromania Polar Alignment Scope for EQ3, Telescope Accessories Polar Finder Quickly&Easily Correct Alignment of Equatorial Mount with The North Celestial Polar, Allow Long Exposure Astrophotography
Polar Alignment Scope For EQ3: Achieve good alignment of the EQ3 equatorial mounts with the North Celestial Pole…
As an affiliate, we earn on qualifying purchases.
As an affiliate, we earn on qualifying purchases.
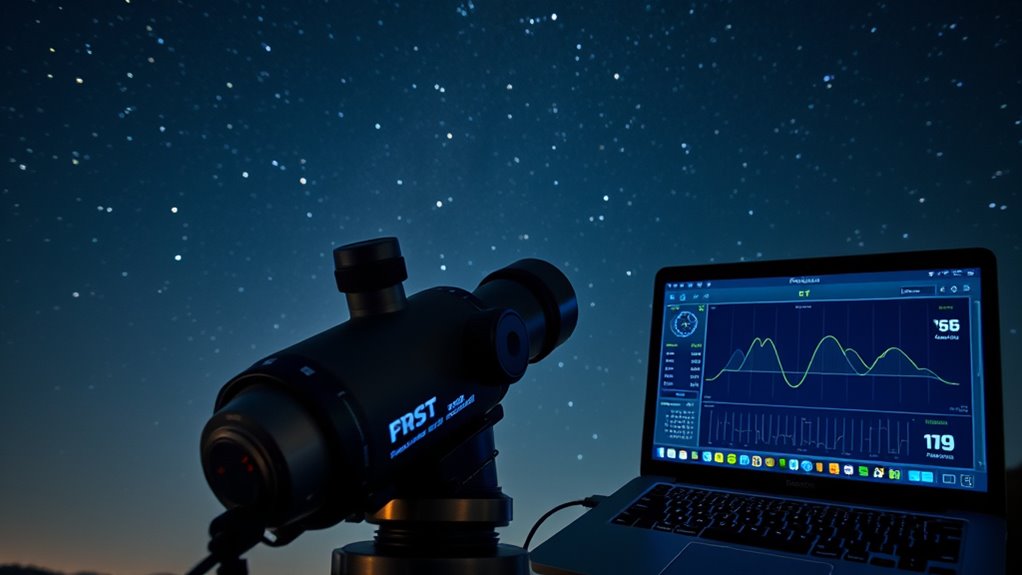
Interpreting the Calculator’s Results: What Do They Mean?
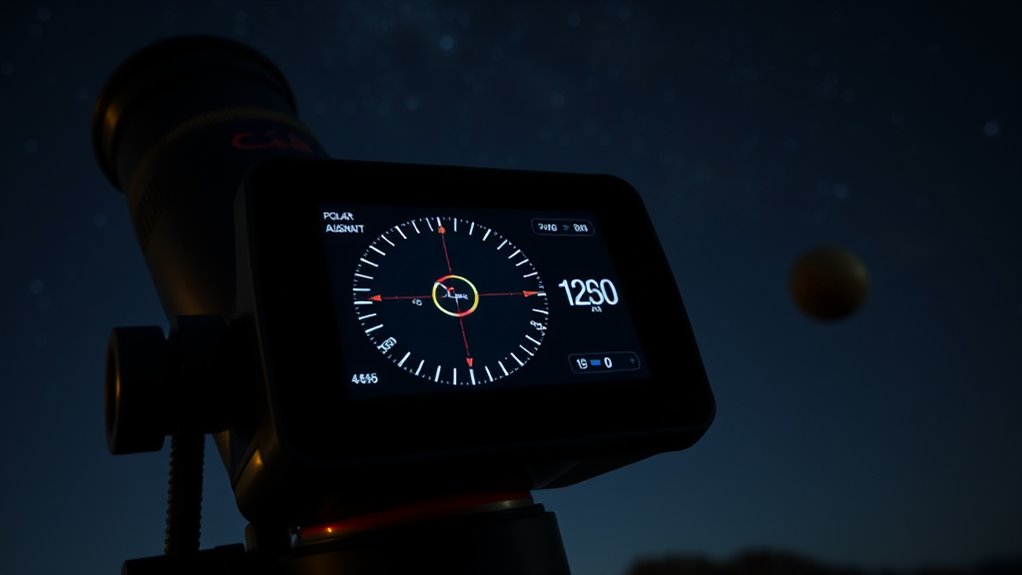
When you review the results from the polar alignment methods calculator, it’s essential to understand what each value indicates about your setup. These numbers show how close your mount is to proper polar alignment. Small deviations suggest high calculation accuracy, meaning your polar scope or drift method is precise. Larger errors point to the need for adjustments to improve alignment. The calculator may display angles or offset values, which guide you in fine-tuning your mount’s position. Remember, accurate interpretation helps you determine if your polar alignment is sufficient for astrophotography or visual observing. By understanding what these results mean, you can confidently make adjustments, ensuring better tracking and less star trailing. Proper interpretation maximizes your setup’s performance, leading to clearer, sharper images. Additionally, understanding personal finance management concepts such as budgeting for equipment upgrades or consulting with professionals can help optimize your astrophotography hobby in the long run.
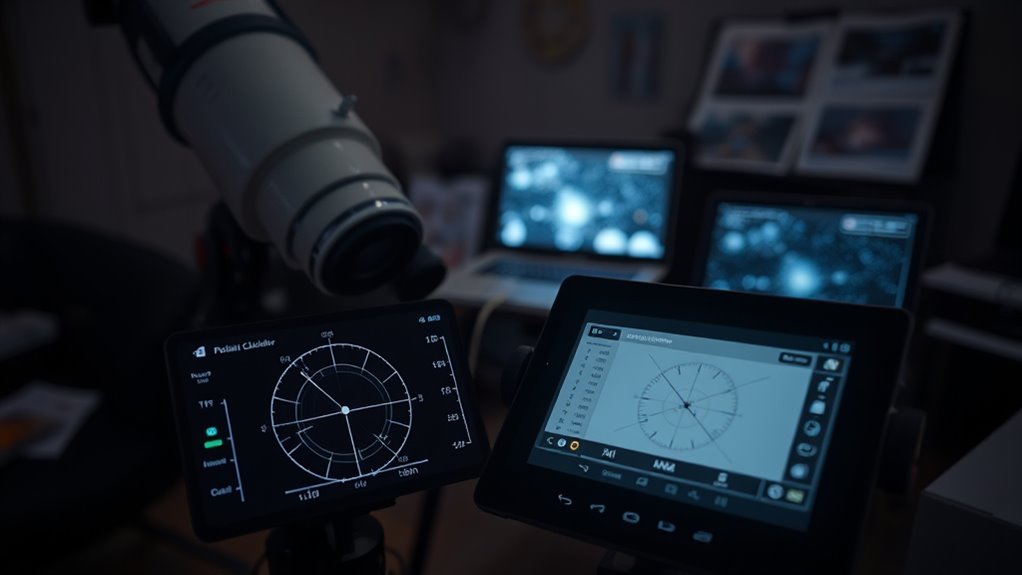
Step-by-Step Guide to Using the Polar Alignment Methods Calculator
To get started, you’ll need to set up your input parameters correctly in the calculator. Make certain your calibration results are clear, as they help guarantee accurate alignment. Once you’ve entered everything, you’ll be ready to interpret the calibration results and proceed with your polar alignment.
Input Parameter Setup
You are trained on data up to October 2023. When setting up your input parameters, consider the importance of accurate polar alignment methods to ensure precise astronomical observations.
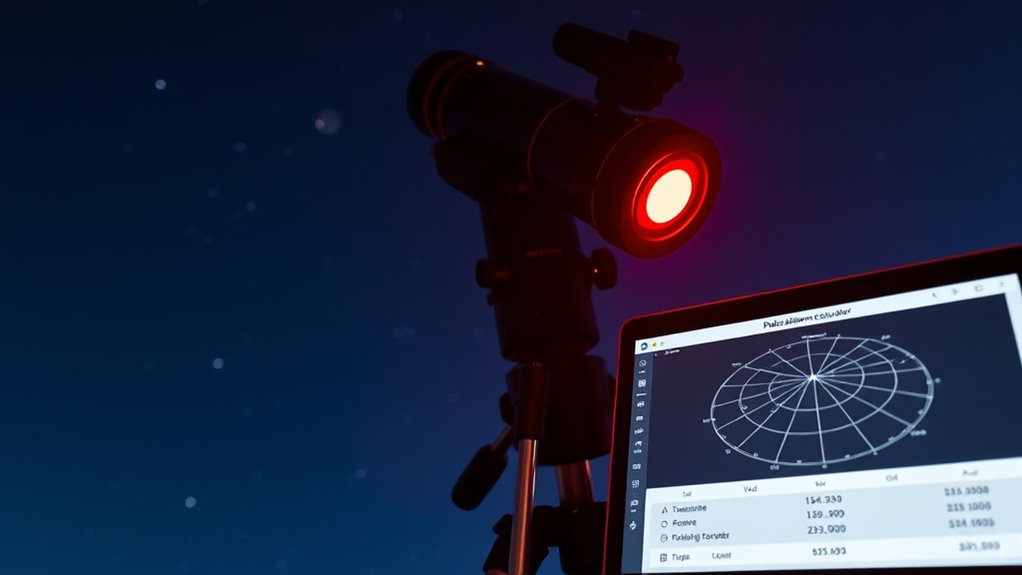
Interpreting Calibration Results
Are your calibration results indicating accurate polar alignment, or is there room for improvement? If your results show minimal deviation values, your equatorial mount is well aligned, and star tracking should be smooth with minimal drift. Significant errors suggest misalignment, requiring adjustments to your mount’s altitude or azimuth. Pay attention to the direction and magnitude of the calibration offset; small, consistent deviations are normal, but large or inconsistent ones mean you need to refine your setup. Use the calculator’s feedback to fine-tune your polar alignment process. Proper interpretation ensures you get the most precise star tracking, reducing star trails during long exposures. Remember, accurate calibration leads to better imaging and easier tracking, so take time to analyze your results carefully. Understanding calibration feedback can help you make more precise adjustments for optimal results.
Comparing Common Polar Alignment Methods and Their Accuracy
When selecting a polar alignment method, understanding their accuracy differences is essential for achieving precise astrophotography and star tracking. Some methods, like drift alignment, offer high precision but require more time and patience. Others, such as the polar scope, provide quick setup with acceptable accuracy for casual observing. Keep in mind that the effectiveness of mount alignment directly impacts star tracking and long-exposure images. To compare, consider these factors:
- Drift alignment yields the highest accuracy but is time-consuming.
- Using a polar scope offers a balance between speed and precision.
- Software-assisted methods can improve accuracy with less manual effort.
Choosing the right method depends on your equipment, experience, and desired results. Accurate mount alignment ensures better star tracking and sharper astrophotos, making the effort worthwhile.
Troubleshooting Common Issues When Using the Calculator

Even with a reliable polar alignment calculator, users can encounter common issues that hinder accurate results. One frequent problem is improper mount calibration, which causes misaligned readings and inaccurate adjustments. Regular equipment maintenance is essential; dirt, loose screws, or worn parts can affect mount stability and sensitivity. Double-check your mount’s calibration before using the calculator, ensuring it’s level and correctly aligned with the celestial pole. Also, verify that all mounting components are secure and functioning properly. Inconsistent readings often stem from equipment drift or mechanical issues, so perform routine maintenance to minimize errors. If results seem off, recalibrate the mount, clean optical and electronic components, and confirm that the calculator’s input data matches your setup. Proper maintenance and calibration are key to troubleshooting these common issues effectively. Additionally, understanding polar alignment techniques can help diagnose and correct persistent problems for more reliable astronomy observations.
Tips for Achieving Precise Polar Alignment in Practice
Achieving precise polar alignment requires careful attention to detail and consistent practice. To improve your alignment accuracy, focus on the polar star as your reference point. Guarantee your mount is level and stable before making adjustments. Use a high-quality finder scope or reticle for pinpoint accuracy.
Achieve better polar alignment by focusing on the polar star and ensuring your mount is stable and level.
To enhance your results, consider these tips:
- Use a reticle eyepiece to center the polar star precisely.
- Make small, incremental adjustments rather than large movements.
- Regularly verify your alignment, especially if you notice tracking errors.
The Importance of Proper Alignment for Astrophotography
Proper alignment directly impacts the quality of your astrophotography images. When your equipment isn’t well-aligned, you’ll face alignment challenges that cause star trails or blurred targets. Accurate polar alignment ensures your mount tracks celestial objects smoothly, reducing the need for extensive post-processing. Poor alignment can waste valuable imaging time and result in subpar results. Regular equipment calibration is essential to maintain precision, especially as your gear ages or if you move setups frequently. Even slight misalignments contribute to image distortions, so investing effort in proper alignment pays off with sharper, more detailed photos. Remember, the key to successful astrophotography lies in minimizing alignment challenges through careful setup and calibration, maximizing your equipment’s potential for stunning, clear images.
Additional Resources and Tools for Improving Your Alignment Skills
Looking for ways to enhance your polar alignment skills? Several resources and tools can help you refine your technique. First, practice with your mount adjustment to achieve precise positioning, reducing errors over time. Second, use a quality polar scope to make accurate alignments, especially in low-light conditions. Third, explore smartphone apps designed for polar alignment, which can guide you through the process step-by-step. Additionally, online tutorials and forums offer valuable tips and troubleshooting advice. Consider investing in a polar alignment reticle or software that analyzes your star patterns for better accuracy. Combining these resources can markedly improve your skills, leading to sharper astrophotos and more successful observations. Keep practicing and utilizing these tools to master your polar alignment process.
Frequently Asked Questions
Can the Calculator Accommodate Different Telescope Mount Types?
Yes, the calculator accommodates different mount types, allowing you to select your specific mount for accurate results. You should also consider your mount type when setting the calibration frequency, ensuring precise polar alignment. By choosing the correct mount type, you help the calculator provide tailored recommendations, making your alignment process smoother and more accurate. Always update your calibration frequency based on your mount’s stability and usage to maintain peak performance.
Is the Calculator Suitable for Use at Any Latitude?
Yes, the calculator is suitable for use at any latitude, offering great latitude flexibility and global applicability. You can input your specific location regardless of where you are, ensuring accurate polar alignment guidance. This makes it a versatile tool for amateur astronomers worldwide, whether you’re near the equator or at higher latitudes. Its design accommodates various geographic settings, helping you achieve precise polar alignment no matter your position on the globe.
How Often Should I Recalibrate My Alignment Using the Tool?
You should recalibrate your alignment using the tool whenever you notice your telescope isn’t tracking stars accurately, which can happen due to temperature changes or slight shifts. Typically, an alignment frequency of once a month works well for most amateur astronomers. However, if you move your setup frequently or experience significant environmental changes, consider recalibrating more often to maintain ideal accuracy. Regular recalibration ensures precise polar alignment and better observing sessions.
Does the Calculator Account for Atmospheric Refraction Effects?
Think of atmospheric effects as a whisper that subtly shifts celestial positions. The calculator does include a refraction correction, adjusting for atmospheric effects that can skew your polar alignment. This means it accounts for how light bends through Earth’s atmosphere, helping you achieve more precise results. So, you can trust that your alignment considers these atmospheric nuances, ensuring your telescope’s tracking is spot-on, even when the sky plays tricks on your view.
Can I Use the Calculator for Solar or Lunar Observations?
You can use the calculator for solar and lunar observations, but keep in mind it’s primarily designed for polar alignment. For precise solar observations, consider factors like the Sun’s position and atmospheric effects. Lunar observations also benefit from accurate alignment. While the calculator aids in setup, you might need additional tools or adjustments to optimize your viewing of the Sun or Moon. Always double-check with current celestial data for best results.
Conclusion
Mastering the polar alignment methods calculator can transform your astrophotography from blurry stars to stunning, pinpoint-perfect images. With just a few clicks, you’ll discover cosmic precision that makes the universe itself seem to bend to your will. Imagine capturing celestial wonders with such clarity, they look like they’re within arm’s reach. Keep practicing, and soon you’ll be the astronomer who commands the night sky—your perfect alignment opening portals to endless cosmic beauty.