To master calibration frames, start by capturing darks to remove sensor noise, flats to correct uneven illumination, and biases for readout noise. Keep your equipment stable and consistent during each capture, organize your files carefully with clear labels, and store them securely. In post-processing, subtract darks and biases, then use flats to even out imperfections. If you want to improve your astrophotography results, you’ll find valuable tips as you explore further.
Key Takeaways
- Understand the purpose and differences of dark, flat, and bias frames in correcting sensor noise and optical imperfections.
- Follow best practices for capturing calibration frames, including consistent temperature and proper exposure settings.
- Organize and label calibration data systematically, storing files securely with descriptive metadata.
- Apply calibration frames correctly during post-processing to remove noise, vignetting, and light pollution effects.
- Regularly back up calibration files and maintain a clear workflow to ensure calibration accuracy across sessions.
Understanding Calibration Frames and Their Purpose
Calibration frames are essential tools in astrophotography because they help correct and improve your raw images. They specifically target issues like sensor noise and light pollution, which can distort your captures. Sensor noise, caused by the camera’s electronics, appears as random specks that obscure faint details. Calibration frames like darks and biases help reduce this noise, ensuring cleaner images. Light pollution, from artificial lights, adds unwanted glow that can wash out your target. Flats are particularly useful here; they correct uneven illumination caused by light pollution or vignetting. By applying these calibration frames, you’re effectively removing sensor imperfections and background light, giving you sharper, more accurate astrophotos. Understanding their purpose is key to achieving professional-quality images.
Gathering the Necessary Equipment and Setting Up
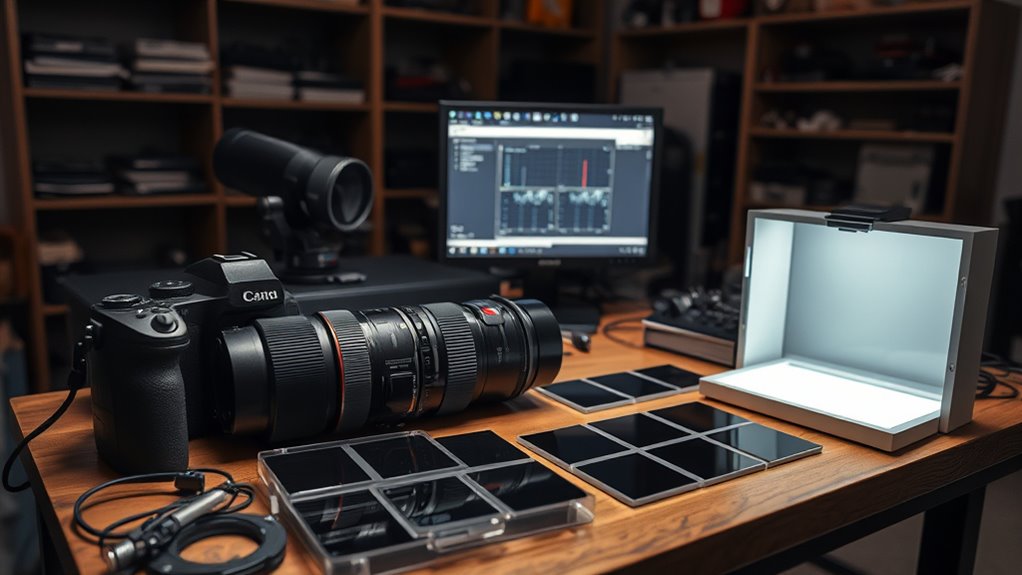
To effectively gather the equipment you need, start by assembling your camera, lens, and telescope (if applicable), along with a sturdy tripod or mount that can support your gear securely. An organized equipment checklist guarantees you don’t forget essential items. Equally important is preparing your setup environment: choose a dark, dust-free space with stable surfaces and minimal vibrations. Incorporating proper calibration techniques ensures high-quality astrophotography results. Consider these essentials: – Light source for flats – Remote shutter release or intervalometer – Power supplies and backup batteries – Light-blocking covers for your camera Make sure your workspace is clean and free of stray light. Proper setup environment and well-prepared equipment are indispensable for capturing high-quality calibration frames efficiently.
Capturing Calibration Frames: Best Practices for Darks, Flats, and Biases
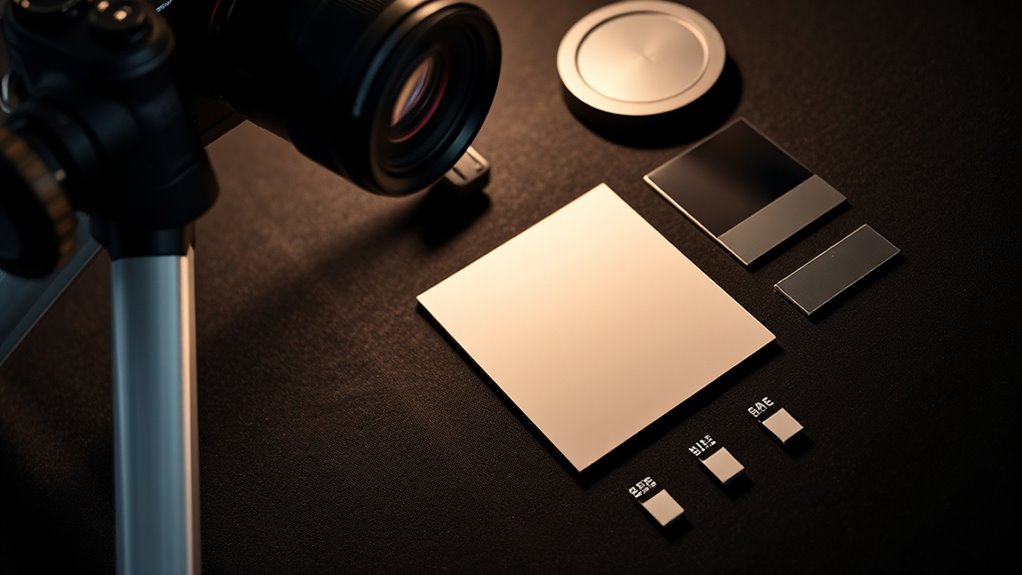
Once your equipment is set up and your environment is prepared, capturing high-quality calibration frames requires careful attention to detail. Confirm your sensor temperature remains consistent, especially for dark frames, to prevent temperature-related noise. Use a reliable method to set and maintain this temperature throughout your session. For flats, take them with the same optical train and filter as your light frames, using even illumination, and match exposure timing to avoid over- or underexposure. Bias frames should be captured with the shortest possible exposure, ideally zero seconds, to record the camera’s readout noise. Keep your camera’s temperature stable, and avoid changes between captures. Consistency in sensor temperature and precise exposure timing are key to creating effective calibration frames that will improve your image calibration process. Additionally, be aware of potential AI vulnerabilities that could impact your equipment’s calibration accuracy if relying on automated systems.
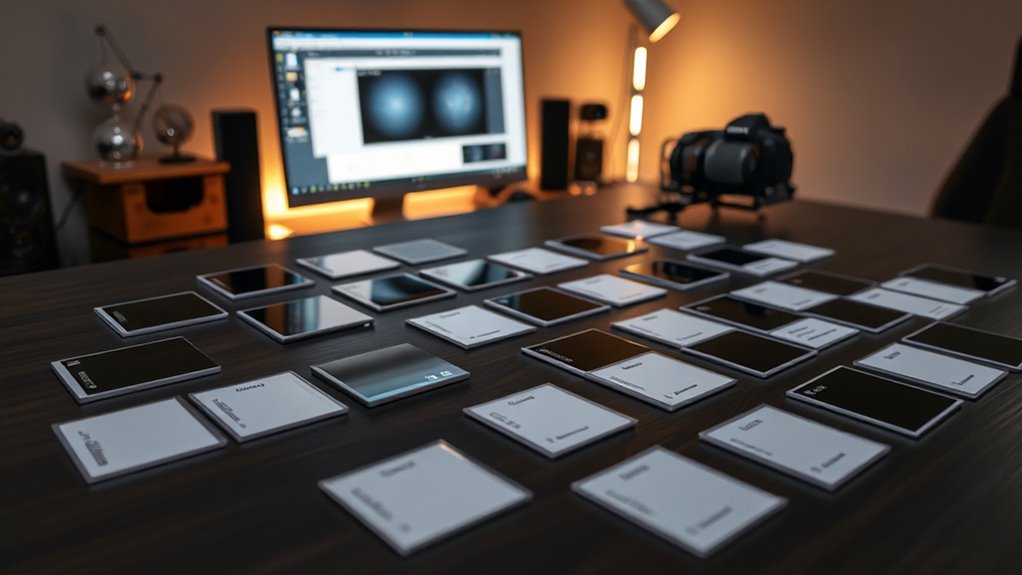
Organizing and Storing Calibration Data Effectively
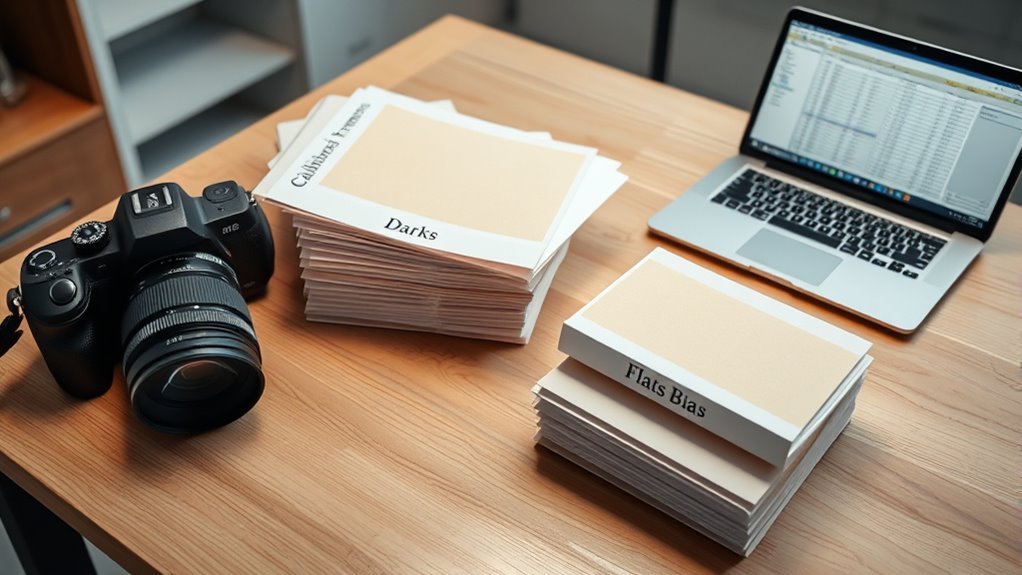
Organizing and storing calibration data properly is essential to guarantee you can easily locate and use the frames when processing your images. Effective data management saves time and prevents frustration during post-processing. Choose reliable storage solutions such as external drives, cloud storage, or dedicated NAS systems. Consistently label your files with clear, descriptive names that include date, type, and exposure details. Create a logical folder hierarchy for darks, flats, and biases to streamline access. Regularly back up your calibration frames to avoid data loss. Use standardized naming conventions and keep an inventory of your calibration data to ensure quick retrieval. Additionally, understanding the contrast ratio of your projector can significantly impact the perceived sharpness and clarity of your images, making proper calibration even more crucial. Good organization ensures your calibration frames remain accessible, improving overall workflow and image quality.
Applying Calibration Frames in Post-Processing to Enhance Image Quality
Applying calibration frames during post-processing considerably improves your final images by removing unwanted artifacts and inconsistencies. Bias and dark frames effectively reduce sensor noise, which can obscure faint details, while flat frames correct uneven illumination caused by light pollution and optical imperfections. When you subtract bias and dark frames, you eliminate hot pixels and thermal noise, resulting in cleaner data. Using flat frames balances brightness across your image, minimizing the effects of light pollution and vignetting. This process ensures that your final image displays accurate color and brightness levels, revealing more detail in astrophotography. Properly utilizing calibration frames during post-processing is essential for producing high-quality images with minimal noise and artifacts, giving your astrophotos a professional, polished appearance. Incorporating these calibration techniques also helps maintain consistent image quality across multiple exposures, especially when working with variable conditions.
Frequently Asked Questions
How Often Should Calibration Frames Be Recalibrated for Optimal Results?
You should recalibrate your frames whenever your sensor temperature changes substantially or if light pollution conditions shift. Typically, recalibrate weekly or after any major temperature fluctuations to maintain ideal results. Keep in mind that consistent sensor temperature helps reduce noise, and adjusting calibration frames ensures they accurately match current conditions, especially when light pollution varies. Regular recalibration keeps your images sharp and free of artifacts.
What Are Common Mistakes to Avoid When Capturing Calibration Frames?
You might think capturing calibration frames is straightforward, but forget proper alignment, and you’ll introduce sensor noise or uneven calibration. Avoid rushing through the process, as improper alignment ruins darks, flats, and bias frames. Don’t forget to keep your camera steady, use consistent settings, and double-check your setup. Overlooking these details can lead to frustrating results, proving that careful technique beats hurried shortcuts every time.
Can Calibration Frames Be Reused Across Different Imaging Sessions?
Yes, calibration frames can be reused across different imaging sessions, but their lifespan varies. To guarantee quality, you should follow reuse best practices by storing frames properly and verifying their consistency before reuse. Avoid reusing outdated calibration frames, especially if conditions change or the frames show signs of degradation. Regularly update your calibration frames to maintain ideal image calibration and avoid introducing errors into your data.
How Do Temperature Variations Affect Calibration Frame Quality?
Did you know that temperature fluctuations as small as 5°C can increase sensor noise by up to 20%? Temperature variations directly impact calibration frame quality, causing inconsistent dark and flat corrections. When temperature stability isn’t maintained, calibration frames become less reliable, leading to increased noise in your images. To guarantee the best results, keep your camera at a consistent temperature, reducing sensor noise and improving calibration accuracy.
What Software Tools Are Best for Automating Calibration Frame Application?
You should use automation software like PixInsight or AstroImageJ, which offer built-in tools for calibration frame application. Pair them with scripting tools such as Python or Bash to streamline your workflow. These enable you to automate the calibration process, reducing manual effort and errors. By scripting and using automation software, you can efficiently apply darks, flats, and bias frames, ensuring consistent and high-quality results with minimal intervention.
Conclusion
Mastering calibration frames can improve your astrophotography significantly—studies show that proper calibration reduces image noise by up to 30%. By understanding, capturing, and applying darks, flats, and biases correctly, you’ll see clearer, more detailed images of the night sky. Keep your calibration data organized and consistent to maximize results. With these techniques, you’ll transform your astrophotography from good to extraordinary, revealing stunning celestial details that captivate and inspire.