
To fix light pollution and remove gradients from your astrophotos, start by identifying uneven brightness and color shifts caused by city lights. Use tools like PixInsight’s DBE, Astro Pixel Processor, or Photoshop’s gradient tools to carefully eliminate these unwanted effects. During capture, use filters and ideal settings to prevent gradients upfront. For the best results, learn advanced post-processing techniques—stick with it, and you’ll discover how to restore your sky’s natural brilliance as if light pollution never happened.
Key Takeaways
- Use gradient detection techniques like histogram analysis and gradient masking to identify uneven brightness caused by light pollution.
- Apply specialized tools such as PixInsight’s DBE or Astro Pixel Processor for precise gradient removal in post-processing.
- Incorporate filters and optimal camera settings during capture to minimize light pollution effects upfront.
- Utilize post-processing methods like Curves, Levels, and masking in Photoshop to balance sky brightness and remove gradients.
- Plan shooting conditions and equipment choices carefully to prevent light pollution gradients in future astrophotography sessions.
PixInsight DBE astrophotography software
As an affiliate, we earn on qualifying purchases.
As an affiliate, we earn on qualifying purchases.
What Light Pollution Is and How It Affects Your Night Sky Photos
Sure! Here’s your updated content with the requested adjustments:
—
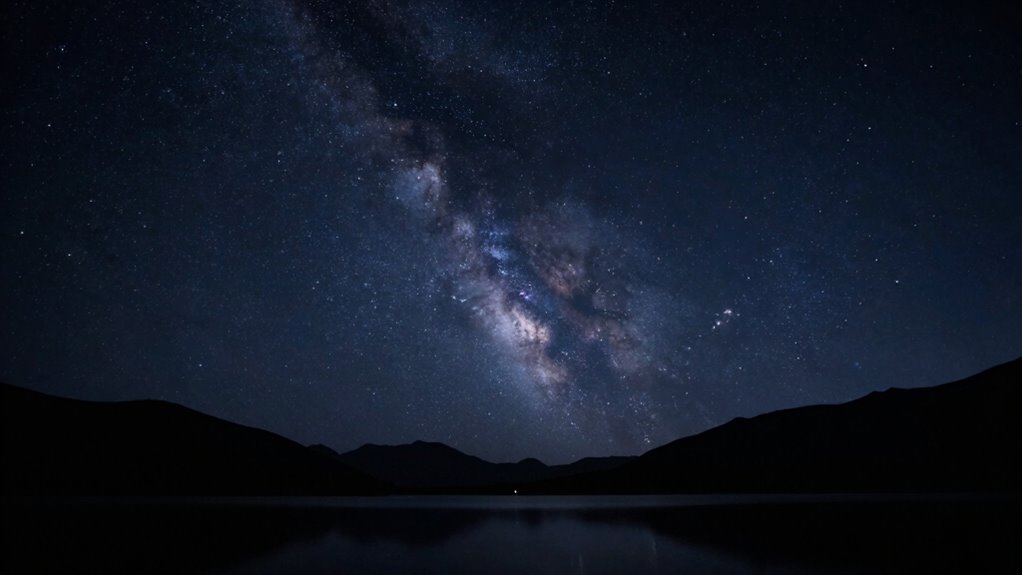
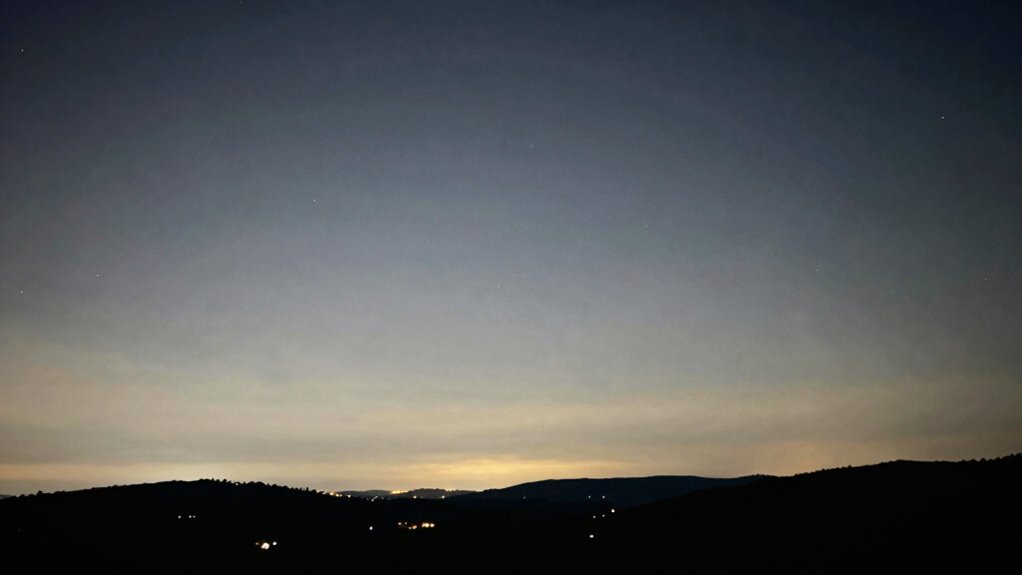
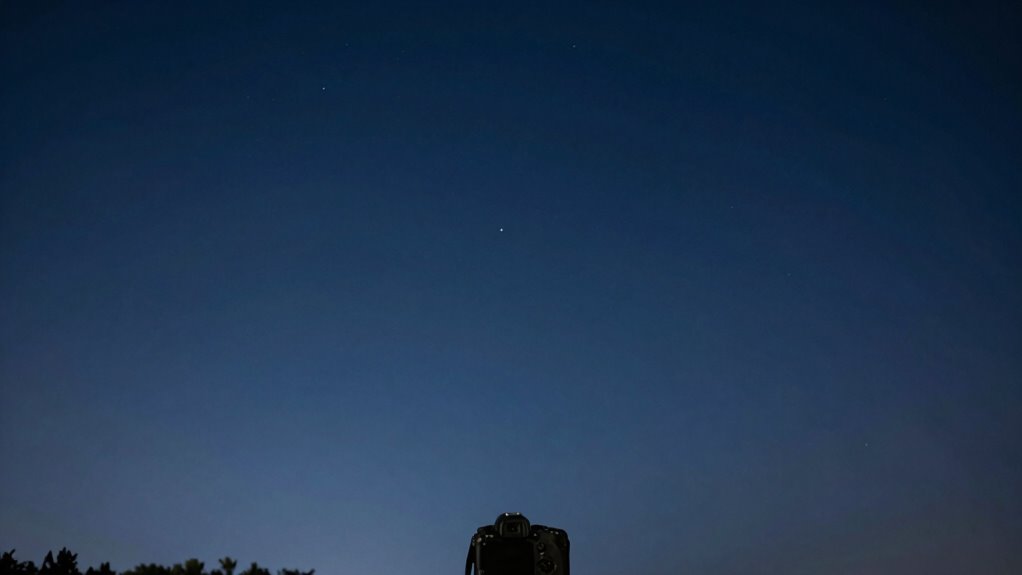
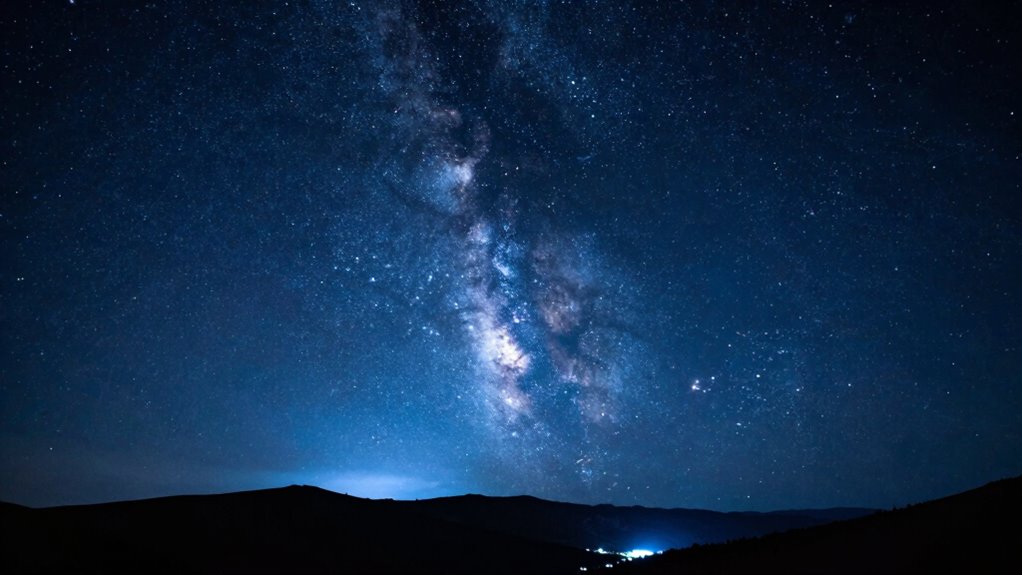
Have you ever noticed how the glow of city lights washes out the stars in your night sky photos? That’s a result of skyglow effects caused by urban light intrusion. When you shoot under a brightly lit city, the ambient light bounces off the atmosphere, creating a diffuse glow that obscures celestial details. This skyglow creates uneven brightness, often manifesting as a gradient across your images, making the night sky appear washed out or hazy. Urban light intrusion doesn’t just reduce star visibility; it also introduces unwanted brightness variations, complicating post-processing. Understanding how light pollution affects your photos is essential. It helps you recognize when skyglow is impacting your images and guides you to take steps to minimize its effects for cleaner, more stunning astrophotos. Additionally, achieving high contrast ratios in your images can significantly improve the clarity and depth of the night sky. The best way to combat light pollution is to shoot during optimal seasons when natural darkness is more prevalent, as these periods align with ideal astrophotography conditions.
—
Let me know if you need any further adjustments!

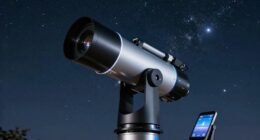
3 Packs Camera Lens Filter Wrench Kit, CPL UV ND Filter Removal Wrench Tool Set, Fit 37mm-52mm 55mm-72mm 77mm-95mm Lens Thread for Canon Nikon Sony Fujifilm Olympus Panasonic and Other Camera
Filter Wrench is specially designed for removing jammed or over-tightened filters from your lens. The filter wrench is…
As an affiliate, we earn on qualifying purchases.
As an affiliate, we earn on qualifying purchases.
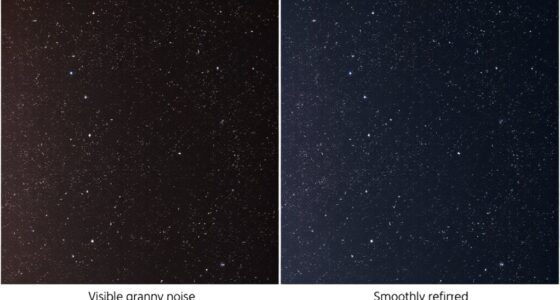
How to Recognize Gradients in Your Astrophotos
To identify gradients in your astrophotos, start by looking for uneven brightness across the image, which often appears as a smooth, gradual change in light levels. Pay attention to color shifts or shifts in hue that don’t match the natural sky, indicating a color gradient. Recognizing these signs early allows you to correct them before they affect your final image quality. Additionally, understanding the importance of early socialization and training can help you develop a more discerning eye for details in your photography. Incorporating Victorian steampunk aesthetics into your approach can also enhance your overall photographic experience by minimizing distractions from environmental factors. Utilizing landscaping to enhance natural beauty in your surroundings can further improve your photographic environment by providing a more visually appealing backdrop. Using proper car protection accessories can also enhance your overall photographic experience by minimizing distractions from environmental factors. Furthermore, using an online tool to detect passive voice in your writing can help you create clearer and more engaging descriptions of your photos.
Spotting Uneven Brightness
Sure, here’s the revised content with the requested changes:
—
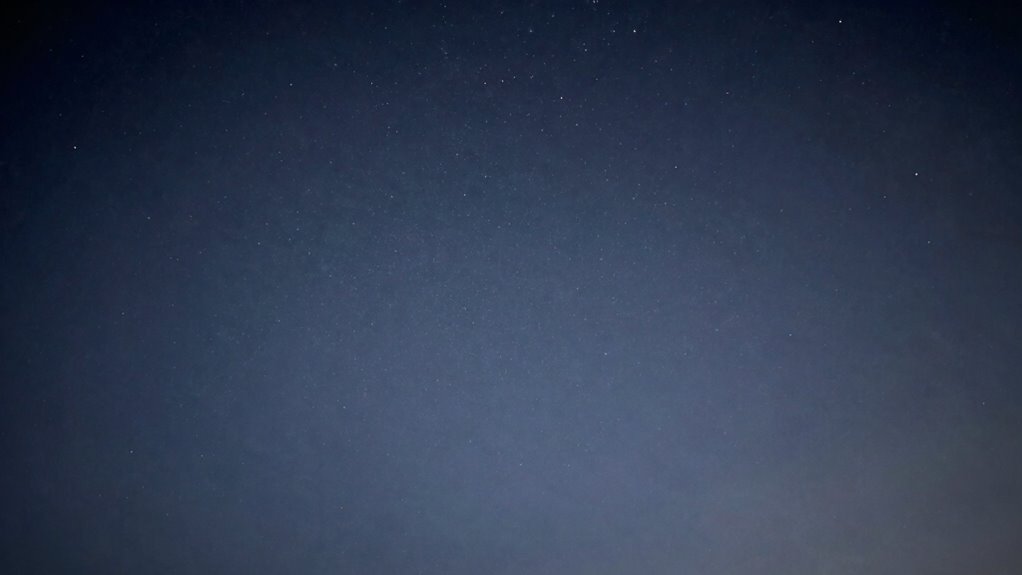
Ever notice a strange shading or uneven brightness across your astrophotos? That’s a sign of uneven brightness often caused by gradients. Look closely at your image: if some areas appear brighter or darker without a natural reason, it’s likely a gradient. Pay attention to color imbalance, which can make certain sections look off, and watch for exposure inconsistencies, like parts of the photo appearing overexposed or underexposed. These issues create a visible shift in brightness across the frame. Spotting these uneven patches early helps you identify where light pollution or optical issues have affected your shot. Recognizing these subtle differences is key to fixing the problem before they become more difficult to correct in post-processing. Additionally, understanding essential oils’ properties can enhance your overall well-being, allowing you to enjoy the night sky even more. Using proper equipment ensures that your astrophotography setup minimizes the impact of light pollution, making your images clearer and more vibrant. Moreover, considering flywheel performance can significantly improve your vehicle’s efficiency, making it easier to travel to remote locations for stargazing. Implementing risk management strategies for your investments can help you focus on enjoying the stars without financial stress. Engaging with cultural festivals can help you appreciate the serene night sky free from urban light pollution.
—
Let me know if you need any more adjustments!
Recognizing Color Gradients
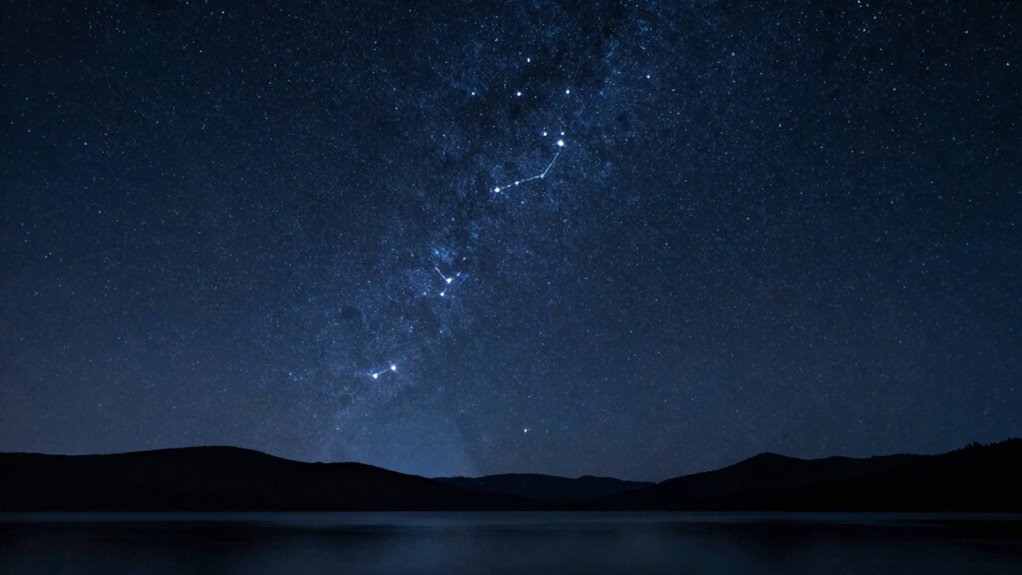
Recognizing color gradients in your astrophotos requires careful attention to subtle shifts in hue across the image. Look for areas where the color temperature changes gradually, creating a smooth transition from warm to cool tones. These shifts often indicate light pollution or uneven illumination. Use gradient masking techniques to identify the areas affected, focusing on regions with inconsistent coloring. Additionally, emerging trends in digital publishing can provide innovative methods for enhancing image quality. Engaging in practices that reduce digital distractions can also help you maintain focus when editing.
To spot these gradients:
- Observe color shifts across the sky, noting any unnatural hue transitions.
- Check for areas where brightness seems uniform but color varies subtly.
- Use histograms to detect uneven color distribution.
- Examine the image at different zoom levels to reveal faint gradients that might be missed otherwise.
Recognizing these signs helps you target the right areas for correction. Additionally, understanding color balance techniques can enhance your ability to adjust and refine your astrophotos effectively.

K&F CONCEPT 77mm Clear Natural Night Filter 28 Multi-Layer Coatings Light Pollution Reduction Filter for Night City Sky Star Shots, No Color Cast (Nano-X Series)
Reduces light pollution, creating Crystal clear night skies.
As an affiliate, we earn on qualifying purchases.
As an affiliate, we earn on qualifying purchases.
Prevent Light Pollution Gradients During Your Night Sky Shots
To prevent light pollution gradients in your night sky shots, start by adjusting your camera settings to minimize unwanted light. Using proper exposure and ISO can make a big difference in keeping the sky even and clear. Additionally, applying light pollution filters can block out artificial glow and help maintain uniformity across your images. Exploring AI trends in photography can also provide innovative ways to enhance your night sky captures. Incorporating whole-home water systems can also help to ensure your shooting location is free from environmental distractions. Using a world clock tool can assist you in planning your shoots at optimal times for capturing the best celestial views. Embracing Italian gelato culture can offer a refreshing treat after a long night of shooting under the stars. Choosing the right best garage door openers also contributes to a secure environment, minimizing disturbances during your photography sessions.
Use Proper Camera Settings
Have you ever noticed uneven brightness or darkening across your night sky photos? This often results from improper camera settings. To prevent light pollution gradients, focus on using correct camera techniques and exposure settings. Here are four key steps:
- Use a low ISO to reduce noise and avoid amplifying light pollution.
- Set a wide aperture (f/2.8 or lower) to gather as much light as possible.
- Keep exposure times short—around 15-30 seconds—to prevent star trails and uneven illumination.
- Manually adjust your focus to infinity for sharp stars and consistent brightness.
Employ Light Pollution Filters
Light pollution filters are essential tools for minimizing unwanted artificial glow that can cause gradients in your night sky photos. These filters help block specific wavelengths of artificial light, reducing light pollution’s impact and enhancing your image’s overall quality. When selecting a filter, consider its effectiveness in light pollution reduction and its influence on color correction; the right filter will preserve natural sky colors while controlling gradients. Proper filter selection allows you to capture cleaner, more balanced images, especially in urban or suburban settings. Additionally, understanding color matching can enhance your ability to style your shots effectively. Remember that using high-quality gear is crucial for achieving optimal results; some filters may slightly alter the color balance, so test different options to find one that best suits your camera and shooting conditions. Using these filters effectively minimizes gradients, resulting in sharper, more natural night sky photographs. Additionally, investing in top chamber vacuum sealers can help preserve your photographic prints by ensuring they remain in pristine condition.

HOYA 67mm STARSCAPE Light Pollution Astrophotography Filter – Didymium Glass with Enhanced HMC Multicoating Technolgy – Boost Star-to-Sky Contrast – Reduce Night City Sky Color Cast
BLOCKS LIGHT POLLUTION FOR CRISP, CLEAN NIGHT SHOTS – The Starscape 67 mm lens filter cuts unwanted yellow-orange…
As an affiliate, we earn on qualifying purchases.
As an affiliate, we earn on qualifying purchases.
Best Tools for Removing Gradients in Astrophotography
Removing gradients in astrophotography can be challenging, but luckily, there are several effective tools designed specifically for this task. These tools help you achieve better color balance and noise reduction while fixing uneven sky brightness.
- PixInsight: Offers powerful gradient removal scripts like Dynamic Background Extraction (DBE), ideal for precise background corrections.
- APP (Astro Pixel Processor): Automates gradient removal with tools that enhance color balance and reduce noise without losing detail.
- MaxIm DL: Provides gradient elimination features combined with noise reduction options to improve overall image quality.
- Pixlr: A user-friendly online tool that allows quick gradient corrections, helping you balance colors and minimize noise efficiently.
These tools streamline the process, ensuring your astrophotos look natural and clean.
How to Remove Gradients With Photoshop
| Technique | Purpose | Best for |
|---|---|---|
| Gradient Tool | Blending uneven backgrounds | Large gradient areas |
| Clone Stamp | Removing localized light pollution | Small spots |
| Curves/Levels | Tone balancing | Overall brightness |
| Color adjustment | Match sky colors | Color consistency |
| Feathering | Smooth shiftings | Gradient blending |
This approach leverages color theory and gradient blending for natural results.
Using PixInsight’s DynamicBackgroundExtraction Effect
PixInsight’s DynamicBackgroundExtraction (DBE) tool offers a powerful way to correct uneven backgrounds in astrophotography images. It effectively reduces sky glow caused by light scatter and light pollution, creating a cleaner, more natural look. To get started, you’ll:
- Identify areas with uneven brightness caused by light pollution.
- Sample multiple points across the background, avoiding stars and bright objects.
- Adjust the sample points to ensure they reflect the true background, not light scatter.
- Run the DBE process to remove gradients, leaving a smooth, neutral background.
This technique is highly precise, allowing you to target specific regions affected by sky glow. With careful sampling, you’ll notably improve your image’s overall quality, fixing the effects of light pollution without sacrificing detail.
Troubleshooting Common Gradient Removal Issues
Even with careful sampling and adjustments using the DynamicBackgroundExtraction (DBE) tool, you might encounter issues like residual gradients or uneven backgrounds lingering in your image. These problems can be caused by imperfect color calibration or sensor noise, which complicate gradient removal. To troubleshoot, start by reviewing your calibration frames to *guarantee* accurate color calibration, as poor calibration can lead to uneven backgrounds. Also, check for sensor noise that might be affecting the gradient correction process. If residual gradients persist, consider refining your sampling points, especially in areas with high noise or color inconsistency. Sometimes, applying gentle smoothing or noise reduction prior to gradient removal helps. Patience and precise adjustments are key to achieving a clean, evenly toned background.
Enhance Your Images After Removing Light Pollution Gradients
Once you’ve successfully removed light pollution gradients, the next step is to enhance your image to bring out its full detail and depth. Focus on color blending and exposure balancing to create a more vibrant, natural look. Here’s how:
After removing light pollution gradients, enhance your image with color blending and exposure balancing for a vibrant, natural night sky.
- Adjust exposure levels to ensure the background isn’t too bright or too dark, revealing more star details.
- Use color blending techniques to harmonize muted or uneven colors, making the night sky pop.
- Fine-tune contrast to emphasize subtle features without oversaturating.
- Sharpen key areas to improve texture and clarity, revealing faint celestial structures.
These steps help your image look balanced and lively, making the celestial details stand out vividly after gradient removal.
Tips for Preventing Gradients in Future Shots
To prevent gradients from appearing in your astrophotography shots in the first place, it’s important to plan your captures carefully. Use star trail techniques to evenly expose the sky, reducing the chance of uneven light distribution. Pay attention to moon phase considerations; shooting during a new moon minimizes natural light pollution that can create gradients. Schedule your sessions when the moon is below the horizon or in its waning phase, so moonlight doesn’t wash out your images. Keep your camera settings consistent and avoid abrupt changes in exposure or ISO, which can introduce gradients. Also, consider using a light pollution filter if necessary. Proper planning helps achieve more uniform images and reduces the need for extensive post-processing to fix gradients.
Maintaining Natural Colors When Correcting Light Pollution
When correcting light pollution in astrophotography images, it’s essential to preserve the natural colors of the night sky. Proper color calibration ensures that stars, nebulae, and the Milky Way retain their true hues, preventing artificial color shifts. To achieve this, consider these steps:
- Adjust the color balance so that the sky brightness appears natural, not overly washed out or tinted.
- Use reference stars to calibrate colors, matching their known hues for accuracy.
- Minimize overcorrection, which can distort colors and make the sky look unnatural.
- Apply subtle adjustments to maintain the authentic contrast between dark regions and bright celestial objects.
Frequently Asked Questions
Can Gradient Removal Improve Overall Image Contrast?
Yes, gradient removal can improve your overall image contrast by balancing uneven light distribution caused by light pollution. When you remove gradients, you enhance the image tone, making details more visible and reducing distracting brightness variations. This contrast enhancement results in a cleaner, more natural look. By tackling light pollution effects directly, you help your image achieve a clearer, more vibrant appearance, emphasizing the details you want viewers to notice.
Are There Specific Settings for Different Light Pollution Types?
Yes, you should adjust gradient correction settings based on the type of light pollution you’re dealing with. For instance, low-angle city lights may need stronger gradient removal, while skyglow requires subtle adjustments. You can customize tools like curves or gradient filters in your editing software to target specific light pollution. Experiment with these settings to effectively reduce light pollution, ensuring your images look natural and clear without harsh artifacts.
How Do Gradients Affect Star Color Accuracy?
Gradients can considerably impact your star color accuracy by causing color distortion and brightness imbalance. When gradients are present, they often mask or alter the true colors of stars, making them appear washed out or unnaturally tinted. By effectively removing these gradients, you restore the natural brightness and color balance, ensuring your star colors are accurate. This process helps your astrophotography look more true-to-life and detailed.
Is Gradient Removal Suitable for Beginner Astrophotographers?
Gradient removal is suitable for beginner astrophotographers because it’s straightforward and can considerably improve your images. Using calibration frames like darks, flats, and biases helps guarantee better results, reducing artifacts. Many software options for gradient removal are beginner-friendly and compatible with popular image-processing tools. This technique enhances star color accuracy and overall image quality, making your astrophotography more professional-looking without requiring advanced skills.
Can Automated Tools Replace Manual Gradient Correction?
Automated tools can handle 80% of gradient correction, but they don’t always match manual techniques’ precision. Think of software comparison as choosing between a quick fix and a tailored solution; automation speeds up the process, yet manual correction offers more control over subtle nuances. While automated tools are great for beginners, advanced astrophotographers still prefer manual techniques for flawless results. Remember, sometimes a personal touch beats a one-size-fits-all approach.
Conclusion
Think of removing light pollution gradients like peeling back layers of fog to reveal the true night sky beneath. With the right techniques and tools, you can clear away unwanted light and restore your images to their natural beauty. Keep experimenting, troubleshoot issues, and fine-tune your approach. Soon, your astrophotos will shine as brightly as the stars themselves, capturing the cosmic wonder that’s been hiding behind the haze all along.