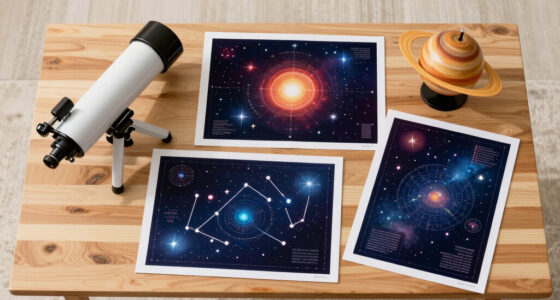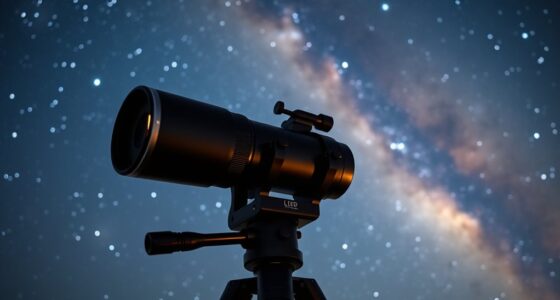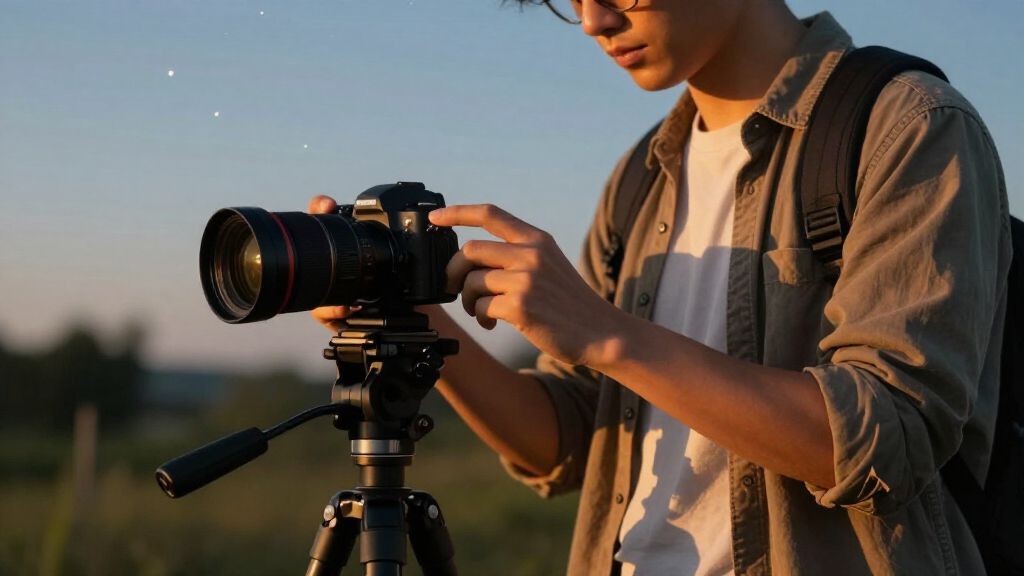
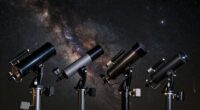
Welcome to your ultimate astrophotography gear checklist for 2026! Whether you’re a beginner eager to capture stunning night sky images or a seasoned astrophotographer refining your setup, this guide is tailored for you. We’ve curated essential equipment, highlighting trusted options to help you make informed choices and avoid common pitfalls.

Prime made for students and young adults
- Fast, free delivery for dorm and study essentials
- Prime Video and Amazon Music included
- Member-only deals
This article is organized into key categories: telescopes, cameras, mounts, filters, power sources, and software. Each section explains why the item matters, what to look for, and how to select the best fit for your needs. Use this as a practical reference to build or upgrade your astrophotography kit, ensuring you’re well-prepared for your next celestial adventure.
To get started, identify your specific goals—whether capturing deep-sky objects or planetary details—and consider your budget and space. Read through each section carefully, pay attention to the recommended features, and use the verdicts and best-for notes to guide your decisions. Happy stargazing!
Telescope Selection
Your telescope is the core of your astrophotography setup. The Celestron NexStar 8SE offers a versatile Schmidt-Cassegrain design, perfect for both planetary and deep-sky imaging. Its computerized mount allows for easy target acquisition, which is especially helpful for beginners and advanced users alike. When choosing a telescope, consider aperture size, optical quality, and compatibility with your camera equipment. Larger apertures gather more light, revealing fainter objects, but also add weight and cost. Make sure your mount can support the weight and size of your telescope to prevent stability issues during long exposures.
Common mistakes include overlooking the importance of the mount’s tracking accuracy or choosing a scope that doesn’t fit your target objects. Check the compatibility of your camera with the telescope’s focuser and ensure the overall setup suits your preferred astrophotography style. Proper calibration and maintenance are essential for consistent results, so factor in any additional accessories needed for optimal performance.
What to look for:
- Aperture size of at least 8 inches for deep-sky imaging
- Compatibility with your camera’s mount interface
- Computerized or GoTo capabilities for ease of use
- Stable, sturdy mount supporting the telescope’s weight
- Ease of setup and transportation
Celestron NexStar 8SE Computerized Telescope – Schmidt-Cassegrain

The Celestron NexStar 8SE is a 8-inch Schmidt-Cassegrain telescope featuring a fully automated GoTo mount and SkyAlign technology for quick and precise celestial observations. Its large aperture captures detailed lunar, planetary, and deep-sky objects, making it ideal for amateur astronomers seeking ease of use and powerful performance.
Pros:
- Large 8-inch aperture provides detailed views of celestial objects
- Fully automated GoTo system with SkyAlign for quick setup
- Compact and portable design
Cons:
- Requires initial alignment for optimal use
- Higher price point for beginner astronomers
- Setup may be complex for absolute beginners
Best for: Deep-sky and planetary imaging
Not ideal for: Compact travel setups or beginner-only scopes
Bottom line: Choose a telescope that balances aperture, stability, and compatibility.
Camera Equipment
The camera is your window to the universe, capturing the intricate details of celestial objects. The ZWO ASI183MC Pro offers high resolution and excellent color accuracy, making it a popular choice among astrophotographers. When selecting a camera, consider sensor size, resolution, and sensitivity to light. CMOS sensors like the one in this model excel in low-light conditions, which is essential for astrophotography. Compatibility with your telescope’s focuser and software is also critical, so verify connections and interfaces before purchasing.
Many beginners make the mistake of choosing a camera with insufficient resolution or poor sensitivity, leading to disappointing results. Additionally, ensure your camera supports long exposures and has proper cooling if necessary, to reduce noise during extended imaging sessions. Pairing your camera with good filters and tracking mounts will significantly improve image quality and detail. Investing in quality accessories such as adapters and cables ensures seamless operation and minimizes setup frustrations.
What to look for:
- High resolution (above 20 MP) for detailed images
- Good low-light sensitivity and high quantum efficiency
- Compatibility with your telescope and software
- Support for long exposures and cooling features
- Robust build quality and reliable connection ports
ZWO ASI183MC Pro 20.18 MP CMOS Color Astronomy Camera
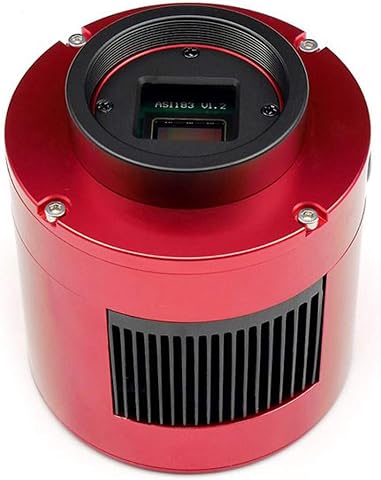
The ZWO ASI183MC Pro is a high-resolution, cooled color astronomy camera designed for capturing detailed images of deep-sky objects, the Moon, and the Sun through telescopes. It features a 20.1-megapixel CMOS sensor, TEC cooling, and fast USB 3.0 transfer, making it suitable for astrophotography enthusiasts.
Pros:
- High-resolution 20.1 MP CMOS sensor captures fine detail
- Effective TEC cooling reduces noise for deep-sky imaging
- Fast USB 3.0 transfer speeds for quick data handling
- Compact and lightweight design suitable for field use
Cons:
- Requires separate 12V power supply (not included)
- Solar imaging requires additional solar filter (not included)
Best for: Deep-sky object imaging and planetary details
Not ideal for: Entry-level or low-resolution cameras
Bottom line: Select a camera that offers high sensitivity and compatibility for stellar images.
Mounts and Tripods
A mount provides the essential stability and tracking accuracy needed for clear astrophotography images. The Celestron CGX-L Heavy-Duty German Equatorial Mount with 7-pound counterweights is designed to handle large telescopes and long exposure times. When choosing a mount, prioritize tracking precision, load capacity, and motor reliability. An accurate mount minimizes star trails and ensures your images stay sharp over extended exposures. For astrophotography, a mount with computerized GoTo features simplifies target acquisition, saving you time and frustration in the field.
Common errors include underestimating the importance of mount stability or opting for lightweight mounts that can’t support your equipment during long sessions. Ensure the mount is compatible with your telescope’s size and weight, and consider its power source—battery-powered options provide portability. Proper calibration and periodic maintenance will keep your mount performing at its best, resulting in consistently high-quality images. Also, consider additional accessories like counterweights and dec mounting plates for smoother operation.
What to look for:
- High load capacity matching your telescope’s weight
- Accurate tracking with minimal periodic error
- Computerized GoTo and alignment features
- Sturdy, vibration-resistant construction
- Ease of setup and transport
Celestron CGX-L Heavy-Duty German Equatorial Mount & Counterweights, 75 lb Paylo

The Celestron CGX-L mount provides a stable and precise platform for serious astronomy and astrophotography, supporting up to 75 lbs of equipment. It features enhanced connectivity, accurate tracking, and adjustable components for optimal alignment and operation.
Pros:
- Supports heavy astronomical equipment up to 75 lbs
- Highly adjustable for precise alignment and comfortable viewing
- Advanced connectivity options for seamless device integration
- Smooth operation with larger worm wheels for accurate tracking
Cons:
- Heavy and bulky, may require a sturdy setup space
- Complex setup process for beginners
- Higher price point due to advanced features
Best for: Long-exposure deep-sky imaging
Not ideal for: Lightweight or manual-only mounts
Bottom line: Prioritize stability and tracking precision for best results.
Filters and Accessories
Filters are crucial for enhancing image quality by reducing light pollution and improving contrast. The Astrophotography Filter Drawer with a 50x50mm insert offers a convenient way to switch between filters without disrupting your setup. When selecting filters, consider narrowband options for deep-sky imaging or light pollution filters to improve visibility in urban areas. Accessories like off-axis guiders, dew heaters, and focal reducers can also dramatically enhance your imaging sessions by improving focus stability and image clarity.
Many astrophotographers make the mistake of using incompatible or low-quality filters, which can introduce unwanted artifacts or reduce image detail. Always verify filter sizes and compatibility with your camera and telescope. Properly cleaning and handling filters prolongs their lifespan and maintains optical clarity. Using a dedicated filter drawer allows quick swaps during sessions, saving valuable imaging time. Remember, the right filters and accessories complement your main equipment and elevate your astrophotography results.
What to look for:
- Size compatibility with your camera and telescope
- High-quality optical coatings for minimal light loss
- Appropriate bandwidth for your target objects
- Ease of installation and removal
- Durability and resistance to scratches
Astrophotography Filter Drawer (50x50mm Insert)

This is a filter drawer designed for astrophotography accessories, measuring 50x50mm. It helps organize and hold filters securely for telescope use.
Pros:
- Compact size suitable for organizing filters
- Easy to insert and remove filters
- Compatible with various astrophotography accessories
Cons:
- Limited to 50x50mm filters only
- Lack of detailed product features or reviews
- No information on material durability
Best for: Deep-sky imaging in various light conditions
Not ideal for: Incompatible or low-quality filters
Bottom line: Choose filters that match your imaging needs and equipment.
Lighting and Power
Reliable power sources are vital for uninterrupted astrophotography sessions. The Portable Solar Generator 300W Power Station with a 60W foldable solar panel offers a sustainable and portable solution, perfect for fieldwork or remote locations. When selecting power equipment, ensure it provides enough wattage and outlets for your camera, mount, and accessories. Battery backups and solar options increase your flexibility, especially during long nights of imaging. Safety features like overload protection and proper ventilation are also important considerations.
Common mistakes include underestimating power needs or neglecting backup options, leading to session interruptions. Always verify that your power setup supports your entire system, and keep spare batteries or portable chargers on hand. Proper cable management and protective enclosures prevent damage and ensure safe operation. Investing in a dependable power station minimizes downtime and helps you focus on capturing stunning images of the cosmos.
What to look for:
- Sufficient wattage to support all equipment
- Multiple outlets for cameras, mounts, and accessories
- Portability and ease of setup
- Compatibility with solar charging options
- Built-in safety features
Portable Solar Generator 300W Power Station with 60W Foldable Solar Panel

This portable solar generator features a 300W power capacity with a 296Wh lithium-ion battery, suitable for charging smartphones, laptops, and small appliances during outdoor activities or emergencies. It includes a 60W foldable solar panel for recharging via solar energy, with multiple output ports and safety protections.
Pros:
- Compact and lightweight design for portability
- Multiple charging options including solar, AC, and car
- High conversion efficiency solar panel (23%)
- Built-in safety protections and battery management system
Cons:
- Solar panel not included in the package
- Limited to small appliances and devices
- Requires sunlight for optimal solar charging
Best for: Fieldwork and long outdoor sessions
Not ideal for: Limited or non-expandable power supplies
Bottom line: Opt for adaptable power solutions to keep imaging uninterrupted.
Software and Apps
Effective software transforms raw astrophotography data into stunning images. The Deep-sky Imaging Primer, Third Edition offers comprehensive guidance on processing techniques, making it ideal for those looking to improve their post-processing skills. When choosing software, look for options that support your camera and mount, offer stacking, calibration, and editing tools. Many programs also provide automation features, simplifying complex workflows and saving you time. Investing in good software ensures you get the most out of your equipment and your night sky observations.
Common mistakes include relying solely on basic editing tools or neglecting calibration frames, which can result in noisy or inaccurate images. Always back up your data and keep your software updated for new features and security. Experimenting with different processing techniques and tutorials can help you develop a personal style and improve your results. Remember, the right software is an investment in turning your raw captures into breathtaking astrophotos.
What to look for:
- Compatibility with your camera and mount
- Support for stacking, calibration, and editing
- User-friendly interface with tutorials
- Automation features for complex workflows
- Regular updates and reliable support
The Deep-sky Imaging Primer, Third Edition

This book provides comprehensive guidance on deep-sky astrophotography, covering techniques, equipment, and image processing. It is ideal for amateur astronomers looking to improve their astrophotography skills.
Pros:
- Detailed coverage of deep-sky imaging techniques
- Suitable for amateur astronomers
- Updated third edition with current methods
Cons:
- No price or rating information available
- No specific technical specifications provided
Best for: Post-processing deep-sky and planetary images
Not ideal for: Basic or unsupported software solutions
Bottom line: Choose software that enhances your post-processing capabilities.
Building a successful astrophotography setup is all about prioritizing essential gear based on your goals and budget. Start with the core components—your telescope, camera, and mount—and gradually add accessories like filters, power solutions, and software to elevate your imaging quality. Remember, investing in reliable, high-quality equipment saves you time and frustration in the field and results in more stunning images of the night sky.
Stay patient and keep experimenting with your gear and techniques. The universe offers endless inspiration, and with the right tools, you’ll be capturing breathtaking celestial scenes in no time. Happy shooting, and clear skies!
Fall Picks
fall essentials
As an affiliate, we earn on qualifying purchases.