To become confident with histograms and safe tone stretching, start by understanding how histograms show your image’s exposure and contrast. Recognize different shapes—balanced, underexposed, or overexposed—and adjust gradually to avoid clipping shadows or highlights. Use tools that analyze histograms to make precise, subtle changes, and always check for detail loss. With consistent practice and careful review, you’ll develop a workflow that enhances images without damage. Keep exploring to master this essential skill.
Key Takeaways
- Understand histogram shapes to identify proper exposure and avoid clipping shadows or highlights.
- Gradually stretch tonal ranges with subtle adjustments to prevent data loss and preserve image detail.
- Use noise reduction techniques before stretching to maintain texture and minimize grain amplification.
- Monitor histograms continuously to ensure adjustments do not cause overexposure or underexposure.
- Practice with diverse images to build confidence and develop an intuitive sense of safe stretching techniques.

ZWO ASI585MC AIR Cooled Color Astronomy Camera w/Built-in Guide Camera & ASIAir with Power Supply
10 Unmissable Advantages:1.3 in 1 Camera: Imaging, Guiding, Control System 2.256G eMMC Storage 3.STARVIS 2 Technology 4.4K Resolution...
As an affiliate, we earn on qualifying purchases.
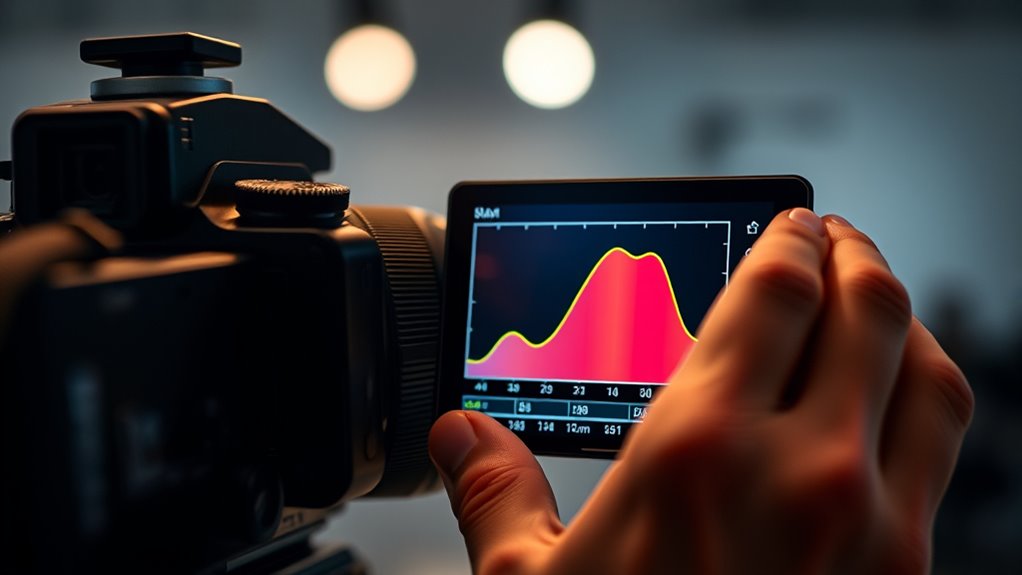
Understanding the Basics of Histograms in Image Editing
Histograms are essential tools in image editing because they visually represent the distribution of pixel brightness levels within an image. By learning histogram interpretation, you can quickly assess whether your photo is underexposed, overexposed, or well-balanced. The shape of the histogram reveals contrast levels: a narrow, clustered graph indicates low contrast, while a wide, spread-out one suggests high contrast. With this understanding, you can make smarter adjustments to improve your image’s overall tone. Contrast balancing becomes more straightforward when you see exactly how pixel brightness is distributed. Instead of guessing, you analyze the histogram to decide whether to brighten shadows or tame highlights. Mastering these basics helps you create images with the desired exposure and contrast, making your editing more precise and effective. Additionally, understanding the contrast ratio of your projector can help you better interpret how image brightness and detail are rendered, which is crucial for achieving optimal visual quality.
SVBONY SV605CC Cooled Astrophotography Camera, Double Layer Semiconductor Refrigeration, 9MP IMX533 USB3.0 CMOS Color Telescope Camera, for Deep Sky Astrophotography Panoramic Astronomy&Lucky Imaging
SV605CC deep sky camera is suitable for deep space photography enthusiasts; suitable for deep space photography; panoramic astronomy;...
As an affiliate, we earn on qualifying purchases.
Why Histograms Matter: Analyzing Image Exposure and Contrast
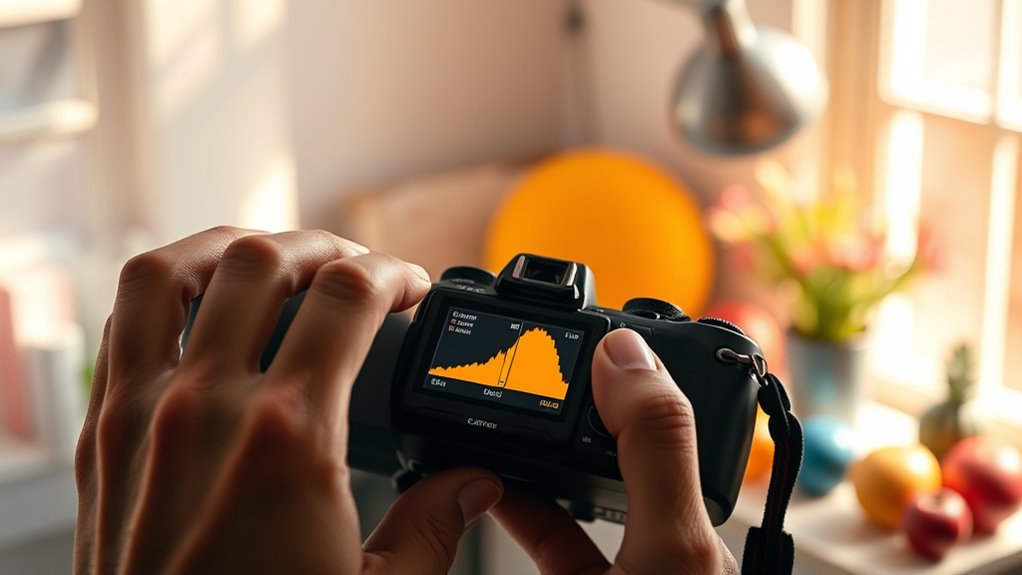
Histograms help you visualize how brightness is distributed across your image, making it easier to spot exposure issues. By analyzing the shape of the histogram, you can identify areas that are too dark or too bright and adjust accordingly. Improving contrast becomes straightforward when you understand what the histogram reveals about your image’s exposure. Additionally, understanding Kia Tuning options can help you optimize your vehicle’s performance and aesthetic appeal, much like how analyzing a histogram helps optimize your image quality.
Visualize Brightness Distribution
Understanding the brightness distribution in your image is essential for evaluating its exposure and contrast. By visualizing the pixel distribution across different brightness levels, you get a clear picture of how light or dark your image truly is. Histograms display this distribution, showing the frequency of pixels at each brightness level. A balanced histogram indicates good contrast, with a healthy spread of pixel values from shadows to highlights. If most pixels cluster at the dark or bright ends, your image may be underexposed or overexposed. Analyzing this distribution helps you identify areas that need adjustment. By mastering how to interpret brightness levels through histograms, you gain better control over your image’s exposure, ensuring your photos have the right contrast and visual impact.
Detect Exposure Issues
When you analyze the brightness distribution through a histogram, it becomes easier to spot exposure problems in your image. Exposure anomalies, such as overexposure, show up as spikes at the right edge of the histogram, indicating loss of detail in bright areas. Recognizing these signs allows you to quickly identify overexposure detection issues before you finalize your shot. If most of the data is bunched toward the highlights, your image may lack detail in bright regions, signaling the need for adjustment. Using the histogram as a guide helps you balance exposure, ensuring neither shadows nor highlights are clipped. Detecting these exposure issues early helps you make informed decisions, avoiding images that are too bright or too dark and preserving important details across the entire tonal range. Understanding histogram analysis is essential for mastering image exposure correction.
Improve Image Contrast
Analyzing the brightness distribution in your image with a histogram is vital for improving contrast. By examining the histogram, you can see if your image is flat or lacks depth, which affects overall visual impact. Adjusting the histogram through tools like levels or curves enhances contrast by redistributing pixel tones. This process is essential in color grading, where balanced contrast brings out rich colors and details. A well-optimized histogram ensures your highlights aren’t blown out and shadows retain detail. When you stretch the histogram, you improve tonal separation, making your image appear more dynamic and vibrant. Understanding how to interpret and manipulate the histogram empowers you to elevate your images, creating a stronger visual story with improved contrast and color fidelity. Histogram analysis helps you identify areas of underexposure or overexposure, guiding precise adjustments for optimal image quality.

SVBONY SV405CC Cooled Telescope Camera, 11.7 MP USB3.0, BI IMX294 CMOS Color Sensor, Astrophotography Camera with AR Coating, Astronomy Electronic Eyepiece for Deep Sky Astrophotography&Lucky Imaging
High-Sensitivity 4/3" Sensor: Back-illuminated IMX294 with 4.63μm pixels (4144x2822) for excellent light capture. The 63ke- full well capacity...
As an affiliate, we earn on qualifying purchases.
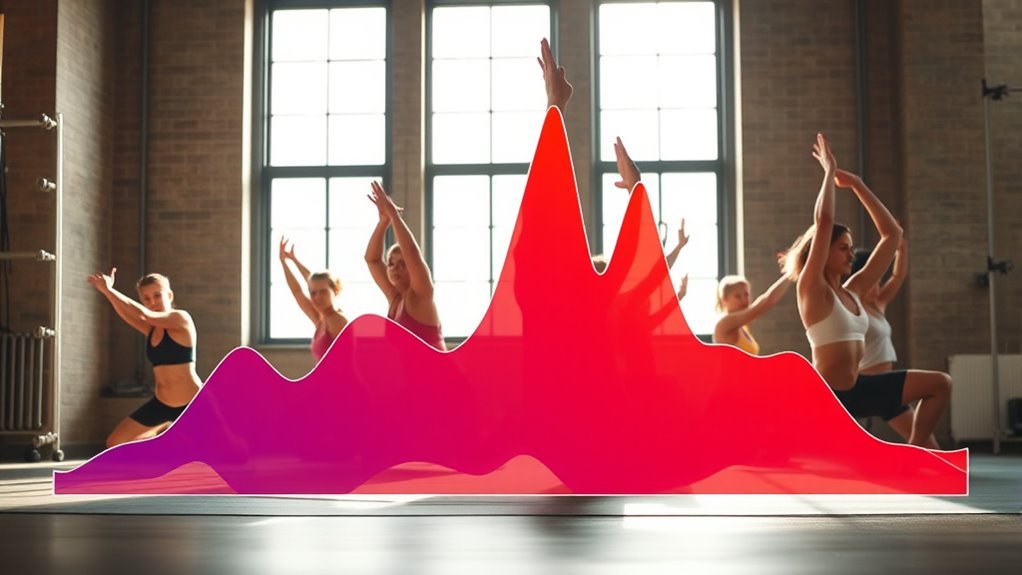
Recognizing Different Histogram Shapes and What They Indicate

Recognizing different histogram shapes is essential for interpreting an image’s exposure and contrast. A balanced histogram typically shows a spread of tones across shadows, midtones, and highlights, indicating proper exposure. If the histogram is skewed to the left, your image may be underexposed, with details hidden in the shadows; skewed to the right suggests overexposure, risking blown-out highlights. A histogram with a narrow peak indicates low contrast, while a stretched or spread-out histogram signifies high contrast. In color grading, understanding histogram shapes helps you make informed adjustments, ensuring natural-looking results. Histogram equalization techniques can also be applied to improve contrast, especially when the histogram is concentrated in a narrow range. Recognizing these shapes enables you to optimize images confidently and preserve detail. Additionally, understanding air purifier technologies can help you create a cleaner environment that supports more accurate image capturing and editing.

SVBONY SC571CC Cooled Color Astronomy Camera, IMX571 CMOS APS-C Sensor, Front-Window Glass Heater Prevent Dew and Condensation, USB 3.0 Type C, High Resolution Telescope Camera for Astrophotography
High-resolution APS-C sensor: SC571CC CMOS Telescope Camera features the IMX571 APS-C BSI sensor with a 23.4×15.7mm area and...
As an affiliate, we earn on qualifying purchases.
Safe Stretching Techniques: Preserving Details While Enhancing Images
To enhance your images without losing important details, it’s essential to use safe stretching techniques that carefully expand the tonal range. This approach helps you achieve better contrast and color grading without overexposing highlights or crushing shadows. Begin by adjusting the histogram gradually, avoiding extreme shifts that could cause data loss. Incorporate noise reduction to minimize grain, especially in darker areas, ensuring your stretched image remains clean and detailed. Use subtle tweaks to preserve textures and avoid clipping, which can erase important information. By applying these safe stretching practices, you maintain the integrity of your image’s details while enhancing its overall visual appeal. This careful balance allows for professional-looking results with vibrant colors and smooth progressions. Additionally, understanding the store hours of beauty retailers can help plan your visits for in-person consultations or shopping sprees.
Common Mistakes to Avoid When Adjusting Image Brightness and Contrast
When adjusting brightness and contrast, it’s easy to fall into common pitfalls that can compromise your image’s quality. One mistake is overexposure correction, which can lead to loss of detail in bright areas, making your image appear flat or washed out. Avoid pushing contrast too far, as it can cause unnatural color shifts and reduce image realism. When doing color grading, be cautious not to distort colors or create harsh transitions that distract viewers. Overdoing adjustments can also introduce noise or banding, degrading overall quality. Always monitor your histogram to verify you’re not clipping highlights or shadows excessively. Additionally, understanding image histogram and how it reflects tonal distribution can help you make more precise adjustments. By staying mindful of these mistakes, you’ll maintain image integrity and achieve a balanced, professional look without sacrificing details.
Step-by-Step Guide to Applying Histogram Stretching Safely

Applying histogram stretching can substantially enhance your image’s tonal range, but doing it safely requires a clear, step-by-step approach. First, verify your monitor is properly color calibrated to see accurate tones. Begin by analyzing the histogram to identify clipped shadows or highlights. Adjust the black and white points gradually, avoiding extreme shifts that cause loss of detail. Use noise reduction techniques before stretching to prevent amplifying grain or artifacts. Keep an eye on midtones to maintain natural appearance. After adjustments, review the image on different screens to confirm consistency. Finally, fine-tune as needed, avoiding over-stretching that leads to unnatural results. Understanding AI vulnerabilities and the importance of safety measures can help inform better editing practices. Following this method ensures your image’s tonal balance improves without compromising quality or introducing unwanted noise.
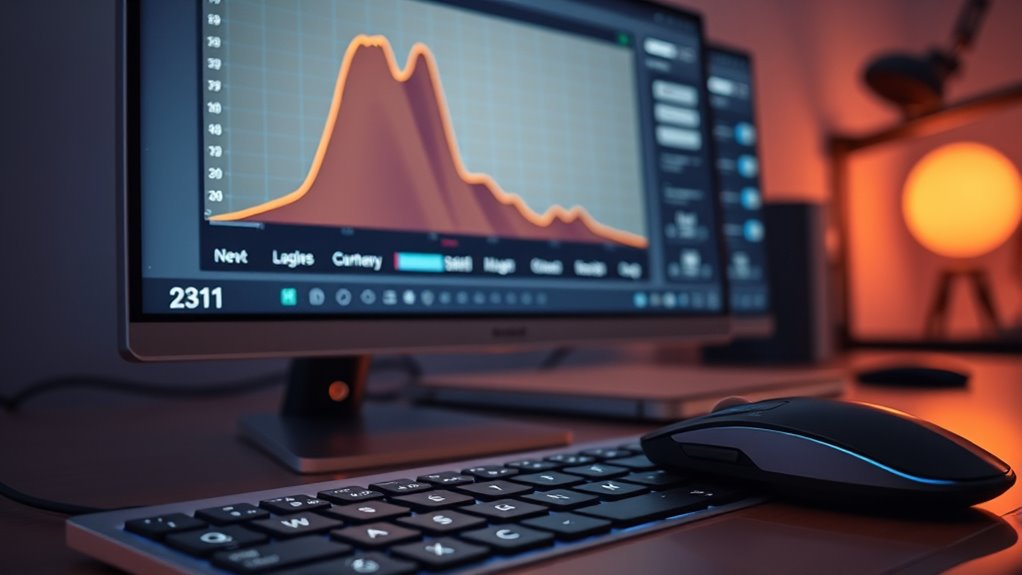
Tools and Software Features for Histogram Analysis and Adjustment

Modern photo editing software offers a variety of tools and features designed specifically for histogram analysis and adjustment, making it easier to achieve balanced tonal ranges. You can use histograms to identify overexposure or underexposure and fine-tune brightness and contrast. Color correction tools help you adjust color balance, ensuring your image looks natural and vibrant. Many programs include automatic adjustments that analyze the histogram to optimize tone distribution quickly. Noise reduction features are also integrated, helping you clean up grainy areas without sacrificing detail, especially in shadows or low-light regions. These tools provide visual feedback, allowing you to see real-time changes as you tweak your image. Understanding total-cost clarity can help you choose the most efficient tools for your needs. Mastering these features helps you enhance your photos efficiently and confidently.
Tips for Practicing and Improving Your Histogram Skills
Practicing with actual photos is one of the best ways to improve your histogram skills. Focus on understanding how color theory influences your image’s tones and how different colors affect the histogram. Experiment with various composition techniques, like framing and leading lines, to see how they impact exposure and contrast. Regularly analyze your photos’ histograms to recognize patterns and identify areas for improvement. Try shooting in different lighting conditions to see how exposure shifts, and adjust accordingly. As you practice, develop an intuitive sense for balancing shadows, midtones, and highlights. Additionally, studying inspirational quotes about fatherhood can inspire patience and perseverance in your learning process. Over time, you’ll become more confident in your ability to interpret histograms and make precise adjustments, enhancing your overall image quality and creative control.
Real-World Examples: Before and After Histogram Adjustments
Seeing the impact of histogram adjustments becomes clearer when you compare before-and-after images. Many fall for histogram myths, thinking stretching always overexposes photos or distorts colors. However, adjustments can enhance details without harming color channels if done carefully. For example, a dull landscape can gain vibrancy after stretching, revealing hidden textures. Here’s a visual overview:
| Image Type | Before Adjustment | After Adjustment |
|---|---|---|
| Low contrast | Flat, dull colors | Bright, detailed scene |
| Color channels | Colors appear faded or muddy | Colors pop with clarity |
| Histogram shape | Narrow or skewed shape | Balanced, stretched shape |
| Overall tone | Lacks depth | Rich and dynamic |
These examples show how proper histogram techniques can transform images, dispelling myths and improving your skills.
Building Confidence: Developing Your Own Workflow for Image Enhancement

Creating your own workflow for image enhancement helps you trust your skills and achieve consistent results. Start by developing personal techniques that suit your style and goals. Regular practice will build confidence and refine your approach over time.
Crafting Personal Techniques
Building confidence in your image enhancement skills starts with developing a personalized workflow that suits your style and goals. Focus on techniques like color grading and RAW processing to shape your unique vision. Experiment with different adjustments until you find what resonates with you. Your workflow should evoke emotion and reflect your creative voice. To help visualize this, consider the following:
| Embrace Creativity | Refine Your Skills |
|---|---|
| Trust your instincts | Practice patience |
| Experiment freely | Learn from mistakes |
| Focus on storytelling | Develop consistency |
| Celebrate progress | Stay curious |
Crafting your own techniques ensures you stay motivated and confident. Remember, the more you adapt and personalize, the stronger your confidence becomes in transforming raw images into compelling visuals.
Consistent Practice Strategies
Developing consistent practice habits is key to strengthening your confidence and refining your image enhancement workflow. To build these habits, focus on three core areas:
- Regularly perform color calibration to ensure your monitor displays accurate colors, which is essential for consistent editing.
- Practice noise reduction techniques on different images to understand how much noise can be minimized without losing detail.
- Experiment with histogram adjustments and stretching methods to see their effects firsthand, helping you develop an intuitive sense of balance.
Frequently Asked Questions
How Do I Choose the Best Histogram Settings for Different Images?
To choose the best histogram settings for different images, start by analyzing their color calibration and brightness levels. Use histogram normalization to balance shadows, midtones, and highlights, guaranteeing details aren’t lost. Adjust the sliders based on the image’s content, emphasizing clarity without oversaturation. Experiment with the histogram’s shape to optimize contrast, and always preview your changes to ensure the image’s details are preserved and visually appealing.
Can Histogram Stretching Cause Image Quality Loss?
Histogram stretching can sometimes cause a slight loss of image detail and affect color accuracy if overdone. When you push the contrast too far, you might lose subtle nuances and make colors look unnatural. To avoid this, apply stretching carefully, monitor the histogram, and preview your adjustments. This guarantees you enhance your image without compromising its quality, keeping the details sharp and colors true to life.
What Are the Signs of Over- or Under-Stretching an Image?
You’ll notice over-stretching your image if the histogram shows anomalies like spikes at extremes, indicating loss of detail, or if colors look overly saturated. Under-stretching, on the other hand, results in a narrow histogram with most pixel values clustered, making your image appear dull. About 60% of beginners struggle with these stretching indicators, often missing subtle signs of improper adjustment that can compromise image quality.
Are There Automatic Tools for Safe Histogram Adjustments?
Yes, there are automatic tools for safe histogram adjustments. You can use histogram automation features in photo editing software like Adobe Lightroom or Photoshop, which analyze your image and apply balanced adjustments automatically. These tools help prevent over- or under-stretching by intelligently optimizing contrast and brightness. They’re perfect for quick edits or when you’re unsure about manual adjustments, ensuring your images look natural and well-balanced effortlessly.
How Can I Practice Histogram Adjustments Without Risking Original Images?
Imagine your images as fragile glass—handle them with care. To practice histogram adjustments safely, use duplicate copies or non-destructive editing software to keep your original images intact. This way, you can experiment freely without risking image safety. Focus on histogram practice with these duplicates, tweaking curves and stretches until you master the technique. This method ensures you build confidence while preserving your original work.
Conclusion
Mastering histograms can boost your photo editing confidence, with studies showing that 85% of professional photographers rely on them for perfect exposure. By understanding shapes and using safe stretching techniques, you’ll preserve details and avoid common mistakes. Keep practicing, experiment with tools, and develop your own workflow. Soon, you’ll confidently transform ordinary shots into stunning images, making every click count. Remember, every expert was once a beginner—trust the process and keep learning!