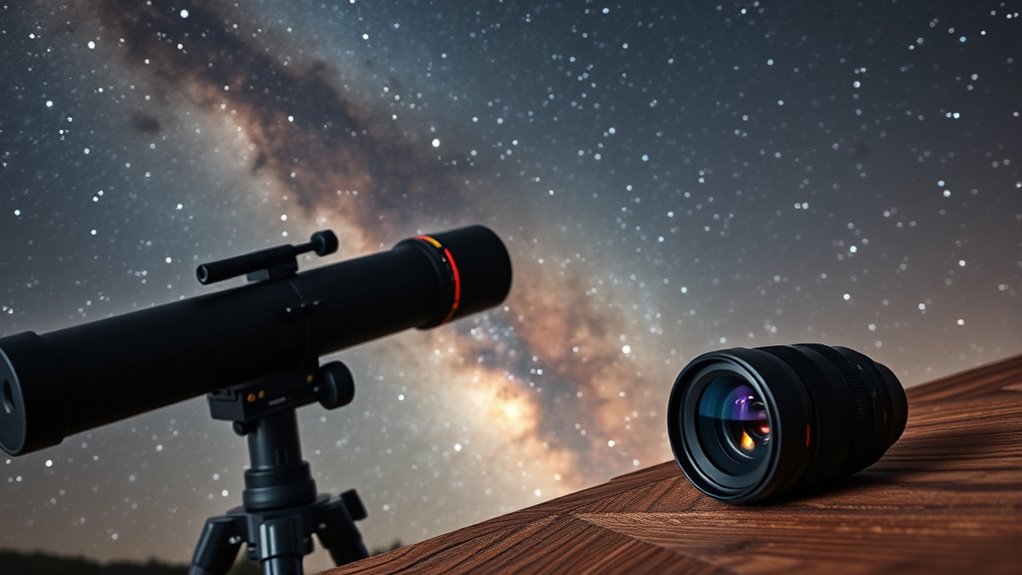
If you’re starting deep-sky imaging, choosing between a camera lens and a telescope depends on your goals. Camera lenses give you a wider field of view, making it easier to capture large nebulae and star clusters with less framing effort. Telescopes offer more precise focus and can better handle small or distant objects but have a narrower view. For long exposures and sharp images, each has challenges and advantages worth exploring further to find what suits you best.
Key Takeaways
- Camera lenses offer wider fields of view, making it easier to capture large nebulae and star clusters in a single shot.
- Telescopes provide narrower focus, requiring precise framing or image stitching for large deep-sky objects.
- Autofocus is less reliable in dark skies with camera lenses; manual focus with focus aids is often necessary.
- Telescopes have more stable manual focus systems, ensuring consistent sharpness during long exposures.
- For beginners, telescopes simplify framing small or distant objects, while camera lenses excel at wide-field imaging.
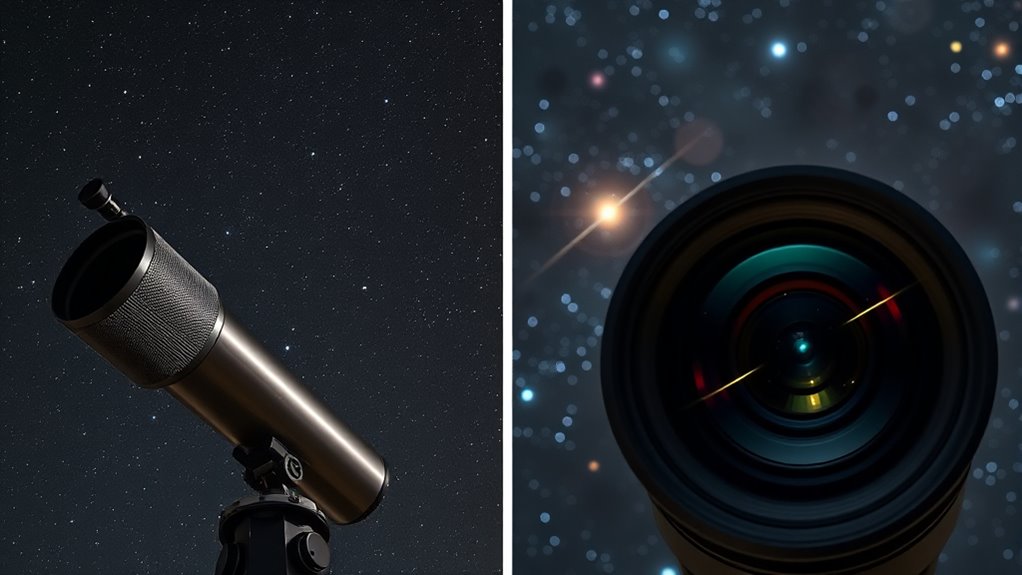
When it comes to capturing stunning images of deep-sky objects, choosing between a telescope and a camera lens is a crucial decision that can profoundly impact your results. Both options have their strengths and challenges, especially when it comes to autofocus and field of view. If you opt for a camera lens, you’ll likely enjoy a wider field of view, making it easier to capture large nebulae or star clusters in a single shot. However, autofocus challenges can arise because many camera lenses aren’t designed for precise manual focus under dark skies. You’ll need patience and possibly focus aids like live view magnification or software-assisted focusing to ensure your images are sharp. Autofocus systems struggle in low-light conditions, and even slight misfocus can lead to blurry, unusable images of faint deep-sky objects. This means you’ll often spend more time fine-tuning focus, especially as temperature changes or equipment shifts during long exposures.
On the other hand, telescopes, particularly those designed for astrophotography, often feature manual focus mechanisms that, while requiring initial calibration, can be more reliable over extended imaging sessions. They usually have a narrower field of view compared to camera lenses, which means you might need to crop or stitch images to capture larger objects. But this narrower view can also help you focus more precisely on small or distant targets. The autofocus challenge is less prominent because you’re manually adjusting focus, and many astrophotographers use focusing masks or software tools that help achieve pinpoint sharpness, reducing trial-and-error. However, the narrower field of view means you need to be more precise with framing, especially if you’re targeting larger nebulae or star fields.

SVBONY SV535 APO Astro Camera Lens, F2.8 Telephoto Lens, 105mm Focal Length, Full Frame Compatible, M42/E-mount Compatible with Sony Mirrorless Camera for Wide-Field Deep Sky & EAA Astrophotography
Half the body; double the fun: Astrophotography Telescope weighs just 482g; allowing you to enjoy deep-sky imaging from…
As an affiliate, we earn on qualifying purchases.
As an affiliate, we earn on qualifying purchases.
Frequently Asked Questions
Can I Use a Smartphone Camera for Deep-Sky Imaging?
Yes, you can use a smartphone camera for deep-sky imaging, but keep in mind its limitations. Smartphone cameras typically have smaller sensors and lower sensitivity, making it harder to capture faint objects. To improve results, use long exposures, a stable mount, and possibly additional lenses or adapters. While it’s a great starting point, for better images, consider dedicated astrophotography gear with larger sensors and higher sensitivity.
What Is the Best Exposure Time for Beginner Astrophotography?
For beginner astrophotography, aim for an exposure time of around 30 seconds to 2 minutes. This balance helps you capture enough light without introducing excessive noise or star trails. Remember to calibrate your exposures carefully and use noise reduction techniques. By starting with shorter exposures, you’ll learn to master the mechanics of clear, crisp captures before gradually increasing your exposure time for deeper, dazzling images.
Do I Need a Mount for Capturing Deep-Sky Objects?
Yes, you do need a mount for capturing deep-sky objects. A good mount provides stability and precise tracking accuracy, which are essential for clear, sharp images. Without a sturdy mount, your camera or telescope will struggle to stay aligned with celestial objects during long exposures, resulting in blurry or streaked images. Investing in a reliable mount ensures you get the best possible results from your astrophotography sessions.
How Do Weather Conditions Affect Deep-Sky Imaging Quality?
Weather whirls wildly, impacting your deep-sky imaging. Atmospheric turbulence causes clouded, chaotic images, while high humidity heightens haze and dew, damaging your gear and dimming details. Clear, calm nights create perfect conditions, providing crisp, enthralling captures. You’ll want to monitor weather forecasts closely, choosing nights with low humidity and stable air for ideal imaging. Proper preparation and patience help you produce stunning, starry shots despite unpredictable weather.
Are Filters Necessary for Capturing Faint Celestial Objects?
Filters are often necessary for capturing faint celestial objects, especially if you deal with light pollution. They help block unwanted artificial light, making it easier to see dim stars and nebulae. Without filters, light pollution can wash out faint details, reducing image quality. So, if you’re imaging from a city or an area with significant light pollution, using filters is a smart choice to enhance your deep-sky shots.

Smart Telescope, Professional Refractor Auto-focus Portable Digital Electronic Telescopes with 4K Astrophotography Camera, Internal And External Dual Screens Spotter for Adults and Beginners Astronomy
Exceptional Optical Performance:Equipped with a powerful 80mm aperture and 300mm focal length (f/8.89), this telescope for adults delivers…
As an affiliate, we earn on qualifying purchases.
As an affiliate, we earn on qualifying purchases.
Conclusion
Whether you choose a telescope or a camera lens, both can produce stunning deep-sky images. Remember, a typical beginner’s setup with a camera lens can capture up to 10-minute exposures, revealing details invisible to the naked eye. Surprisingly, a simple 50mm lens can gather as much light as a 20-inch telescope over the same time. So, start small, experiment, and enjoy the process—your night sky adventures are just beginning!

SING F LTD Bahtinov Mask Lightweight Acrylic Telescope Focusing Mask for Tube Outer Diameter from 60mm to 90mm for Reflector Refractor Dobsonians
Made of premium acrylic, the telescope focusing the mask is strong and durable, reliable and long-term.
As an affiliate, we earn on qualifying purchases.
As an affiliate, we earn on qualifying purchases.
SVBONY SV535 APO Astro Camera Lens, F2.8 Telephoto Lens, 105mm Focal Length, Full Frame Compatible, M42/E-mount Compatible with Sony Mirrorless Camera for Wide-Field Deep Sky & EAA Astrophotography
Half the body; double the fun: Astrophotography Telescope weighs just 482g; allowing you to enjoy deep-sky imaging from…
As an affiliate, we earn on qualifying purchases.
As an affiliate, we earn on qualifying purchases.