The 500 Rule offers a quick way to estimate exposure time without star trails, but it often doesn’t match real-world conditions because of factors like light pollution, atmospheric turbulence, and equipment quality. To get pinpoint stars, you need to take into account your camera, lens, and environment, and adjust your settings accordingly. Using star tracking, choosing dark locations, and fine-tuning focus can make a huge difference. Keep exploring to learn how to perfect your night sky shots even more.
Key Takeaways
- The 500 Rule offers a quick estimate but often oversimplifies, especially with long focal lengths or unstable conditions.
- Real-world factors like atmospheric turbulence and equipment quality can cause star trails even within the 500 Rule limits.
- Using star tracking or shorter exposures helps achieve pinpoint stars beyond the 500 Rule’s basic guideline.
- Adjusting for focal length (divide by 2, 3, or 4 for more accuracy) improves star sharpness over the traditional 500 Rule.
- Combining the 500 Rule with real-time monitoring and post-processing yields the best results for pinpoint stars.

Sky-Watcher Star Adventurer 2i Pro Pack – Motorized DSLR Night Sky Tracker Equatorial Mount for Portable Nightscapes, Time-Lapse and Panoramas – Wi-Fi App Camera Control – Long Exposure (S20512)
Portable nightscape tracking platform: Motorized portable tracking platform perfect for capturing incredible detail of the Milky Way, eclipses…
As an affiliate, we earn on qualifying purchases.
As an affiliate, we earn on qualifying purchases.
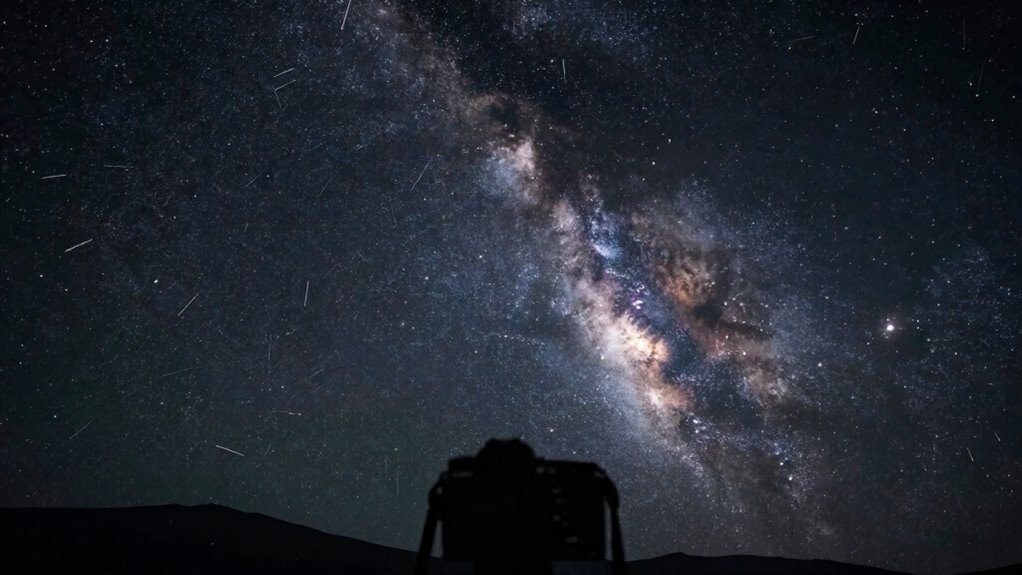
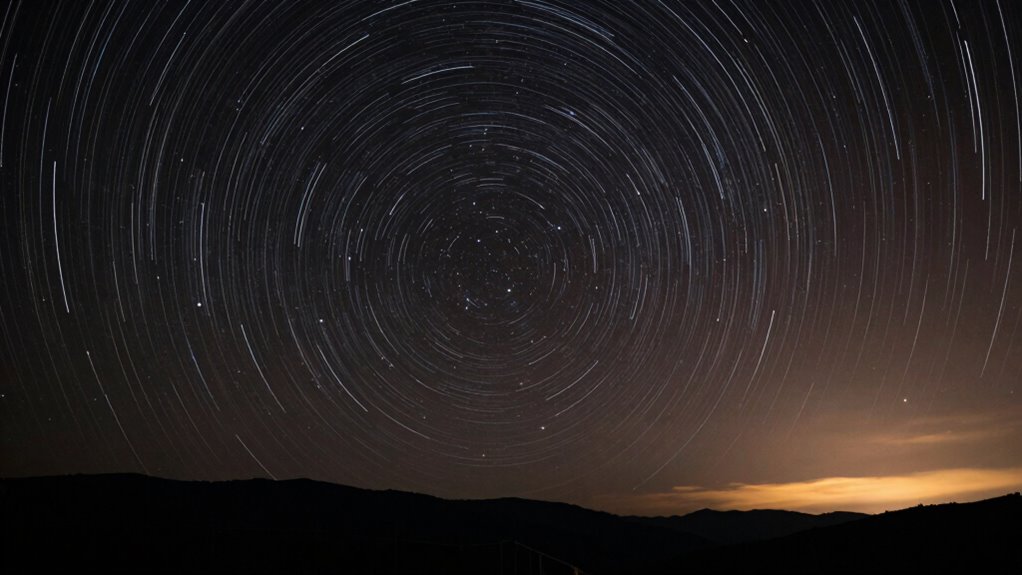
What Is the 500 Rule and When Does It Fail?
The 500 Rule is a simple guideline used by astrophotographers to determine the maximum exposure time without star trails, based on your camera’s focal length. It assumes your camera is stable, and you’re shooting in dark skies with minimal light pollution. When your camera isn’t steady, even short exposures can produce blurry stars. Heavy light pollution can also cause the stars to appear diffused, making the rule less reliable. Additionally, if you use a long focal length lens, the rule suggests shorter exposures, but in practice, camera stability becomes even more critical. When conditions aren’t ideal—such as shaky mounts or bright skies—the 500 Rule can easily fail, leading to star trails or blurry images. Always consider these factors for sharper, more accurate astrophotos. Moreover, understanding color accuracy can enhance the overall quality of your astrophotography by ensuring that stars and celestial objects are captured with true-to-life hues.

Telescope for Adults & Kids, 70mm Aperture Refractor (15X-150X) Portable Travel Telescope with Phone Adapter & Wireless Remote, Astronomy Beginners Gifts, Black
【Great Telescope for Kids& Beginners!】 The telescope meets all the needs of astronomy beginners, the adults & kids’…
As an affiliate, we earn on qualifying purchases.
As an affiliate, we earn on qualifying purchases.
Key Factors That Affect Star Sharpness (Sensor, Lens, Atmosphere)
Understanding what influences star sharpness helps you improve your astrophotos beyond just following the 500 Rule. Your sensor sensitivity plays a crucial role; a more sensitive sensor can capture faint stars with clarity, but it may also introduce noise that affects sharpness. The quality of your lens impacts how sharply stars are rendered, especially at the edges of the frame, where aberrations can occur. Additionally, atmospheric distortion can blur stars and cause twinkling, which limits the sharpness you can achieve. Variations in temperature, humidity, and air turbulence all contribute to atmospheric effects. To get the clearest images, you need to consider these factors and adjust your equipment and techniques accordingly, ensuring that sensor, lens, and atmospheric conditions are optimized for pinpoint star captures. Incorporating outdoor ovens for cooking can also enhance your astrophotography experience by providing warm meals during long nights of shooting. Furthermore, understanding digital concepts such as exposure time will allow you to better navigate the intricacies of astrophotography. Moreover, skin protection from UV rays is vital when outdoors, as it can prevent damage while enhancing your overall experience. Additionally, the influence of halal culinary traditions can enrich your shooting environment by fostering a sense of community and cultural connection during extended outings. Moreover, the use of mineral-based sunscreens is essential to protect your skin from harmful UV rays while spending long hours outdoors.

HOYA 67mm STARSCAPE Light Pollution Astrophotography Filter – Didymium Glass with Enhanced HMC Multicoating Technolgy – Boost Star-to-Sky Contrast – Reduce Night City Sky Color Cast
BLOCKS LIGHT POLLUTION FOR CRISP, CLEAN NIGHT SHOTS – The Starscape 67 mm lens filter cuts unwanted yellow-orange…
As an affiliate, we earn on qualifying purchases.
As an affiliate, we earn on qualifying purchases.
Practical Tips for Capturing Sharp Night Sky Photos
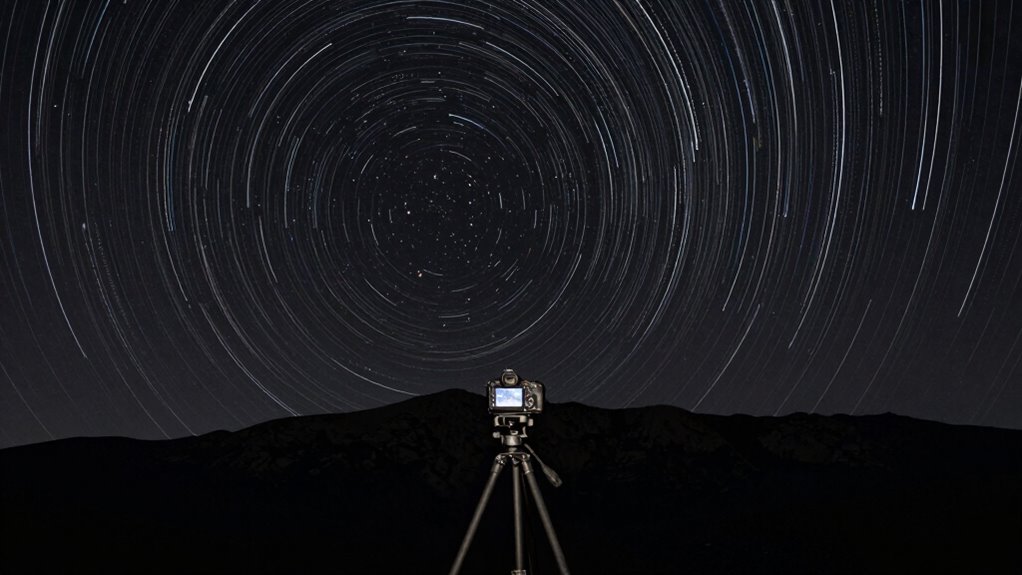
Capturing sharp night sky photos requires more than just setting your camera and hoping for the best; it involves applying practical techniques to minimize blur and maximize detail. Use star tracking to follow the stars’ movement, preventing star trails, and choose locations with minimal light pollution for clearer images. Keep your camera steady with a sturdy tripod, and consider using a remote shutter release or timer to avoid vibrations. Adjust your exposure times based on the 500 Rule, but remember that star tracking can extend these limits. Additionally, proper kitchen gear care can enhance your outdoor photography experience by ensuring your gear is well-maintained. Be mindful of atmospheric conditions, as haze or clouds can soften your shots. Additionally, understanding Milky Way shooting techniques can significantly enhance your astrophotography experience.
| Technique | Benefit | Tip |
|---|---|---|
| Star tracking | Sharp, pinpoint stars | Use a motorized mount |
| Light pollution | Cleaner night sky images | Shoot in dark, rural areas |
| Tripod stability | Prevents camera shake | Use sturdy, weighted tripod |
| Exposure control | Balance brightness and clarity | Adjust based on conditions |

Kase Revolution Magnetic Star Focus Focusing Tool/Filter inc Adapter Ring (Bahtinov Mask) (77mm)
Star / Night Time Focusing Aid
As an affiliate, we earn on qualifying purchases.
As an affiliate, we earn on qualifying purchases.
How to Fine-Tune Your Settings for Perfect Star Shots
Fine-tuning your camera settings is essential for capturing stunning star shots, especially since conditions can vary widely from night to night. To achieve pinpoint stars, prioritize camera stability by using a sturdy tripod and remote shutter release or timer to prevent vibrations. Confirm your lens is properly calibrated; a well-calibrated lens reduces focus errors that can blur stars. Adjust your exposure settings carefully: use a low ISO to reduce noise, and set your aperture wide open for maximum light intake. Pay attention to your focus—manual focus on a bright star or distant light works best. Small tweaks, like slightly adjusting exposure time or aperture, can make a significant difference. Consistently check your setup to confirm stability and calibration, and you’ll improve your chances of capturing sharp, pinpoint stars.
Troubleshooting Common Astrophotography Challenges

Even with careful preparation, astrophotography often presents challenges that can hinder your results. Common issues include star trails that are longer than desired and excessive light pollution, which washes out celestial details. To troubleshoot, refine your star trail techniques by adjusting exposure times and using stacking methods to enhance sharpness. Employ light pollution mitigation strategies such as shooting from dark sites, using light pollution filters, or adjusting your camera’s settings to reduce ambient light interference. Focus on proper tracking to prevent unwanted star trails or blurring. If images are too noisy, lower ISO settings or improve your post-processing. Identifying these problems early allows you to adapt your approach quickly, ensuring clearer, more pinpoint stars in every shot.
Frequently Asked Questions
Can the 500 Rule Be Applied With Smartphone Cameras?
You can’t directly apply the 500 rule with smartphone cameras because of their limitations, like smaller sensor sizes and lens quality. Smartphone sensors are much smaller than DSLR or mirrorless cameras, making the rule less accurate. While you can try to identify a safe exposure time to avoid star trails, expect less precision. To improve results, consider using dedicated astrophotography apps or external lenses designed for night sky photography.
How Does Star Movement Differ at Various Latitudes?
Imagine you’re a dancer, and the sky is your stage. At equatorial regions, stars move swiftly across your dance floor, creating long, graceful arcs, while at polar regions, the stars seem to twirl in gentle circles, almost stationary. You’ll notice star movement differs because of your latitude, with equatorial zones showing rapid star trails and polar regions revealing circular star paths, making your night sky dance uniquely at each latitude.
What Post-Processing Techniques Enhance Star Sharpness?
To enhance star sharpness in your photos, start with star sharpening using software like Adobe Photoshop or Lightroom, which emphasizes the star points without overdoing it. Follow up with noise reduction techniques to eliminate grain caused by long exposures, but be careful not to blur the stars. Combining precise star sharpening and subtle noise reduction helps your star images look crisp, clear, and more vibrant, bringing out those stunning night sky details.
Is There a Difference in Star Trails Between Mirrorless and DSLR Cameras?
You’ll notice little difference in star trails between mirrorless and DSLR cameras if you use the same exposure settings. Both cameras handle sensor sensitivity well, capturing faint stars effectively. Autofocus performance isn’t a big factor during long exposures since you typically focus beforehand. The key is to keep your ISO consistent and avoid vibrations, ensuring smooth star trails, regardless of whether you’re using a mirrorless or DSLR.
How Do Weather Conditions Impact Star Photography Success?
Weather conditions profoundly impact your star photography success. Cloud cover obscures the stars, making it impossible to capture clear images. Atmospheric turbulence causes star twinkling and blurring, reducing sharpness and detail. Clear, stable skies with minimal turbulence and no clouds are ideal. Check weather forecasts before shooting, and aim for nights with calm atmospheric conditions to maximize your chances of capturing crisp, pinpoint stars.
Conclusion
Mastering the night sky is like chasing a fleeting dream—no single rule guarantees perfection. The 500 Rule offers a helpful starting point, but understanding your gear and conditions is key. With patience and practice, you’ll learn to fine-tune your settings, turning the stars into your canvas. Remember, each shot is a step closer to capturing the universe’s silent poetry—so keep experimenting, and let your passion light the way through the darkness.