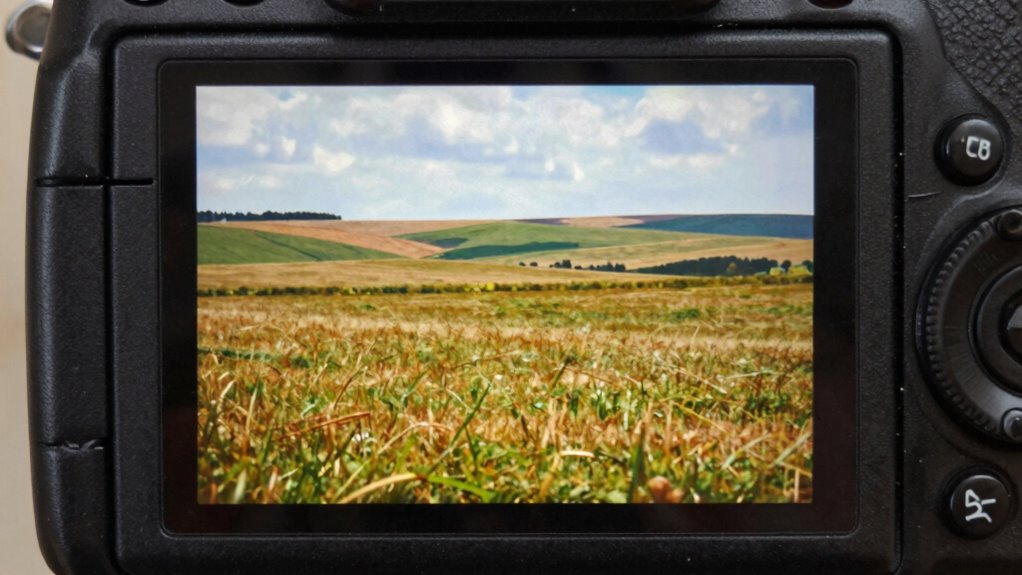
If you notice soft or distorted corners, your field flattener might have issues. Check for sharpness across the frame by capturing test images with fine patterns or grids. Inspect the edges for blur or warping, and confirm your sensor calibration is accurate. Simple adjustments and testing can quickly reveal if your flattener needs fixing or replacing. Want to get your images perfectly sharp? Keep going to discover detailed steps to troubleshoot and fix these problems effectively.
Key Takeaways
- Inspect corners for sharpness and uniform detail using test patterns or fine line images.
- Check for distortion or warping at edges indicating potential flattening issues.
- Verify camera and lens alignment, ensuring proper calibration and minimal misalignment.
- Analyze images for uneven focus, softness, or blurred edges to identify flattener problems.
- Regularly clean optics and perform sensor calibration to prevent and diagnose corner distortions.

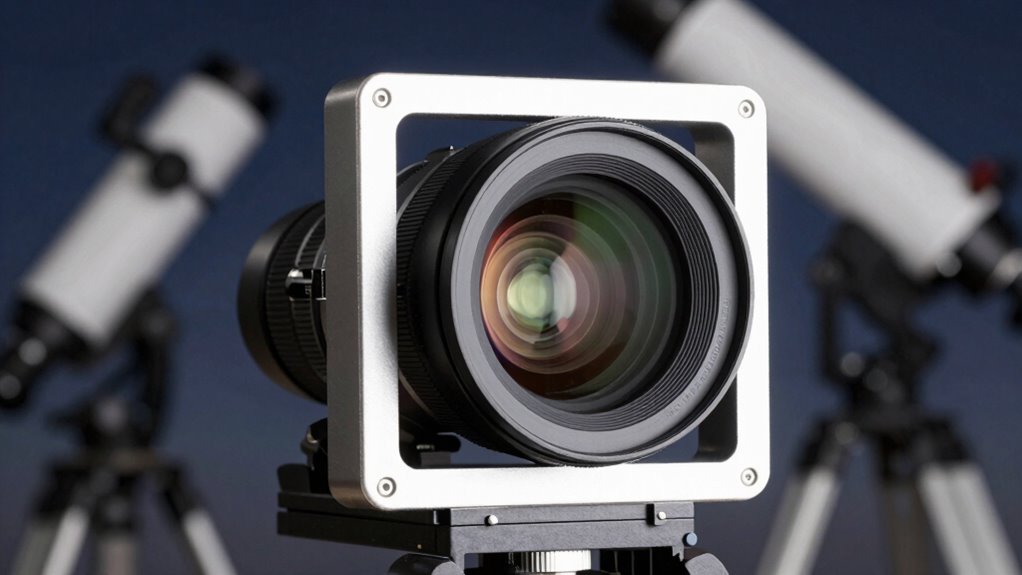
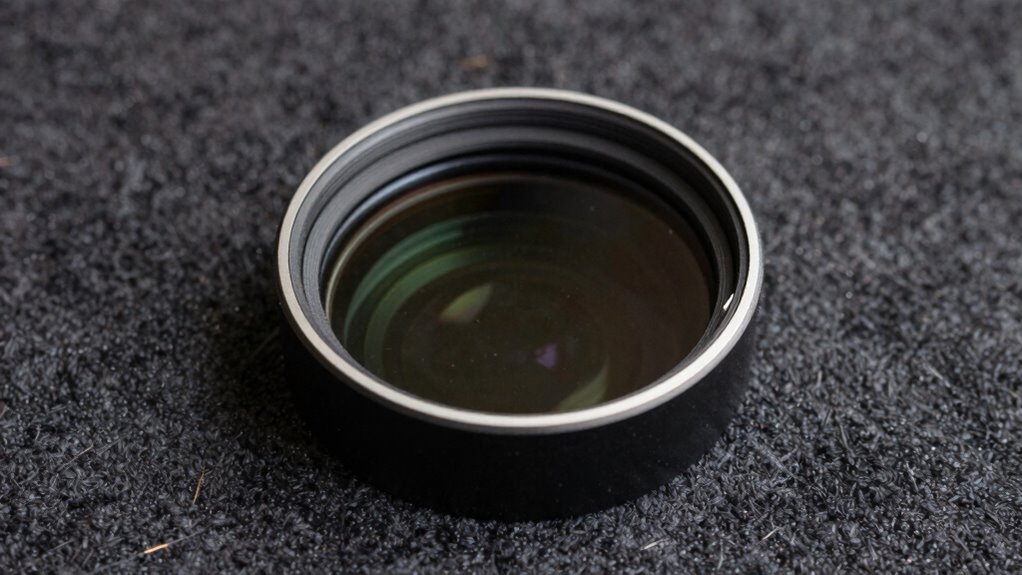
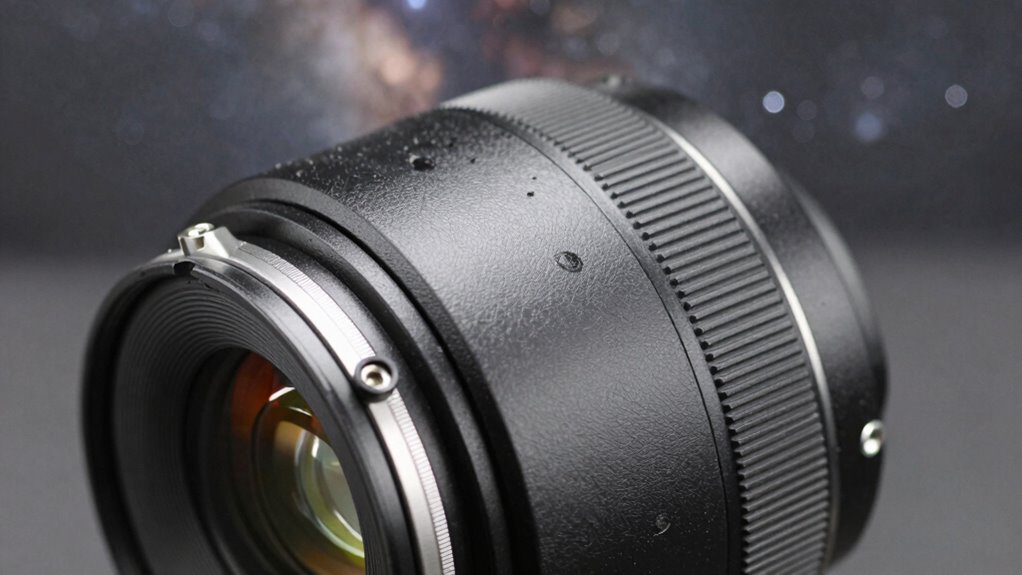
Sky-Watcher Evoguide 50 Field Flattener – for Astrophotography
Corrects for field curvature, allowing the Evoguide 50ED and 50DX to be used for astrophotography
As an affiliate, we earn on qualifying purchases.
As an affiliate, we earn on qualifying purchases.
What Are Common Signs of Field Flattener Problems?
One of the most noticeable signs of field flattener problems is the appearance of sharp, blurred edges or softening across the image. When this happens, your photos may look distorted or less sharp toward the corners, even if the center remains clear. This issue can stem from improper sensor calibration or incompatible lens coatings that don’t work well with your camera setup. If your lens coatings are uneven or damaged, they may cause light to scatter, worsening edge sharpness. Regularly calibrate your sensor to guarantee accurate focusing and image quality. Additionally, exploring new frontiers in digital content can provide insights into better techniques for enhancing your photography setup by allowing for better positioning and framing. Understanding proper door swings can also enhance your photography setup by allowing for better positioning and framing. Additionally, ensuring color accuracy in your setup can lead to more vibrant and true-to-life images. Using an easy conversion tool to translate values in your photography budget can also help you make informed equipment choices. If these signs persist, it’s a good idea to check your lens coatings for damage or dirt, as they can greatly impact image flatness. Proper sensor calibration and quality lens coatings are key to sharp, evenly focused images. Additionally, understanding ethical choices in consumer technology can help you make informed decisions about your photography equipment.
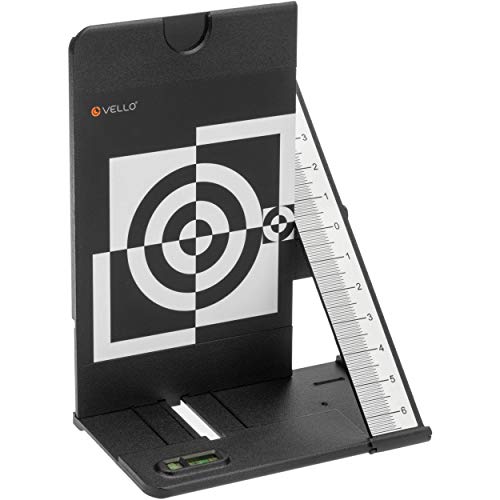
Vello LENS-2020 Lens Calibration Tool
Test Camera's Auto Focus Accuracy, AF Fine Tune or AF Micro Adjustment
As an affiliate, we earn on qualifying purchases.
As an affiliate, we earn on qualifying purchases.
What Causes Corner Distortion in Your Images?
Corner distortion often results from optical imperfections in your lens system. When your lens isn’t properly calibrated, it can introduce distortions that become especially noticeable near the edges of your images. Even slight misalignments can cause stretching or warping, making corners look skewed or bent. Tripod stability also plays a critical role—if your camera shifts during exposure, it can exaggerate these distortions. Ensuring your tripod is stable and your lens is correctly calibrated helps minimize these issues. Fire pits can create an inviting atmosphere that encourages careful setup and alignment for your shots. Just as maintaining proper setup and alignment is crucial for sharp, consistent images, regular checks on your lens calibration and securing your tripod can avoid unnecessary movement. Additionally, using moisturizing agents can help maintain the integrity of your gear by protecting it from environmental factors. Addressing these factors quickly can considerably improve your image quality and reduce corner distortion. Furthermore, understanding media literacy can help you better assess how optical factors may affect the perception of your images. Additionally, using survival gear can enhance your outdoor photography experience by ensuring you are prepared for unexpected situations.

DGK Color Tools High Resolution 8.5×11 Chrome SD Professional Lens Test Chart, 3-Pack
SUPERIOR IMAGE QUALITY – Achieve optimal lens performance with these high-resolution charts, ensuring your photos and videos are…
As an affiliate, we earn on qualifying purchases.
As an affiliate, we earn on qualifying purchases.
How Can You Quickly Test Your Flattener’s Performance?
To quickly assess your flattener’s performance, start by checking the sharpness in the corners of your images. Using test patterns can help reveal any distortions or softness across the field. These simple steps give you immediate insight into whether your flattener is working as it should.
Check Corner Sharpness
Checking your flattener’s corner sharpness is a quick way to assess its performance without complex tools. You’ll want to look for consistent focus and sharpness across all corners, ensuring no areas look blurry or distorted. An uneven sharpness can indicate issues with color correction or lighting balance, which may impact overall image quality. To test this:
- Examine the corners for uniform detail and clarity.
- Use a test target with fine lines or patterns to reveal softness or distortion.
- Adjust your lighting to see if shadows or glare affect corner sharpness, revealing potential flaws in the flattening process.
This simple check helps you identify if your field flattener is producing even, sharp images, or if adjustments are needed to correct color correction and lighting balance issues.
Use Test Patterns
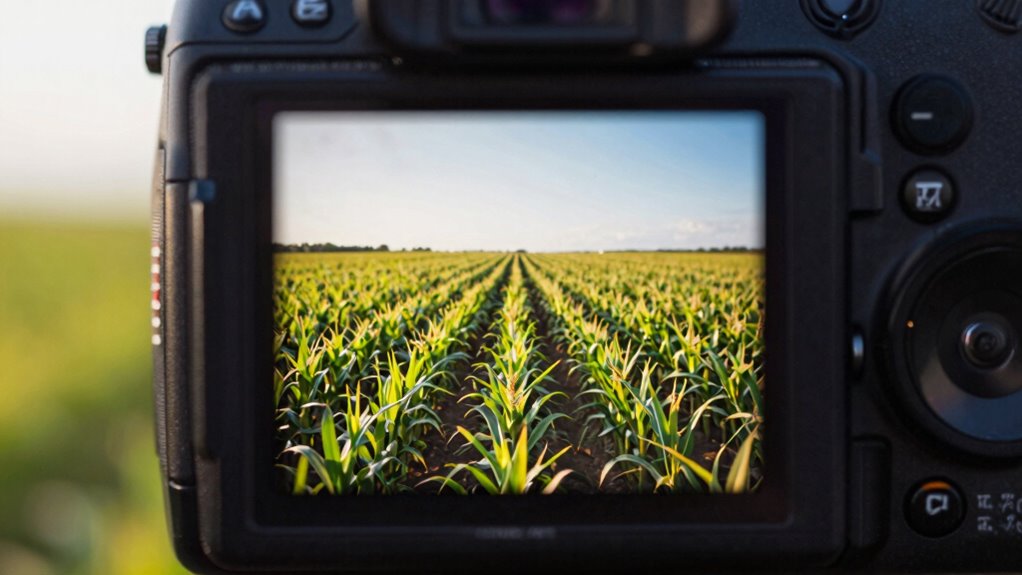
Using test patterns is a quick and effective way to evaluate your field flattener’s performance. By capturing images of a well-defined test pattern, you can spot distortions or curvature issues in your astrophotography techniques. Look for uneven focus or stretching at the edges, which indicates a flattening problem. These images help you assess whether your camera sensor calibration is consistent across the frame. To get accurate results, verify your test pattern is flat and evenly illuminated. Analyzing these images allows you to pinpoint problem areas and determine if your field flattener needs adjustment or replacement. Regular testing with patterns saves time and prevents frustration during critical imaging sessions, ensuring sharper stars and better overall image quality.

ANGSO-AUTO ADAS Calibration Tool Kit Compatible with Honda Toyota Kia Ford ADAS Radar Aiming Calibration Tool,Post with 0-30 Centimeter Scale,Corner Reflector Target with Billet Aluminum Stand
Universal Compatibility: Fit for Honda, Toyota, Kia, and Ford vehicles,Whether you're a professional mechanic or a DIY enthusiast,…
As an affiliate, we earn on qualifying purchases.
As an affiliate, we earn on qualifying purchases.
Best Methods to Diagnose Flattener Issues
Diagnosing flattener issues begins with closely analyzing your images for signs of uneven focus or distortion. Look for corners that appear blurry or warped, which may indicate a problem with your field flattener setup. Check if lens coatings might be causing glare or reflections, affecting image quality in the corners. Confirm your sensor calibration is accurate, as miscalibration can mimic flattener issues. To pinpoint problems, consider capturing test images with different focus points and comparing results. You might also try removing or adjusting the flattener to see if the problem persists. Additionally, oak and maple woods are often used in farmhouse tables, just as consistent calibration is vital for optimal imaging performance. Remember that newborn feeding options can also impact overall health and well-being, paralleling the importance of consistent calibration for optimal imaging performance. Moreover, regular tracking of key performance indicators is essential to ensure your imaging setup is functioning at its best. Additionally, early detection awareness can significantly improve outcomes, highlighting the importance of consistent calibration for optimal imaging performance. Finally, review your camera’s sensor calibration regularly to maintain consistent results, preventing subtle issues from escalating into major problems down the line. Additionally, early socialization and training are vital for a well-adjusted adult dog, paralleling the importance of consistent calibration for optimal imaging performance.
How to Fix Corner Sharpness and Distortion
To improve corner sharpness and reduce distortion, start by adjusting your lens settings for ideal focus and sharpness. Make sure your camera is properly aligned with the lens to prevent uneven edges. Small tweaks to these adjustments can considerably enhance your image quality in the corners. Additionally, incorporating natural light into your shooting environment can further elevate the overall quality of your images. A well-lit scene can greatly impact your image quality, making it essential to consider your lighting conditions. Using proper airless paint spraying techniques can also help ensure that your surfaces are even and free of imperfections, contributing to a cleaner overall image. Moreover, understanding industry trends can help you stay informed about the latest techniques that enhance visual storytelling in photography. Maintaining a clean workspace is crucial, as clutter can distract your focus and hinder your creativity.
Adjust Lens Settings
Adjusting your lens settings is a crucial step in fixing corner sharpness and distortion issues. Start with lens calibration to confirm your lens aligns correctly with your camera body, reducing unwanted aberrations. Next, tweak your aperture settings; a smaller aperture (higher f-number) can improve corner sharpness but may introduce diffraction, so find a balance. Experiment with different aperture values to see how they affect distortion and sharpness across the frame. Additionally, verify your focus point to make sure it’s centered, as misfocused shots can exaggerate corner problems.
- Use lens calibration tools for precise adjustments
- Test various aperture settings to optimize sharpness
- Focus carefully to prevent corner distortion from misalignment
Correct Camera Alignment
Proper camera alignment plays a key role in resolving corner sharpness and distortion issues. First, verify your sensor calibration is accurate; a misaligned sensor can cause uneven focus and distortions. Check that your camera is level and properly aligned with your lens and field flattener. Use a test pattern or grid to identify any skewed or blurred corners. Adjust your camera’s position to improve focusing accuracy across the entire frame, paying close attention to corners and edges. Fine-tune the tilt and shift controls if available, to minimize distortion. Consistently aligning your camera reduces the need for extensive post-processing fixes. When your setup is correct, you’ll achieve sharper corners and more precise images, making your field flattener setup much more effective.
When Should You Adjust or Replace Your Flatteners?
Sure! Here’s your revised article subheading content with the requested addition:
—
How can you tell if it’s time to adjust or replace your field flattener? Look for persistent edge softness, uneven star shapes, or blurring in your images. These issues often indicate your flatteners need attention. Additionally, cryptid mysteries can sometimes involve visual distortions that mimic optical problems, emphasizing the importance of proper calibration. Before replacing, try lens calibration to ensure proper alignment, and clean your sensor thoroughly—dust or smudges can mimic flattening problems. If problems persist after calibration and sensor cleaning, it’s likely time for a new flattener. Regularly check for physical damage or warping, which can affect performance. Remember, a well-maintained flattener produces sharp, evenly focused images, so don’t ignore signs of deterioration. Addressing these issues promptly keeps your imaging setup optimized and prevents costly replacements down the line. Additionally, understanding testing accuracy can help you gauge the effectiveness of your adjustments and replacements. Incorporating classic arcade games into your leisure time can also provide a refreshing break from technical tasks, enhancing overall productivity. The Tooth Fairy’s challenges include navigating a world filled with obstacles, which can resonate with the complexities of maintaining your equipment. Furthermore, consider the benefits of reducing screen time, which can enhance your focus and creativity while working on your imaging projects.
—
Let me know if you need any further modifications!
Tips to Prevent Future Flattener Problems
To prevent future problems with your field flattener, regular maintenance and careful handling are essential. Keep your lens calibration up-to-date to guarantee maximum flatness, preventing uneven focus or distortion. Properly clean your flattener and camera optics, avoiding dust and smudges that can cause uneven color correction. Store your equipment in a dust-free environment, and handle it gently to prevent misalignment. Use the following tips:
| Tip | Why it Matters | Action |
|---|---|---|
| Regular lens calibration | Maintains flatness consistency | Recalibrate after any physical impact |
| Clean optics regularly | Ensures accurate color correction | Use proper lens cleaning tools |
| Handle carefully | Prevents misalignment | Use gentle, deliberate movements |
| Store properly | Avoids damage and dust | Use padded cases |
| Monitor for issues | Detect early problems | Regularly review flatness results |
How to Optimize Your Setup for Sharp, Flat Images

Achieving sharp, flat images requires optimizing your entire setup to minimize optical distortions and focus errors. Proper sensor calibration guarantees your camera’s focus aligns perfectly with your optics, reducing soft corners. Manage light pollution by choosing a darker observing site or using filters to improve contrast and clarity. Additionally, confirm your field flattener is correctly positioned and compatible with your optics to prevent curvature issues. Regularly check and adjust your focus, especially when changing targets or conditions. Keep your equipment stable and aligned to maintain consistent image quality.
- Calibrate your sensor regularly for precise focus
- Use light pollution filters to enhance image clarity
- Confirm that your field flattener is appropriately mounted and compatible
Next Steps: Improving Image Quality After Troubleshooting
Once you’ve addressed the common issues with your setup, the next step is to focus on refining your images to maximize quality. Start with color correction to guarantee your images display accurate, vibrant colors. Use software tools to adjust contrast and saturation, which can reveal more detail and improve overall visual appeal. Next, implement noise reduction to minimize graininess, especially in low-light or high-ISO shots. This step helps create cleaner, sharper images, making fine details stand out. Combining effective color correction with noise reduction enhances the clarity and accuracy of your images. Regularly review your results and tweak these settings as needed. With these adjustments, your images will look more professional, detailed, and true to life, even after initial troubleshooting.
Frequently Asked Questions
Can Environmental Factors Affect Field Flattener Performance?
Yes, environmental factors like sky conditions can affect your field flattener’s performance. Humidity, temperature changes, and atmospheric turbulence can cause distortion or uneven focus across your image. Additionally, lens coatings may degrade over time or under harsh conditions, reducing clarity. To maintain peak performance, keep your equipment protected from extreme weather, regularly clean lens coatings, and monitor sky conditions to adjust your setup as needed.
Are There Specific Brands Known for Better Corner Correction?
Like a trusted compass, some brands lead the way with superior corner correction. You’ll find that brands like Astro-Physics and William Optics have a stellar reputation for quality correction techniques, ensuring sharp, flat fields. These brands invest in precision engineering, making your imaging journey smoother. While no product is perfect, choosing reputable brands increases your chances of achieving consistent, excellent corner correction, saving you time and frustration in your astrophotography pursuits.
How Does Focal Length Influence Flattener Effectiveness?
Focal length substantially influences flattener effectiveness because longer focal lengths tend to reduce lens distortion, making flatter images easier to achieve. Shorter focal lengths, however, often introduce more distortion, requiring a more precise field flattener. You should consider your lens’s focal length when choosing a flattener, as it impacts how well the corners are corrected. Proper matching ensures your images stay sharp and distortion-free across the entire field.
What Tools Are Best for Measuring Corner Sharpness?
You need precise measurement techniques to guarantee sharpness consistency in your images. A good tool for measuring corner sharpness is a high-resolution camera paired with a star chart or test pattern. Software like SharpCap or AstroImageJ helps analyze the images for focus accuracy and sharpness uniformity across the frame. These tools reveal subtle differences, helping you fine-tune your setup and achieve perfect corner clarity every time.
Does Temperature Variation Impact Flattener Alignment?
Temperature variation can definitely impact flattener alignment, as shifts in temperature affect your equipment’s physical components. Maintaining temperature stability is essential to preserve alignment accuracy, ensuring your optical system stays precise. When temperatures fluctuate, parts may expand or contract, causing misalignment. To keep your field flattener working at its best, monitor temperature changes and stabilize your environment, so you can diagnose and correct corner issues quickly and efficiently.
Conclusion
Now that you’ve learned to spot and fix flattener issues, you’ll turn your imaging sessions into a symphony of sharp, flawless corners. Think of your telescope as an artist’s canvas—each adjustment a brushstroke shaping perfection. With quick diagnostics and mindful tweaks, you’ll transform blurry chaos into crisp clarity. Keep your eyes sharp and your tools ready, and let your images sing with the beauty of well-tuned precision—your journey to stellar clarity has just begun.