
Dithering is a simple technique that creates the illusion of more colors and smoother gradients by adding tiny patterned noise to your images. It reduces banding, enhances details, and makes photos look cleaner and more natural. By using the right dithering methods, you can improve overall clarity without sacrificing image quality. If you want to discover how to apply these tricks effectively and avoid common mistakes, there’s more to explore ahead.
Key Takeaways
- Dithering reduces visible banding and grain, creating smoother gradients for a cleaner, more natural photo appearance.
- It simulates a broader color palette, enhancing perceived detail without increasing file size or bit depth.
- Applying subtle dithering after adjustments preserves image clarity and prevents posterization.
- Choosing the right dithering technique (like Floyd-Steinberg) can significantly improve color fidelity and visual quality.
- Proper dithering minimizes noise, resulting in photos that appear 10x cleaner and more professional.
![WavePad Audio Editing Software - Professional Audio and Music Editor for Anyone [Download]](https://m.media-amazon.com/images/I/B1fcLEGCs6S._SL500_.png)
WavePad Audio Editing Software – Professional Audio and Music Editor for Anyone [Download]
Full-featured professional audio and music editor that lets you record and edit music, voice and other audio recordings
As an affiliate, we earn on qualifying purchases.
As an affiliate, we earn on qualifying purchases.
What Is Dithering and Why Does It Make Your Photos Better?

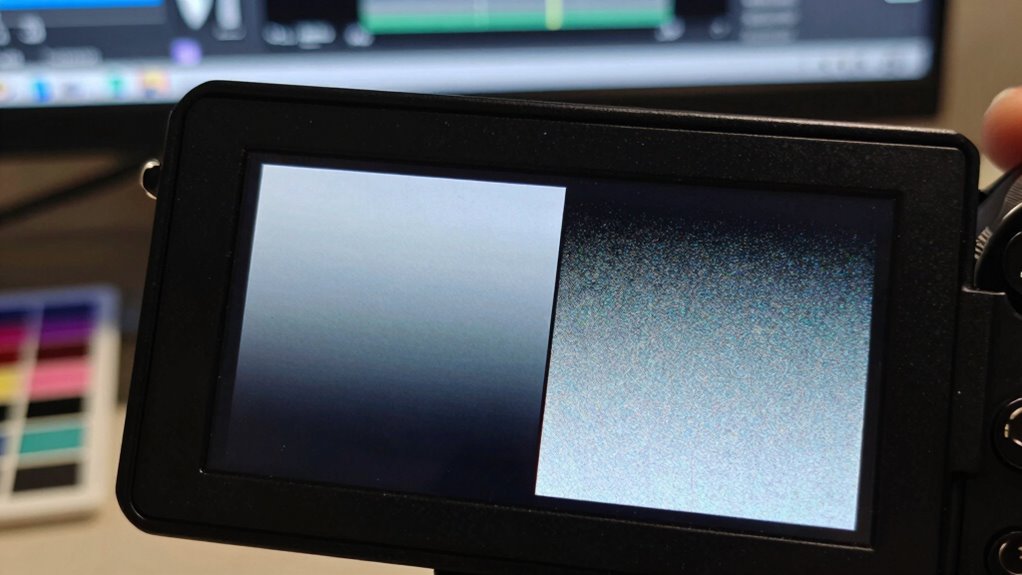
Have you ever wondered how digital images achieve smoother color gradations and reduce banding? It all comes down to color depth, which determines how many colors your image can display. When color depth is limited, images often show visible bands and abrupt shifts between shades, creating visual noise. Dithering helps by simulating more colors through patterns, giving the illusion of smoother blends. It effectively increases the perceived color depth without needing more bits per pixel. This process minimizes visual noise, making images look cleaner and more natural. By adding subtle variations, dithering reduces the harshness of color jumps, resulting in a more refined and polished appearance. Additionally, exploring new frontiers in digital content can reveal innovative techniques like dithering that enhance image quality. Understanding media literacy can help you appreciate the role of such techniques in improving visual aesthetics. Without dithering, your photos might look posterized or grainy, but with it, they become visually smoother and more pleasing to the eye. Additionally, achieving color accuracy in your images can further enhance their overall quality, making them even more captivating.
photo dithering tools
As an affiliate, we earn on qualifying purchases.
As an affiliate, we earn on qualifying purchases.
How Dithering Enhances Photo Clarity and Detail
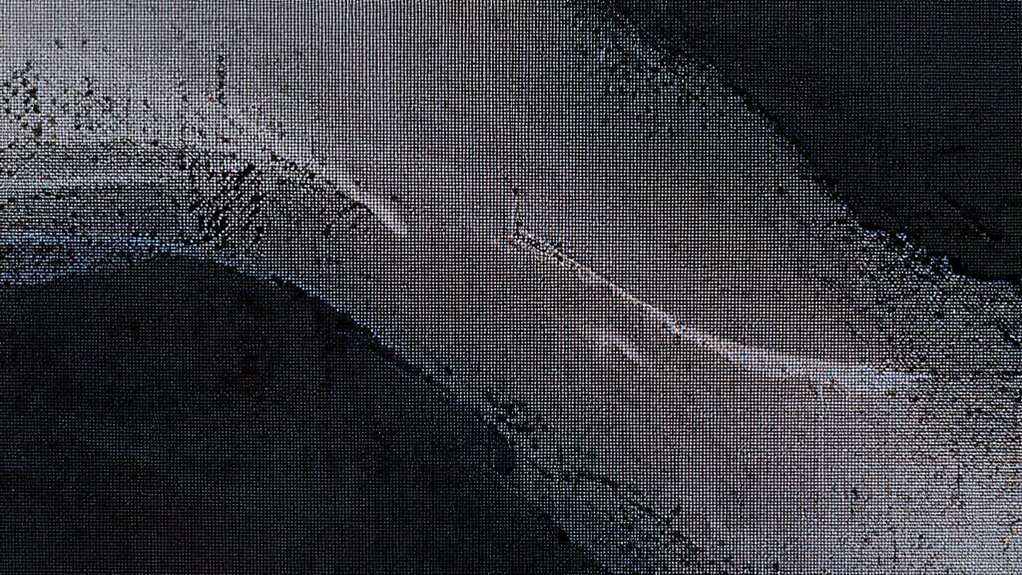
Dithering plays a crucial role in enhancing photo clarity and detail by effectively simulating subtle color variations that raw digital data can’t naturally capture. It expands the perceived color palette, allowing your images to display smoother gradients without increasing file size or pixel resolution. By dispersing tiny dots of different colors, dithering tricks the eye into seeing continuous tones and nuanced details that might otherwise look flat or posterized. This process helps your photos look more natural, especially in areas with subtle shifts in light and shadow. As a result, images appear sharper and more detailed, even within limited pixel resolution. Dithering guarantees your photos maintain richness and depth, making every detail pop while preserving overall clarity.

Install Bay IBNF50 Noise Filter 50 AMP Each
Package Dimensions: 8.128 cms (L) x 7.62 cms (W) x 8.128 cms (H)
As an affiliate, we earn on qualifying purchases.
As an affiliate, we earn on qualifying purchases.
Best Dithering Techniques for Different Photo Styles

Choosing the right dithering technique depends on the specific style and mood you want to achieve in your photos. For vibrant, colorful images, use techniques like Floyd-Steinberg dithering to preserve rich color palettes while preventing banding. This method enhances resolution optimization by distributing error more evenly, resulting in smoother gradients. For a vintage or film-like aesthetic, consider ordered dithering, which introduces a deliberate pattern that mimics film grain and adds character to monochrome or muted color photos. If your goal is a modern, minimalist look, noise dithering can effectively reduce color clutter, emphasizing clean lines and subtle shifts. Additionally, using well-drained soil in your photography setup can help maintain color integrity by minimizing reflections from uneven surfaces. Matching your dithering style to your photo’s intent guarantees that color palettes are preserved or artistically enhanced, and resolution is optimized for the best visual impact.

Andoer 13pcs Square Gradient Full Color Filter Bundle Kit for Cokin P Series with Filter Holder + Adapter Ring(52mm / 58mm / 62mm / 67mm / 72mm) + Storage Bag + Cleaning Cloth
This camera filter kit includes gradient color filters + gradual ND filters + full ND filters + filter…
As an affiliate, we earn on qualifying purchases.
As an affiliate, we earn on qualifying purchases.
Step-by-Step: How to Apply Dithering in Your Editing Workflow
Applying dithering effectively requires a clear, step-by-step approach within your editing workflow. First, guarantee proper color management by working in a consistent color space, like Adobe RGB or sRGB, to maintain accurate tones. Next, apply dithering after making your final adjustments to color and contrast, as this step minimizes banding and color posterization. When preparing files for compression, use appropriate dithering methods to preserve visual quality without increasing file size unnecessarily. For example, when exporting JPEGs, enable dithering options to smooth gradients, especially in areas with subtle color shifts. Always preview your image at different zoom levels to verify the dithering looks natural. Following this process helps optimize your workflow, ensuring cleaner, more professional results with less post-editing correction.
Common Dithering Mistakes to Avoid and How to Fix Them

One common mistake is using too much dithering, which can introduce unnecessary noise and make your image look grainy. This hampers color accuracy and can undermine noise reduction efforts. To avoid this, keep your dithering subtle and balanced. Be cautious of over-application that causes distracting speckles.
Consider these fixes:
- Reduce dithering strength for smoother gradients
- Use appropriate dithering algorithms to enhance color fidelity
- Preview changes to ensure noise isn’t amplified
- Adjust noise reduction settings in tandem with dithering to maintain clarity
Additionally, using the right flywheel and engine upgrades can significantly improve the overall performance and clarity of your images by optimizing the processing of visual data.
Frequently Asked Questions
Can Dithering Be Used With All Photo Editing Software?
Not all photo editing software supports dithering, especially when it comes to applying specific dithering algorithms or adjusting your color palette. You’ll find some programs, like Photoshop or GIMP, offer built-in dithering options, but others might lack this feature. To achieve the best results, choose software that allows you to customize dithering algorithms and modify your color palette, ensuring cleaner, more refined images.
Does Dithering Increase File Size Significantly?
Dithering can slightly increase your file size, but it’s usually minimal compared to the benefits. It helps reduce compression artifacts and color banding, making your images look smoother and more natural. While some formats may see a more noticeable size increase, most modern software manages this efficiently. Overall, the improved image quality from dithering outweighs the small file size increase, especially when you want cleaner, more professional-looking photos.
How Does Dithering Affect Color Accuracy?
Sure, dithering doesn’t magically boost color accuracy; it just tricks your eyes into seeing more color depth than actually exists. It reduces visual artifacts by blending colors, making gradients smoother. So, instead of expecting perfect hues, know that dithering’s like that friend who tries to help but sometimes leaves you with a little visual noise. It’s all about fooling your eyes, not upgrading your color precision.
Is Dithering Suitable for Both Digital and Print Photos?
Yes, dithering works well for both digital and print photos. It enhances color depth by simulating more shades, making images appear smoother. In digital photos, dithering reduces visual noise, giving a cleaner look. For print photos, it helps create the illusion of more colors and detail without increasing file size. So, whether you’re viewing on screen or printing, dithering improves overall image quality and accuracy.
How Do I Choose the Right Dithering Pattern for My Photo?
You should choose your dithering pattern based on your color palette and desired detail. Simple palettes benefit from less complex patterns, like Floyd-Steinberg, which preserves smooth gradients. For more vibrant or detailed images, opt for more complex patterns like Jarvis or Sierra to add texture and depth. Experiment with different patterns to see which enhances your photo’s tone and style, ensuring it complements your overall vision.
Conclusion
Mastering dithering feels like giving your photos a gentle whisper of perfection—subtle yet powerful. When you apply these techniques, your images become as crisp and clear as a mountain stream. It’s a tiny move that can transform your work from good to stunning, like adding the final brushstroke to a masterpiece. Keep experimenting, and watch your photos shine brighter than ever—proof that sometimes, the smallest details make the biggest difference.