Guide-assistant tools analyze your mounting process in real time, giving you immediate…
Browsing Category
Guiding & Tracking
126 posts
Interpreting Guiding Graphs: RMS Error and Oscillation
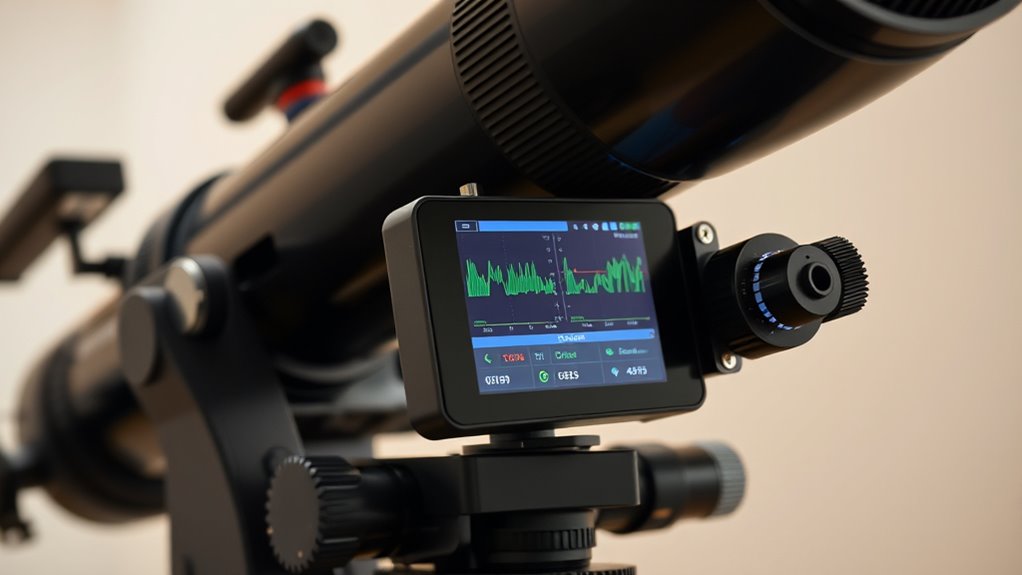
Understanding guiding graphs’ RMS error and oscillation patterns reveals crucial insights into your robot’s accuracy and stability—keep reading to master troubleshooting.
Mount Balance and Backlash Checklist: What Pros Wish You Knew
Discover key tips to master mount balance and minimize backlash—what pros wish you knew to ensure optimal performance and safety, but there’s more to learn.
Star Trails Vs Deep-Sky Tracking: Technique Comparison
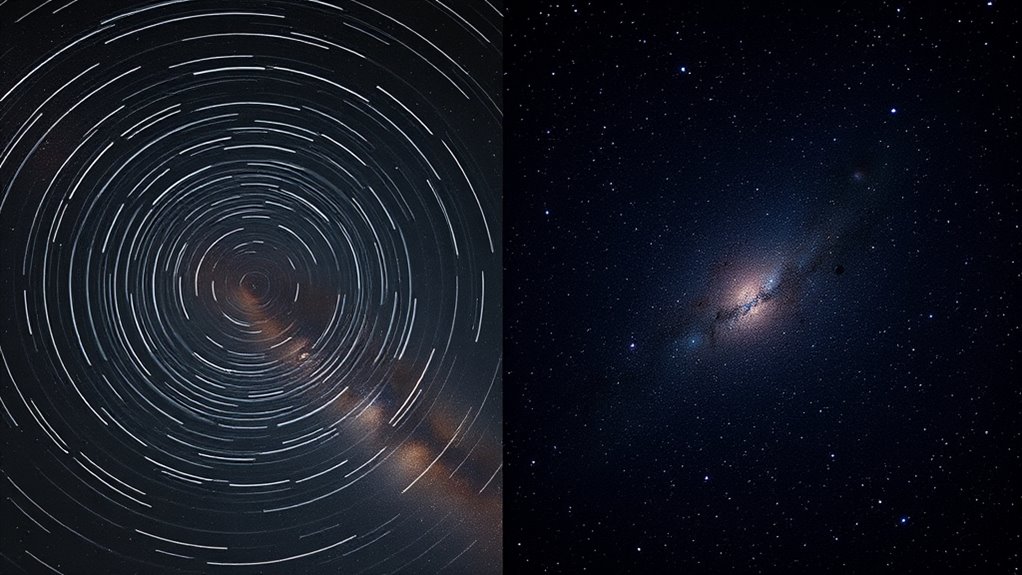
Navigating the differences between star trails and deep-sky tracking reveals unique challenges and rewards that can transform your astrophotography journey.
On-Axis Guiding: Autoguiding Without a Separate Guide Scope
Begin exploring on-axis guiding to simplify your astrophotography setup and improve tracking accuracy, but discover what factors are essential for success.
Monitoring Tracking Errors With Mount Diagnostics Tools
Keeping track of errors with mount diagnostics tools reveals hidden issues; discover how to optimize your setup for perfect imaging.
Using Counterweights to Improve Mount Tracking Stability
Smoothing your mount’s tracking requires proper counterweight use; learn essential tips to achieve stable, sharp astrophotography images.
Guide Scope Vs OAG for Beginners Safety 101
For beginners choosing between guide scopes and OAGs, understanding safety essentials can make or break your astrophotography success—discover the key factors now.
Autoguiding Vs Star Tracking: Differences for Beginners
Here’s a comparison of autoguiding and star tracking for beginners, highlighting key differences that could transform your astrophotography journey.
Understanding Tracking Rates: Sidereal, Solar and Lunar Modes
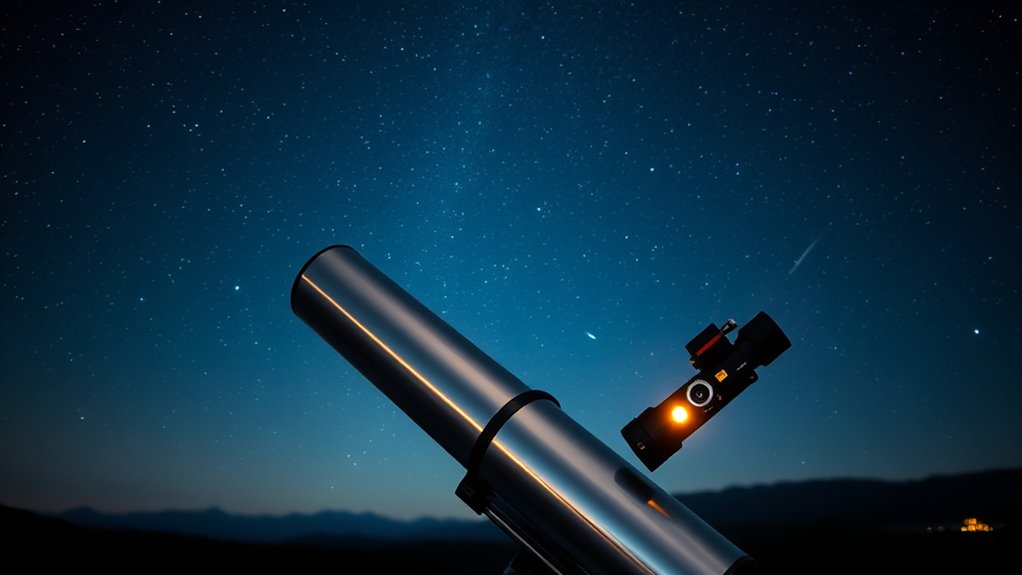
Aiming to master celestial observations, understanding sidereal, solar, and lunar tracking rates reveals essential differences that impact your telescope’s accuracy.