Using an intervalometer for time-lapse astrophotography helps you capture smooth, consistent sequences by controlling your camera’s shot timing precisely. Set your camera to manual mode, choose appropriate exposure times (around 15-30 seconds), and adjust the interval just slightly longer than your exposure to avoid overlap. This setup guarantees you record the night sky’s movement effectively. Keep experimenting with settings, and if you keep exploring, you’ll discover how to perfect your star trails and celestial sequences.
Key Takeaways
- Set the interval slightly longer than your camera’s exposure time to prevent image overlap and ensure smooth motion.
- Use manual mode to lock exposure, focus, and ISO, maintaining consistency across all shots.
- Choose longer exposures (15-30 seconds) for capturing stars, trails, or celestial movement effectively.
- Adjust interval timing based on scene dynamics, such as longer for star trails or shorter for planetary shots.
- Plan your total shot count and duration to optimize interval settings for seamless, high-quality astrophotography time-lapses.
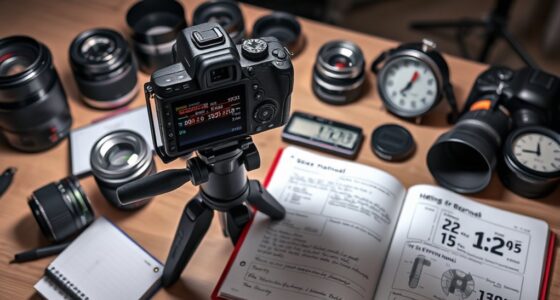
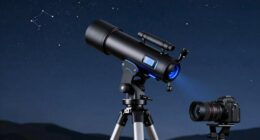
Capturing stunning time-lapse astrophotography requires precise control over your camera’s settings, and an intervalometer is essential for achieving this. When you’re shooting the night sky, you want consistent intervals between shots to create smooth, seamless motion. The key lies in understanding how to configure your camera settings correctly and selecting the right interval to match your scene and desired outcome. Your camera settings determine the exposure, focus, and ISO, all of which influence the quality of your final time-lapse. Typically, you’ll want to set your camera to manual mode so you can lock in these parameters, preventing changes during the shoot. A longer exposure, such as 15 to 30 seconds, often works best for capturing stars and celestial movement, but this depends on your camera’s capabilities and the amount of light pollution in your area. Keep the ISO as low as possible to minimize noise, but high enough to pick up the faint details of the night sky. Setting your aperture to its widest setting allows maximum light intake, essential in low-light conditions.
Interval selection is equally vital. It involves choosing how frequently your camera takes each shot. If your interval is too short, you might end up with overlapping images or overexposed frames, especially if your camera’s exposure time is lengthy. Conversely, if the interval is too long, the motion might appear choppy or too slow in the final time-lapse. A good rule of thumb is to set the interval slightly longer than your exposure time, ensuring each shot is properly exposed before the next begins. For example, if you’re exposing for 20 seconds, set the interval to around 25-30 seconds. This allows the camera to complete the exposure, process the image, and prepare for the next shot without unnecessary delays.
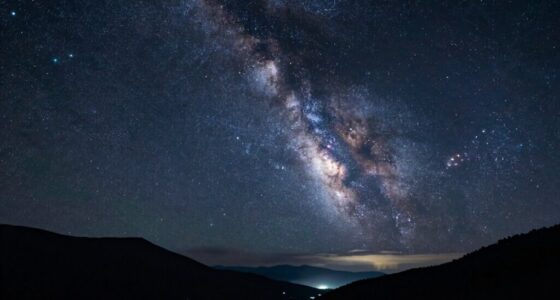
Planning your interval also benefits from understanding projector technology and how different settings can impact the overall visual effect in the sequence. Your interval selection also depends on what you’re aiming to capture. For star trails, longer intervals work well because the movement is slow, and you want the trails to appear smooth and continuous. If you’re capturing the movement of planets or satellites, shorter intervals might be necessary to avoid gaps in the motion. Remember, the total duration of your time-lapse and the number of frames you want to produce will influence your interval choice. Planning ahead and experimenting with different settings can help you find the perfect balance between exposure, interval, and overall footage quality. With careful camera settings and thoughtful interval selection, you’ll be able to craft mesmerizing astrophotography time-lapses that reveal the dynamic beauty of the night sky.

Astrophotography For Hybrid Creators: Operational strategies and gear setups that let photographers capture both high-quality stills and cinematic night video
As an affiliate, we earn on qualifying purchases.
As an affiliate, we earn on qualifying purchases.
Frequently Asked Questions
Can I Use a Smartphone as an Intervalometer for Astrophotography?
You can use a smartphone as an intervalometer for astrophotography, but watch out for smartphone limitations like battery life and stability. Make sure your phone’s camera app supports interval shooting or find a compatible app designed for time-lapse photography. Keep in mind that app compatibility varies, so you might need to experiment with different apps to find one that offers the interval control and manual settings you need for capturing stunning astrophotos.
How Do I Prevent Battery Drain During Long Exposure Time-Lapse Sessions?
To prevent battery drain during long exposure time-lapse sessions, you should focus on effective battery management and consider power bank options. Use a high-capacity power bank to keep your camera and intervalometer powered longer. Turn off unnecessary features like Wi-Fi or Bluetooth, and lower screen brightness. Regularly monitor your battery levels and carry spare batteries to make sure uninterrupted shooting, maximizing your astrophotography session.
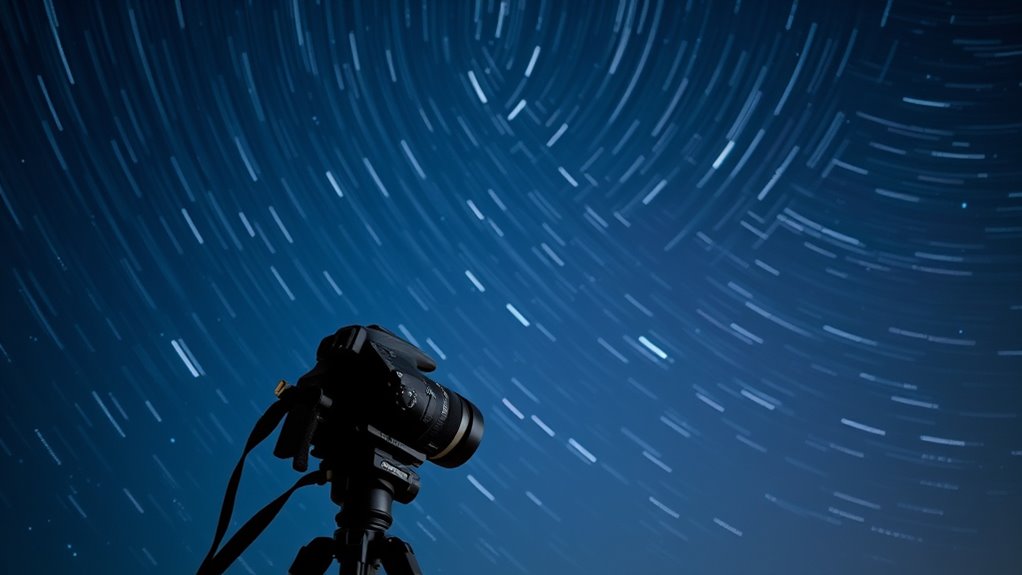
What’s the Ideal Interval Timing for Capturing Star Trails?
You should set your interval timer for about 15 to 30 seconds to capture star trails effectively, avoiding star streaks and gaps. To optimize your shots, choose a wide-angle lens and set your aperture for maximum light intake—usually around f/2.8 or wider. This balance guarantees continuous trail formation without gaps, even if your camera needs a brief pause between shots, making your star trail images stunning and well-exposed.
Are There Specific Intervalometer Settings for Capturing Meteor Showers?
For capturing meteor showers, set your intervalometer with exposure interval settings around 15 to 30 seconds to allow enough light without overexposing. Timing your shots during peak meteor shower activity maximizes your chances of capturing meteors streaking across the sky. Keep in mind that shorter intervals help capture more meteors, but guarantee your camera’s settings balance exposure and noise. Adjust based on your camera’s capabilities and the meteor shower’s activity.
How Do I Synchronize Multiple Cameras With a Single Intervalometer?
Did you know that multi-camera setups can capture stunning astrophotos from different angles? To synchronize cameras with a single intervalometer, use a wired or wireless trigger with multiple outlets, ensuring all cameras fire simultaneously. Set the same interval and exposure on each camera, and use synchronization tools like external triggers or apps if needed. This way, your camera synchronization will produce seamless, multi-angle time-lapse astrophotography.

for Canon Cameras Wireless Rechargeable Timer Shutter Release Remote Control with LCD & Upgraded Interval Timer for EOS R6 Mark II, R7, R50 V, R100, RP, Rebel T7, T6, T5, T3, SL2, 5D Mark III
AODELAN Upgraded Remote Shutter & Interval Timer: Compatible with Canon EOS RP,R,R1,Ra, R8, R100, R10, R6 Mark II,…
As an affiliate, we earn on qualifying purchases.
As an affiliate, we earn on qualifying purchases.
Conclusion
Now that you know how to set up your intervalometer for time-lapse astrophotography, you’re ready to capture stunning night sky scenes. Just remember, patience is a virtue—sometimes the best shots come to those who wait. With a steady hand and a keen eye, you’ll turn ordinary star trails into extraordinary visuals. So go ahead, take the plunge, and let your camera do the talking under the vast canvas of the universe.

BOWONG Time lapse intervalometer remote timer shutter for Canon DSLR 350D 400D 450D 500D 550D 600D 650D 700D 1000D 1100D Camera
Quality remote for professional, enthusiast and amateur photographers.
As an affiliate, we earn on qualifying purchases.
As an affiliate, we earn on qualifying purchases.

JJC Intervalometer Replaces Canon RS-60E3 Timer Remote Control Shutter Release for Canon EOS R100 R8 R6 Mark II R50V R10 R7 R6 Rp R 90D 80D Rebel T8i T7 T7i T6 T6s T6i SL3 M5 M6 Mark II G1X III II G3X
【Battery Powered】Approx 90cm long wired remote control,11*4.5*2.2cm compact size, powered by 2 AAA alkaline batteries.
As an affiliate, we earn on qualifying purchases.
As an affiliate, we earn on qualifying purchases.