To create large mosaics from multiple panels, guarantee your camera is well-calibrated to minimize distortions and maintain consistent scale. Plan for about 20-30% overlap between images so that stitching software can align features effectively. Pay attention to edges and seams, adjusting control points and overlaps to achieve a seamless look. Proper setup and calibration make the process smoother, and exploring the detailed steps will help you produce high-quality wide targets effortlessly.
Key Takeaways
- Ensure accurate camera calibration to minimize distortions and maintain consistent scale across panels.
- Plan for 20-30% image overlap to facilitate feature matching and seamless stitching.
- Use software with robust feature detection to align overlapping images automatically.
- Manually adjust control points and overlaps near edges for precise seam elimination.
- Post-process the mosaic with color and exposure corrections for cohesive, high-quality results.
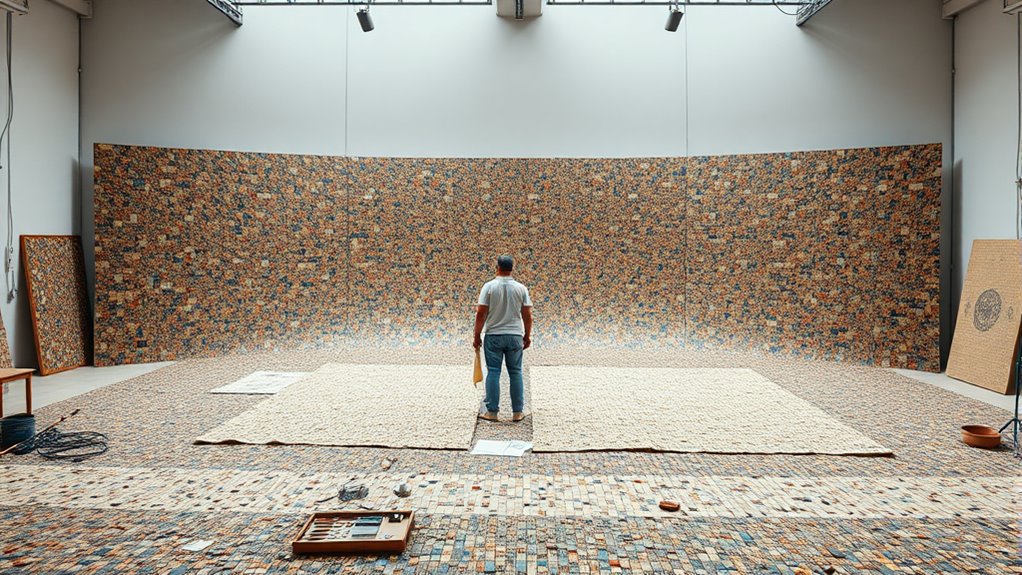
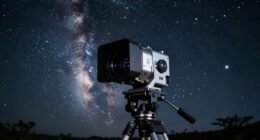
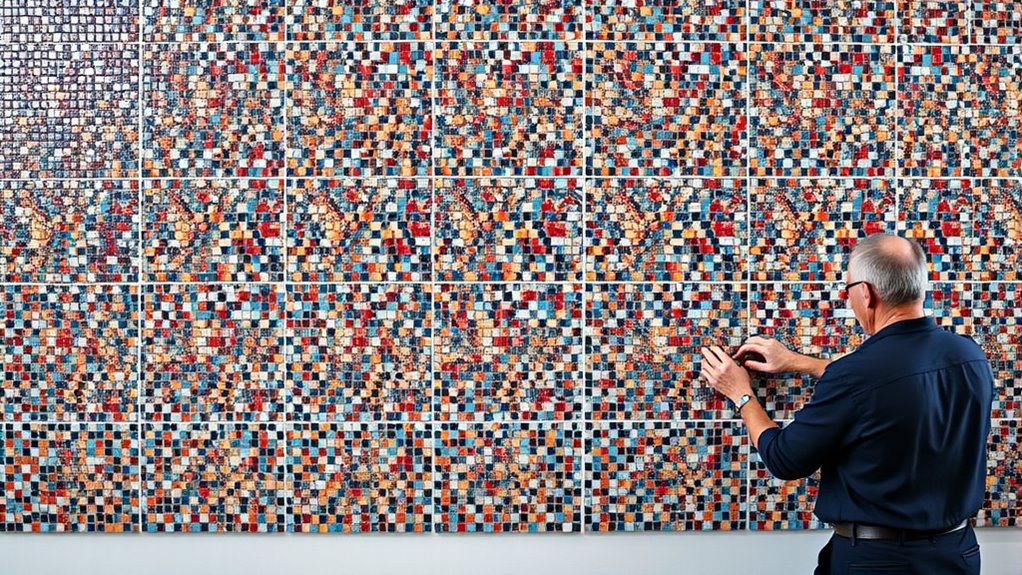
Creating large mosaics can be a rewarding process that transforms a blank surface into a stunning work of art. When you’re working on wide targets, you often need to stitch multiple panels together seamlessly. This involves careful planning and precise execution, especially when it comes to aligning each image correctly. One of the most vital steps is camera calibration, which helps guarantee that your images are captured with accurate geometric properties. Proper calibration reduces distortions and helps you maintain consistent scale across all panels, making the stitching process smoother. Without it, you might encounter misalignments that can be difficult to correct later. Additionally, understanding and managing power consumption during the process can prevent unexpected issues with your equipment power requirements and ensure continuous workflow.
Camera calibration ensures accurate geometric properties for seamless large mosaic creation.
As you capture each section of your mosaic, pay close attention to image overlapping. Overlapping images is essential because it provides common reference points for stitching software to align your photos accurately. Typically, you want around 20-30% overlap between adjacent images. Too little overlap can make it difficult for software to find matching features, resulting in gaps or misalignments. Conversely, excessive overlap increases the number of images you need to process, which can be inefficient. Striking the right balance guarantees your software has enough data to work with, leading to a seamless composite.
When you’re ready to stitch the images, use software that supports multi-panel mosaics. Many programs can automatically align overlapping images based on feature detection, but the quality of the results depends heavily on your initial setup. If your camera calibration was precise and your overlaps were consistent, the software will have an easier time blending the images. It will identify common points, match them across panels, and gradually build the wide mosaic. Keep in mind that manual adjustments might be necessary if there are slight misalignments or distortions.
During the stitching process, pay attention to the edges of each panel. Sometimes, small misalignments can create noticeable seams, especially in large mosaics. Adjusting control points or refining overlaps can help eliminate these issues. Additionally, consider color correction and exposure adjustments to guarantee uniformity across all panels. This consistency makes the final mosaic look cohesive and professional.

DSLRKIT Lens Focus Calibration Tool Alignment Ruler Folding Card(Pack of 2)
This compact ruler allows you to determine if your lens is auto-focusing accurately as it should. It is…
As an affiliate, we earn on qualifying purchases.
As an affiliate, we earn on qualifying purchases.
Frequently Asked Questions
How Do I Choose the Best Materials for Large Mosaics?
To choose the best materials for large mosaics, prioritize material durability to withstand weather and wear. Opt for high-quality tiles or stones that resist fading and chipping. Use color matching techniques to ensure a cohesive look across panels, especially for large projects. Consider your environment and maintenance needs, and select materials that balance aesthetic appeal with longevity, making sure your mosaic remains vibrant and intact over time.
What Tools Are Essential for Assembling Big Mosaic Panels?
You need to have the right tools to make your large mosaic come together smoothly. A digital alignment system is vital for precise panel placement, ensuring your design stays consistent across all sections. Choose an adhesive suited for your materials to keep everything secure. A good trowel, level, and cutting tools are essential. Don’t forget spacers and clamps—they help keep everything aligned and steady while you work.
How Can I Ensure Color Consistency Across Multiple Panels?
To guarantee color consistency across multiple panels, focus on color matching by using the same dyes or pigments for each section. Keep your lighting consistent during application, and photograph your work under similar conditions to monitor color accuracy. Additionally, pay close attention to panel alignment, ensuring each piece lines up correctly to prevent color discrepancies caused by misalignment. Regularly compare panels to maintain a uniform appearance throughout your mosaic.
What Are Common Challenges When Creating Wide Mosaic Projects?
When creating wide mosaic projects, you often face challenges like panel alignment, which can cause uneven edges or gaps. Additionally, grout blending becomes tricky, as inconsistent grout color or application can disrupt the seamless look. To overcome these issues, carefully plan your layout, double-check panel positioning before fixing, and mix grout thoroughly to match colors. Regularly step back to assess overall alignment and color harmony throughout the process.
How Do I Transport and Install Large Mosaics Safely?
To transport and install large mosaics safely, you should use proper transport safety measures like sturdy crates, padding, and secure strapping to prevent damage. When installing, employ techniques such as scaffolding or cranes for stability and safety. Always plan your route carefully, handle the mosaic with care, and work with a team to ensure safe lifting and placement. Double-check all connections and adhesion before finalizing the installation.

M&R Technologies Pc Stitch Cross Stitch Software Vers 11
There's no need to search through magazines or stand in craft stores looking for something unique to cross…
As an affiliate, we earn on qualifying purchases.
As an affiliate, we earn on qualifying purchases.
Conclusion
Now that you’ve mastered stitching multiple panels into a giant mosaic, you hold the power to transform tiny images into breathtaking masterpieces that could cover entire horizons. With each seamless join, you’re not just creating a picture—you’re crafting a universe so vast, it could swallow worlds. Remember, your skills can turn a handful of images into an epic saga so grand, even the stars would pause to admire your work. Keep stitching, and let your creativity stretch beyond the impossible!
photo overlap checker
As an affiliate, we earn on qualifying purchases.
As an affiliate, we earn on qualifying purchases.
large mosaic stitching software
As an affiliate, we earn on qualifying purchases.
As an affiliate, we earn on qualifying purchases.