
The Bortle Scale helps you evaluate how dark your sky is and guides you to the best spots for stargazing. To determine your current light pollution level, observe star visibility, constellations, and nearby light sources, or use online maps and tools. Understanding each class from 1 (darkest) to 9 (brightest) helps you plan better. If you keep exploring, you’ll discover practical tips to find the perfect location and reduce light pollution effects.
Key Takeaways
- Understand the Bortle Scale ranges from 1 (dark sky) to 9 (urban sky) to assess sky quality for stargazing.
- Use visual cues, star visibility, and online maps to identify your current Bortle class and suitable observation sites.
- Match your equipment and observation techniques to the Bortle class for optimal viewing experiences.
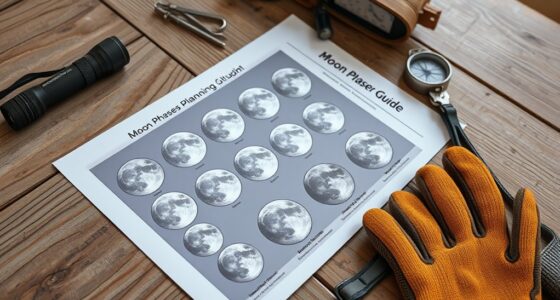
- Plan stargazing around new moon phases, clear weather, and late-night hours for best sky conditions.
- Choose low Bortle sites like parks or rural areas to maximize celestial visibility and detail.

Telescope Camera 4K, 8MP Astrophotography Camera - 1.25" Telescope Electronic Eyepiece Camera with IR Filter, Plug & Play for Astronomy, Planetary Imaging, Compatible with Windows/Mac/Linux
✅【Plug & Play Multi-OS Support】 No drivers needed! Automatically recognized by Windows 10/11, macOS 12+, and Linux via...
As an affiliate, we earn on qualifying purchases.
What Is the Bortle Scale and Why Does It Matter?
The Bortle Scale is a practical tool that helps you gauge the darkness of your night sky and understand how well you can see celestial objects. It measures sky quality by rating how much light pollution affects visibility. Light pollution from cities and artificial lights diminishes your ability to see stars, planets, and other celestial bodies clearly. The scale ranges from 1 (excellent dark sky) to 9 (inner city sky), giving you a straightforward way to assess your observing conditions. Knowing your Bortle level helps you plan better stargazing sessions and choose suitable locations. It emphasizes the importance of minimizing light pollution to improve sky quality, making celestial sights more vibrant and accessible. Additionally, understanding the sources of light pollution can guide you in reducing light interference and enhancing your viewing experience. In short, understanding the Bortle Scale helps you connect more deeply with the night sky.
SVBONY SV605CC Cooled Astrophotography Camera, Double Layer Semiconductor Refrigeration, 9MP IMX533 USB3.0 CMOS Color Telescope Camera, for Deep Sky Astrophotography Panoramic Astronomy&Lucky Imaging
SV605CC deep sky camera is suitable for deep space photography enthusiasts; suitable for deep space photography; panoramic astronomy;...
As an affiliate, we earn on qualifying purchases.
How to Determine Your Current Light Pollution Level
To determine your current light pollution level, you can start by observing the night sky with your naked eye and comparing what you see to the descriptions of different Bortle Scale levels. Pay attention to the sky quality—notice how many stars are visible and whether familiar constellations stand out clearly. Lower pollution levels reveal a rich tapestry of stars, while higher levels obscure much of the night sky. Take note of how faint objects appear and whether the Milky Way is visible or just a faint band. These observations help you gauge the pollution levels around you. Keep in mind that local lighting, weather, and atmospheric conditions can influence sky quality, so consider multiple observations over different nights for a more accurate assessment. Additionally, understanding light pollution statistics can provide context for your observations and help you compare your findings with regional data.

SVBONY SV305C Astrophotography Camera, 2.1MP IMX662 Color Telescope Camera with Removable UV IR Cut Glass, 1.25" Electronic Telescope Eyepiece for Planetary Moon Astrophotography&EAA
SV305C is a color entry-Level telescope camera; which has good performance in planetary photography; lunar photography; and is...
As an affiliate, we earn on qualifying purchases.
Understanding the Bortle Scale Classifications
Understanding the Bortle Scale classifications helps you interpret your observations more accurately. The scale ranges from 1 (excellent sky quality) to 9 (inner-city sky). Each class reflects different levels of urban darkness and sky visibility. Sound vibrations are believed to enhance cellular regeneration and overall health, which can indirectly influence your well-being during prolonged sky observing sessions. Understanding these classifications helps you gauge your sky’s quality and plan your observing sessions accordingly.

SVBONY SV105 Telescope Camera, 1.25" USB2.0 IMX307 CMOS Color Astrophotography Camera, Electronic Telescope Eyepiece for Telescope, Suitable for Astrophotography Beginners
SV105 telescope camera is the basic method for starting astronomical imaging; you can use the SV105 electronic telescope...
As an affiliate, we earn on qualifying purchases.
Tools and Resources for Assessing Sky Conditions

Evaluating sky conditions accurately can substantially enhance your astronomy experience, and fortunately, there are various tools and resources available to help you do just that. Sky quality meters are among the most effective tools, providing precise measurements of night sky brightness. These portable devices give instant readings of sky quality, helping you determine your observing environment’s darkness level. Additionally, there are smartphone apps and online calculators that track light pollution levels and provide real-time data based on your location. Using these tools, you can identify the best spots for stargazing and better understand your local sky conditions. Combining the data from sky quality meters with visual assessments enables you to make informed decisions, ensuring you choose *ideal* conditions for observing and enjoying the night sky. For example, understanding the effects of light pollution can help you select locations with minimal sky brightness for optimal stargazing.
How Light Pollution Affects Different Types of Observations
Light pollution considerably impacts various types of astronomical observations, shaping what you can see and how well you can see it. Urban glow from artificial lighting and atmospheric scattering reduce the visibility of faint objects. This affects different observations in unique ways:
- Deep-sky viewing becomes limited, as faint galaxies and nebulae fade into the background glow.
- Planetary observation remains relatively unaffected, but details may be less sharp due to increased sky brightness.
- Astrophotography struggles with noise and reduced contrast, making it harder to capture clear images of dim objects.
Understanding how urban glow and atmospheric scattering influence your viewing helps you choose the right times and places for observing, maximizing what you can enjoy despite light pollution.
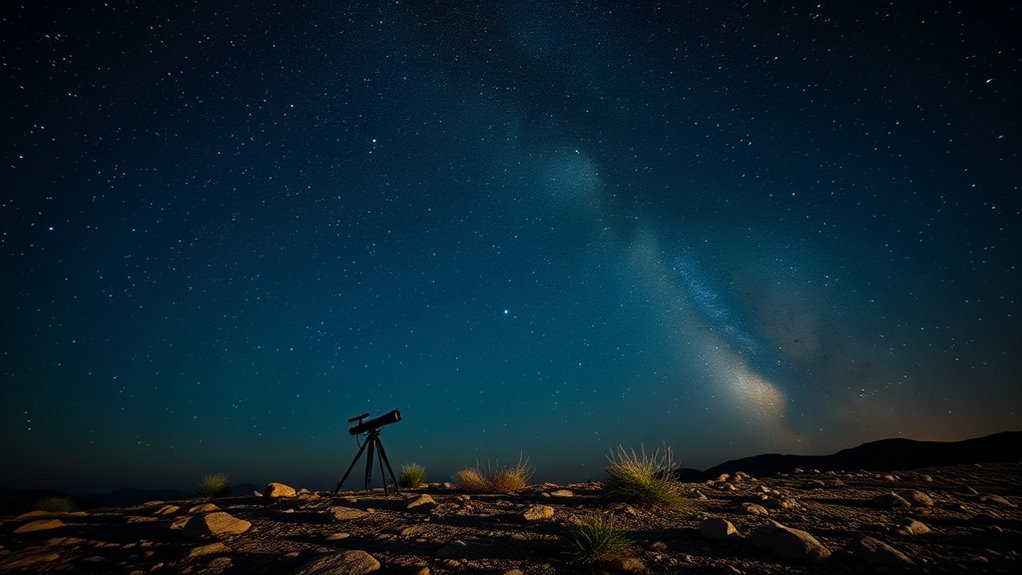
Tips for Choosing the Best Viewing Locations

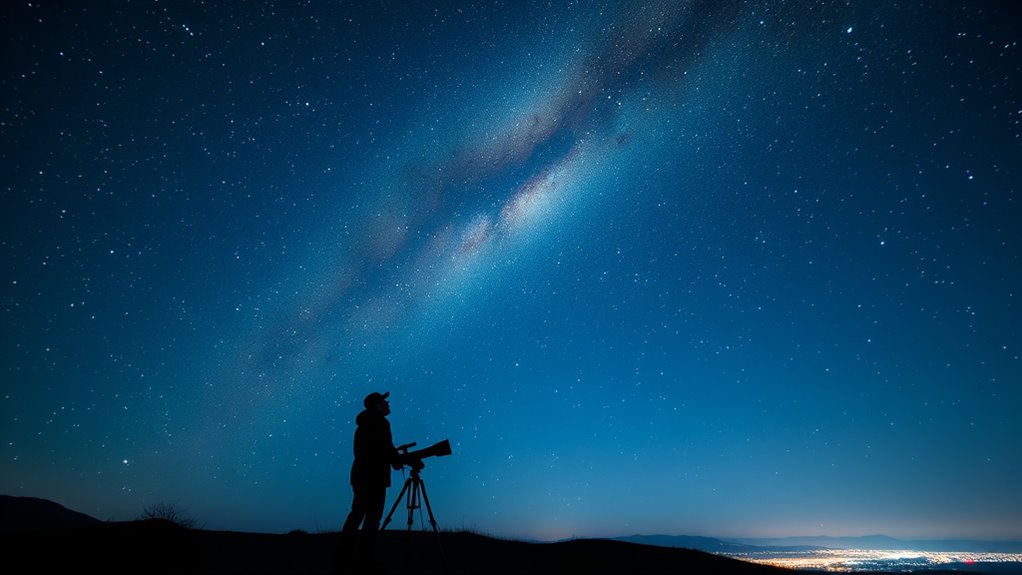
Choosing the right location is essential for getting the most out of your astronomical observations. If you’re in an urban area, look for spots with minimal urban light, such as parks or open spaces away from streetlights. These areas can substantially improve your view despite nearby city glow. For the best experience, consider rural darkness—farther from city lights and pollution—where the sky’s natural darkness reveals more stars and celestial details. Scout locations during the day to identify open horizons and safe access routes. Remember, higher elevations often reduce atmospheric interference, enhancing visibility. Avoid areas with reflective surfaces or excessive ambient light. Additionally, the presence of high-quality optics such as projector technology can significantly improve image clarity in low-light environments. By carefully selecting your viewing spot, you’ll dramatically improve your stargazing experience, whether near urban light or deep in rural darkness.
Adjusting Your Expectations Based on Bortle Class
Understanding the Bortle scale helps you set realistic expectations for your stargazing sessions. Depending on your Bortle class, the sky brightness varies considerably, influenced by light pollution levels. Recognizing this helps prevent frustration and guides your goals.
To adjust your expectations:
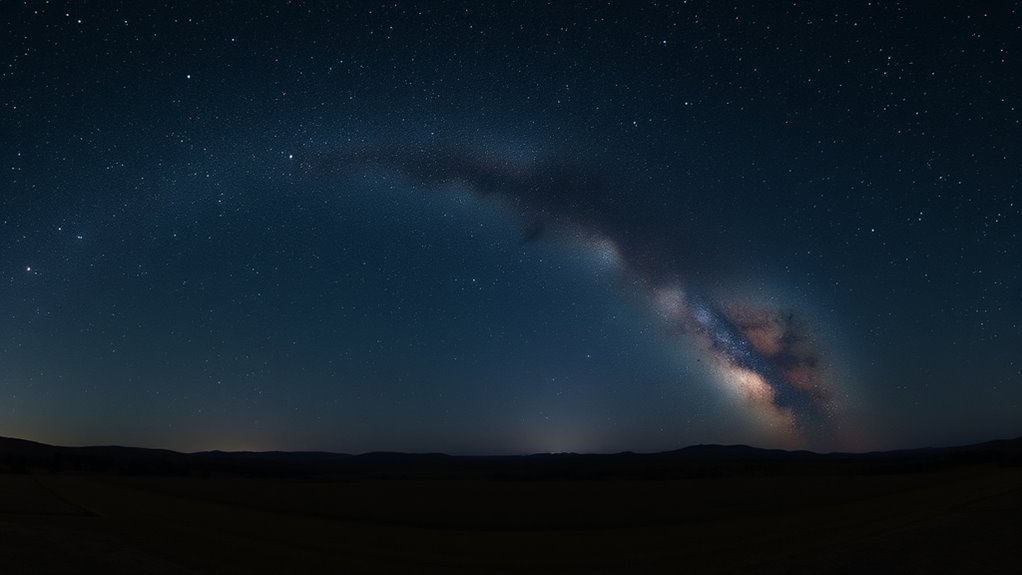
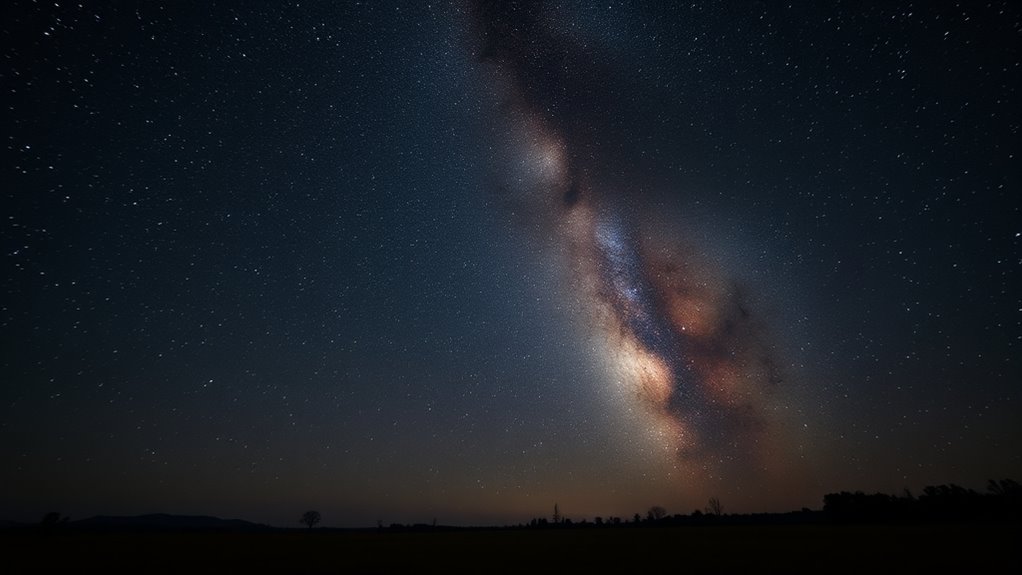
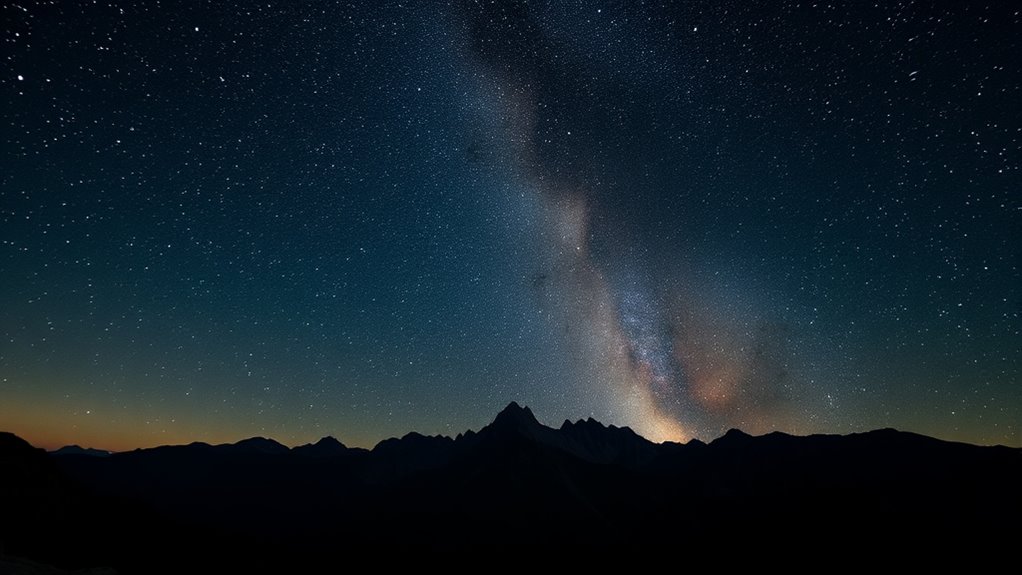
- At lower Bortle classes, like 1 or 2, you’ll see detailed Milky Way features and faint nebulae.
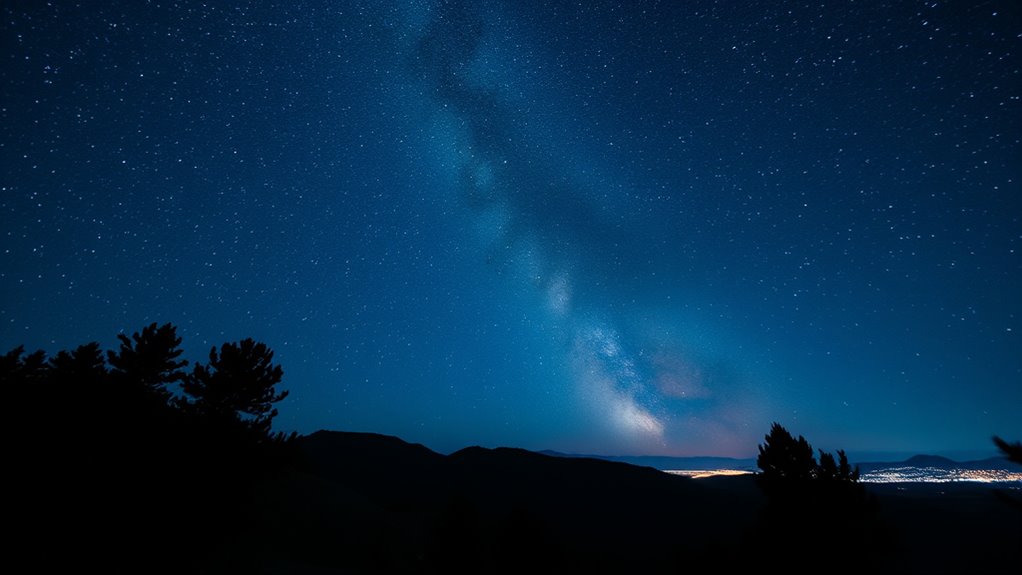
- In middle classes, expect to spot bright stars and some deep-sky objects, but faint details may be lost.
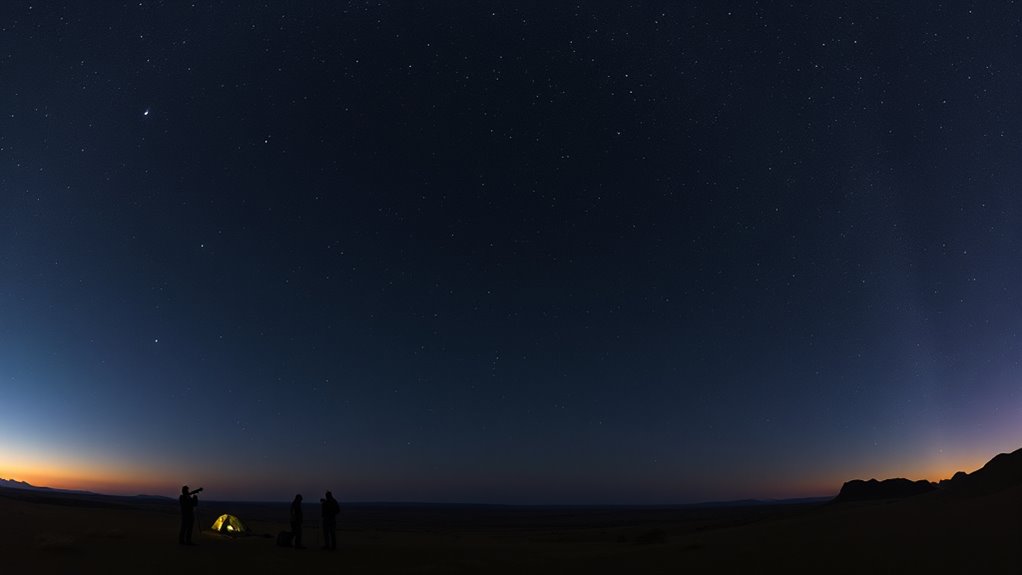
- At higher classes, like 7 or 8, only the brightest stars and planets stand out, with minimal sky detail.
- Being aware of your light pollution levels enables you to plan your observing sessions more effectively.
Knowing your Bortle class helps you appreciate what’s visible and choose suitable targets, making your stargazing more enjoyable.
Practical Strategies to Minimize Light Pollution Interference

To effectively reduce light pollution interference during your stargazing sessions, you can take practical steps to minimize the impact of local artificial lighting. Use outdoor lights sparingly, and shield them to prevent unnecessary sky brightness. Opt for red or amber lights, which minimally affect your night vision. When possible, choose observing locations away from city lights, and communicate with local authorities about reducing unnecessary illumination. Incorporating vertical storage solutions and other organization strategies can also help keep your equipment and accessories ready for quick setup at optimal viewing sites.
Planning Your Stargazing Trips Using the Bortle Scale
To plan successful stargazing trips, you need to identify dark sky areas with low Bortle ratings. Matching your equipment to the site guarantees you get the best views, while timing your sessions around ideal conditions maximizes your experience. Consider these points carefully to make the most of each outing. For a more immersive experience, selecting a bedroom with the right ambiance can help you unwind and prepare for your adventures under the stars.
Identifying Dark Sky Areas
Ever wondered how to find the best spots for stargazing? The key is identifying areas with minimal light pollution. To do this, consider these tips:
- Use online Bortle Scale maps to locate places with a low Bortle class, indicating natural darkness.
- Avoid urban glow by steering clear of city lights and bright suburban areas.
- Seek out parks, rural areas, or designated dark-sky preserves that offer the darkest skies possible.
Matching Equipment to Sites
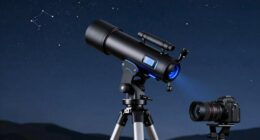
When planning your stargazing trips, matching your equipment to the site’s Bortle class guarantees you get the most out of your experience. Equipment matching depends on the darkness level of the site; darker skies (Bortle 1-3) allow for more detailed observations with minimal gear. For brighter sites (Bortle 4-6), consider using filters or a telescope with higher light-gathering power to enhance visibility. Site selection plays a vital role in determining what gear you’ll need. At darker sites, you can rely on binoculars or small telescopes, while urban or suburban locations might require more advanced filters or smartphone adapters. Tailoring your equipment to the site’s Bortle class ensures clearer views and a more rewarding stargazing experience. Additionally, understanding the field‑of‑view and imaging‑scale can help you optimize your gear choices for different sky conditions.
Timing Optimal Observation Periods
Planning your stargazing trips around the ideal observation periods ensures you maximize clear skies and minimize light pollution interference. To do this effectively, consider these key factors:
- Moon Phases: Aim for new moon or crescent phases, when the sky is darkest and light pollution has less impact.
- Weather Conditions: Check forecasts for clear skies, low humidity, and minimal cloud cover to ensure excellent viewing conditions.
- Timing: Schedule your outings during late evening to early morning hours for the best darkness, especially when the Bortle Scale indicates low light pollution. Additionally, understanding astrological compatibility can sometimes influence personal confidence and overall enjoyment during your outdoor experience.
Frequently Asked Questions
How Often Does the Bortle Scale Get Updated?
The Bortle Scale doesn’t get updated regularly since it’s based on observational assessments of sky quality and light pollution. Instead, it serves as a static reference to compare sky brightness in different locations over time. You should keep an eye on recent reports or satellite data for the latest info on light pollution, but the scale itself remains consistent. Its purpose is to help you gauge your observing conditions accurately.
Can the Bortle Scale Be Used Internationally?
You can definitely use the Bortle Scale internationally, but keep in mind that cultural variations in light pollution awareness exist. Some regions may lack consistent data, impacting international consistency. Despite this, the scale remains a useful tool worldwide for gauging sky darkness. Just remember, local factors influence observations, so use it as a general guide and adapt your expectations based on regional conditions.
Is There a Mobile App for Bortle Scale Assessment?
Yes, there are mobile apps available for Bortle scale assessment. These apps help you evaluate sky quality and light pollution levels by using your phone’s camera or sensors. You can quickly compare your observing site to Bortle scale descriptions, making it easier to find dark skies. Apps like Clear Outside or Dark Sky Finder are popular choices, helping you plan stargazing trips and avoid areas with excessive light pollution.
How Reliable Is the Bortle Scale for Amateur Astronomers?
The Bortle scale proves pretty reliable for amateur astronomers, especially when considering sky quality and observer experience. You’ll find it offers a practical, predictable way to gauge darkness levels. While it’s not perfect and can vary with conditions, your experience enhances accuracy, helping you plan better stargazing sessions. Trust the scale as a handy, honest helper, but also listen to your own eyes and local light pollution reports for the best results.
Are There Any Alternatives to the Bortle Scale?
Yes, you can use sky quality meters or all-sky cameras as alternatives to the Bortle scale. These tools measure light pollution and sky brightness directly, giving you more precise data on your observing conditions. They help you assess light pollution and sky quality more accurately than visual scales, especially if you’re serious about astronomy. These options are especially useful in areas with variable or high light pollution levels.
Conclusion
Think of the Bortle Scale as your stargazing compass, guiding you through the darkness and revealing the universe’s beauty. By understanding and using it, you’ll navigate light pollution like a seasoned explorer, finding the clearest skies for your adventures. Remember, the more you learn about your local conditions, the deeper you’ll plunge into the cosmos. So, keep exploring, stay curious, and let the night sky be your ultimate playground.