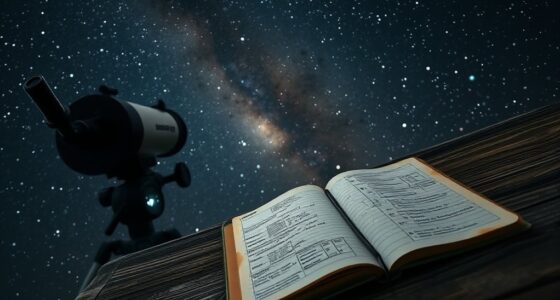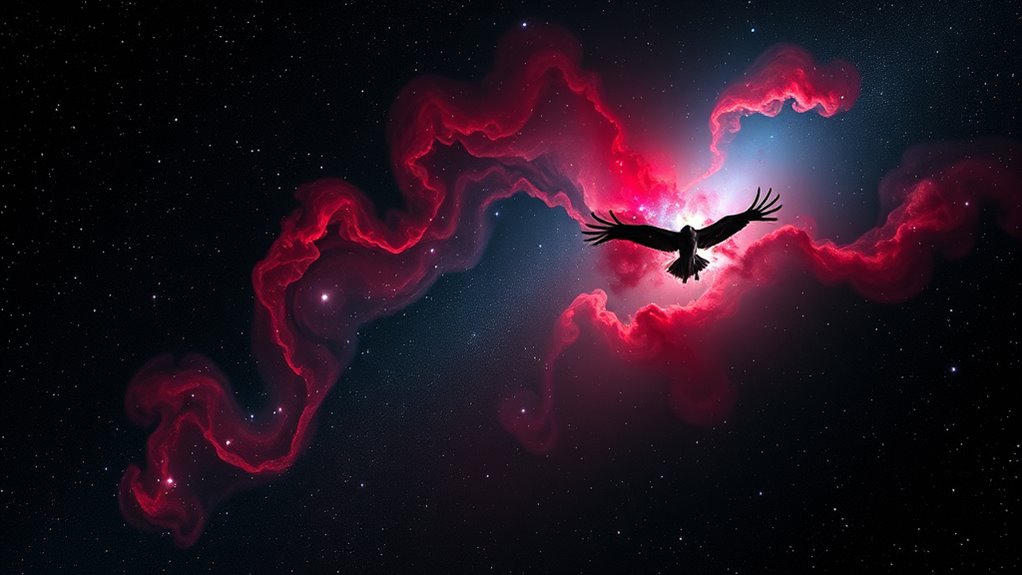
To image the North America and Pelican Nebulae in Cygnus, focus on understanding their complex makeup with glowing hydrogen gas, dust lanes, and star-forming regions. Use a sturdy mount, precise focus, and stacking techniques to capture faint details. Employ H-alpha filters to highlight reds and structures, balancing exposure times to avoid overexposure. Careful post-processing helps reveal hidden features and enhances their intricate patterns—keep exploring to discover how these techniques come together for stunning astrophotos.
Key Takeaways
- Use narrowband H-alpha filters to enhance the nebula’s vivid reds and reveal intricate details.
- Ensure precise polar alignment and stable tracking for long exposure imaging of the complex structure.
- Stack multiple exposures with dithering to improve signal-to-noise ratio and capture faint features.
- Adjust exposure times carefully to balance bright emission regions and dark dust lanes without overexposure.
- Post-process with histogram stretching and masking to highlight the nebula’s depth, structure, and star-forming areas.
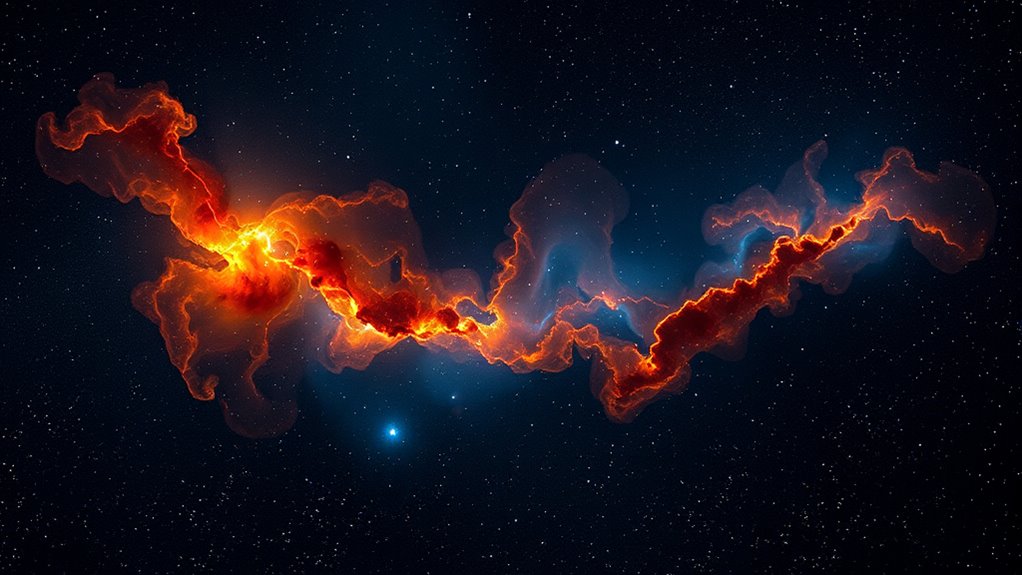
Have you ever wondered what makes the North America and Pelican Nebulae such mesmerizing targets for astrophotographers? These vast, intricate cosmic structures draw your eye because of their complex nebula composition, which includes glowing hydrogen gas, dark dust lanes, and areas of intense star formation. To capture their beauty, you need to understand the nebula’s makeup and apply effective astrophotography techniques. The nebula composition influences how you approach imaging it. The bright emission lines from ionized hydrogen, or H-alpha, are what give these nebulae their vivid reds, so using filters that isolate these wavelengths enhances detail and contrast. Dark dust lanes weave through the bright regions, creating intricate patterns you want to highlight, but they can also obscure parts of the nebula if you’re not careful with exposure settings. Knowing the nebula’s structure helps you decide on the right exposure times, ISO settings, and filter choices. Additionally, understanding the role of contrast ratio can help you optimize your image’s depth and clarity, especially in areas with a mix of bright and dark features.
When imaging such complex objects, astrophotography techniques become *essential*. You’ll want to start with a sturdy mount and precise polar alignment because long exposures are necessary to capture faint details. Focus is equally *important*; an out-of-focus shot will wash out the fine structures that make these nebulae so *mesmerizing*. Use a focusing mask to obtain pinpoint stars, ensuring sharpness throughout your image. To bring out the nebula’s subtle hues and intricate details, stack multiple exposures—this increases the signal-to-noise ratio and reveals faint features that are otherwise hidden. Dithering during your imaging session can also reduce noise and improve image quality.
Post-processing is *indispensable* for transforming raw data into a stunning image. Techniques like stretching the histogram carefully can reveal hidden structures within the nebula without overexposing the brighter regions. Applying masks during processing helps balance the bright emission areas with the darker dust lanes, emphasizing the nebula’s three-dimensional look. Color calibration is *imperative*, since the natural hues depend heavily on your filters and processing choices. Overall, a combination of understanding the nebula’s composition and applying precise astrophotography techniques will allow you to capture the North America and Pelican Nebulae in all their detailed, luminous glory. With patience and meticulous effort, you’ll create images that showcase their cosmic complexity and inspire awe in anyone who views them.
Top picks for "imag north america"
Open Amazon search results for this keyword.
As an affiliate, we earn on qualifying purchases.
Frequently Asked Questions
What Equipment Is Best for Imaging These Nebulae?
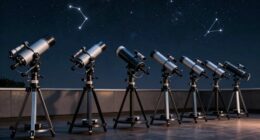
For imaging the North America and Pelican Nebulae, you should select equipment like a high-quality astrophotography camera paired with a sturdy telescope, such as a refractor or a Newtonian reflector. Use a equatorial mount for precise tracking, and consider narrowband filters to enhance details. Your imaging techniques should include long exposures and stacking images to capture faint structures, ensuring clear, detailed results of these stunning nebulae.
How Long Does a Typical Imaging Session Take?
Think of your imaging session as a cosmic symphony, where patience conducts the performance. Typically, it lasts 3 to 6 hours, depending on your target and equipment. During this time, you’ll need to optimize exposure duration, often 2-10 minutes per shot, and guarantee guiding accuracy. This careful balance helps gather enough light and keeps your images sharp, revealing the nebulae’s breathtaking details.
What Post-Processing Techniques Are Recommended?
You should start with image calibration to correct any sensor artifacts and guarantee accurate colors. Then, apply noise reduction techniques to minimize graininess, especially in long exposures. Use stacking software to enhance signal-to-noise ratio before fine-tuning contrast and brightness. Subtle sharpening can reveal details without introducing artifacts. These post-processing steps will help you create a clear, detailed, and visually stunning image of the nebulae.
Can Amateur Astronomers Capture These Nebulae With Amateur Equipment?
Think of capturing these nebulae as unfastening a celestial treasure chest. With dedication, your amateur equipment can excel at deep sky photography, revealing stunning details of the North America and Pelican Nebulae. Use proper celestial imaging techniques like stacking, long exposures, and careful focusing. While challenging, patience and practice will turn your telescope into a window to these cosmic masterpieces, making the universe’s beauty accessible to you.
What Are Common Challenges Faced During Imaging?
You’ll face challenges like atmospheric distortion, which blurs details and reduces image clarity, and light pollution, which washes out faint nebula features. These issues can make capturing sharp, detailed images tough, especially with amateur equipment. To improve your results, use filters to combat light pollution, choose nights with stable air, and give your telescope time to adapt to atmospheric conditions. Patience and proper techniques are key to overcoming these hurdles.
Conclusion
As you observe the North America and Pelican Nebulae, it’s fascinating to contemplate they might be part of a larger, interconnected stellar nursery. Recent studies suggest their glowing regions could be influenced by unseen magnetic fields shaping star formation. By imaging these nebulae, you not only capture their beauty but also contribute to understanding cosmic processes. Ultimately, your observations support the idea that these structures are more than visual spectacles—they’re active, dynamic regions of our galaxy.