
To plan a safe meridian flip, you need to guarantee your mount is accurately calibrated and your equipment is properly prepared, such as balancing weights and confirming focus stability. Automating the flip through trusted software minimizes errors, but always monitor the process closely and verify alignment afterward. Staying aware of weather conditions and maintaining your gear reduces risks like damage or data loss. If you keep these tips in mind, you’ll maximize safety and success—more insights follow.
Key Takeaways
- Verify precise mount calibration and polar alignment before the flip to prevent misalignment and gear damage.
- Automate the flip process with testing in safe conditions to avoid errors during actual imaging sessions.
- Monitor weather conditions continuously to ensure safety and prevent equipment damage during and after the flip.
- Re-center and verify star positions post-flip to maintain tracking accuracy and image quality.
- Regularly inspect and maintain equipment to reduce mechanical stress and ensure reliable flip operations.
Understanding the Meridian Flip and Its Purpose
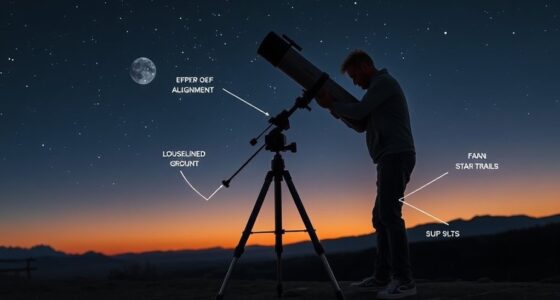
Understanding the meridian flip is vital for planning a smooth astrophotography session. When your telescope reaches the meridian, it must flip to continue tracking objects across the sky. This is especially important if you’re using a long focal length, which increases sensitivity to tracking errors. Proper polar alignment ensures your mount can handle the flip smoothly, preventing misalignment that could ruin your images. Knowing when the flip will occur helps you prepare, so you can minimize interruptions or adjust your framing beforehand. The flip isn’t just a mechanical move; it’s an essential part of maintaining accurate tracking over your session’s duration. Additionally, understanding the role of the mount can help you anticipate how it will perform during the flip, reducing potential issues. By understanding its purpose, you can better plan your imaging and avoid surprises during your astrophotography session.
Recognizing the Risks of Improper Flips

Failing to perform or prepare properly for a meridian flip can lead to serious imaging issues. If your mount isn’t well-calibrated, the flip might cause misalignment, resulting in blurry or skewed images. Ignoring weather considerations can also pose risks; high winds, humidity, or sudden temperature drops may stress your equipment during the flip, increasing the chance of mechanical failure. An uncalibrated mount might not execute the flip smoothly, risking damage to your gear or the loss of valuable data. Not planning for changing weather can lead to condensation or equipment overheating, further compromising image quality. Additionally, air quality can influence the performance of your equipment, as dust and pollutants may settle on sensitive components, increasing maintenance needs. Recognizing these risks helps you understand the importance of thorough preparation to ensure a safe, accurate flip and high-quality imaging results.
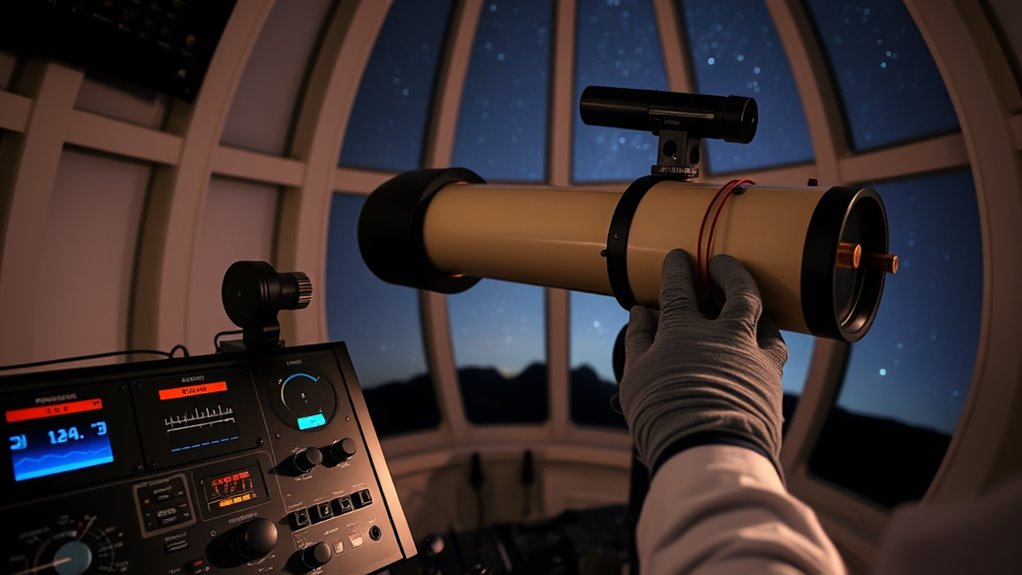
Preparing Your Equipment for a Safe Meridian Flip

To guarantee a smooth and safe meridian flip, you need to properly prepare your equipment beforehand. Start by verifying your mount alignment; ensure it’s precisely calibrated to prevent drift during the flip. Check your camera orientation, so it remains correctly positioned after the maneuver, avoiding unnecessary adjustments. Proper setup minimizes mechanical stress and potential damage. Additionally, staying informed about automation in business can help you integrate smart systems into your setup for enhanced reliability. Proper preparation now can help you avoid costly repairs or adjustments later.
Setting Up Automated Flip Procedures

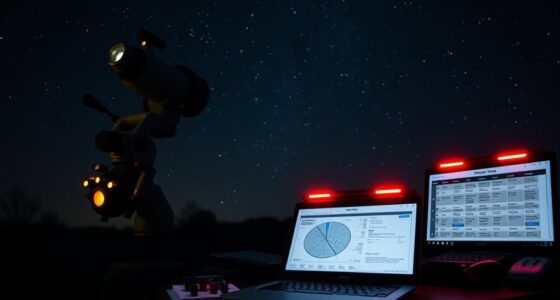
Once you’ve confirmed your equipment is properly prepared, setting up automated flip procedures can save you time and reduce the risk of errors. Start by ensuring your mount calibration is accurate, as precise calibration allows the mount to flip smoothly without misalignment. Next, verify your camera calibration to maintain proper image orientation after the flip. Many astrophotography software packages allow you to automate the flip process, so configure the software to execute the flip at your target meridian. Input the correct parameters and test the procedure during daylight or in a safe environment. Automating these steps minimizes manual intervention, reducing chances of mishaps and ensuring consistent, safe flips during your observing session. Proper setup helps maintain alignment and image quality throughout your session.
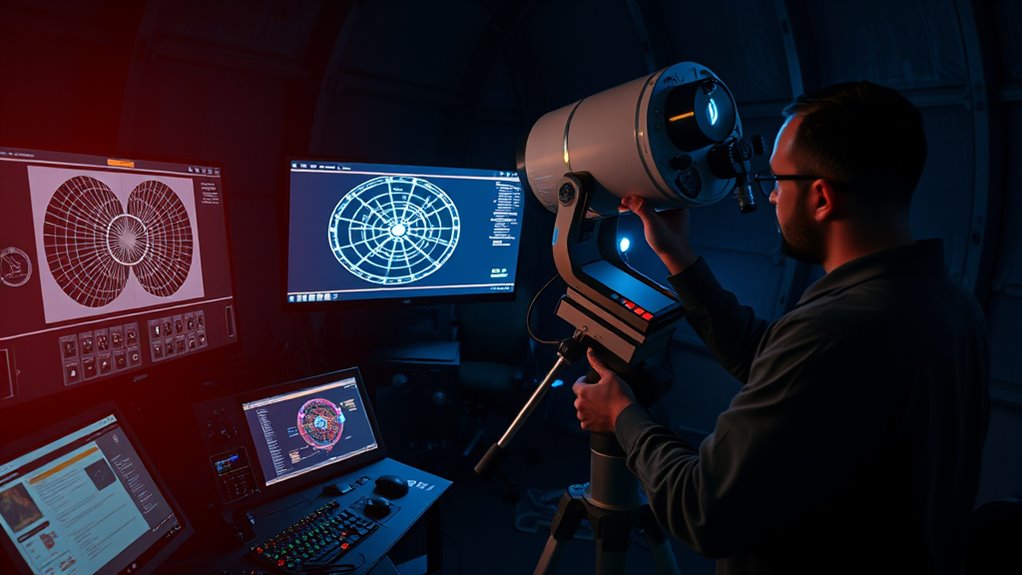
Monitoring Telescope Position Before and After the Flip

Before and after the flip, you need to verify your mount remains properly aligned. Check that star positions are consistent and your camera orientation hasn’t shifted. These steps ensure your tracking stays accurate and your images stay sharp. Additionally, confirming that the projector calibration is maintained can help prevent image quality issues during your sessions.
Confirm Mount Alignment
Monitoring your telescope’s alignment before and after a meridian flip is crucial to guarantee accurate imaging. To confirm mount alignment, ensure your setup maintains precise polar alignment and proper mount calibration. Before flipping, check:
- That your mount’s polar alignment is still accurate, minimizing drift.
- The calibration of the mount’s tracking to avoid positional errors.
- The target object’s position relative to reference stars.
- That your imaging software’s coordinates match the actual telescope position.
After the flip, repeat these checks to confirm everything remains aligned. Small deviations can affect image quality, so always verify your mount’s calibration and polar alignment are intact. This step ensures consistent tracking, preventing star trails or blurred images caused by misalignment.
Check Star Positioning
How can you guarantee your telescope is accurately positioned relative to your target before and after a meridian flip? You should verify star positioning by checking your star alignment. Use celestial navigation techniques to confirm your telescope’s pointing accuracy. Before the flip, identify well-matched stars near your target and record their positions. After flipping, re-center the same stars to ensure the mount has maintained proper alignment. This process minimizes errors caused by the flip. Use the table below to compare star positions pre- and post-flip:
| Star Name | Position Before Flip | Position After Flip |
|---|---|---|
| Star A | Coordinates X, Y | Coordinates X’, Y’ |
| Star B | Coordinates X, Y | Coordinates X’, Y’ |
| Star C | Coordinates X, Y | Coordinates X’, Y’ |
| Star D | Coordinates X, Y | Coordinates X’, Y’ |
| Star E | Coordinates X, Y | Coordinates X’, Y’ |
Additionally, ensuring proper alignment procedures can significantly improve the accuracy of your star positioning before and after the flip.
Verify Camera Orientation
To guarantee your camera remains properly aligned with your telescope during a meridian flip, you should verify its orientation both before and after the flip. Proper verification ensures your images stay accurate and your camera calibration remains intact.
Here’s what to check:
- Confirm the focal length setting matches your camera calibration data.
- Observe the orientation of prominent stars or calibration targets in your images.
- Ensure the camera’s rotational position hasn’t shifted relative to your telescope mount.
- Use software to compare pre- and post-flip images for any rotation or misalignment.
- Be aware that telescope hours may vary, so confirming your operational schedule helps plan your observations effectively.
Safeguarding Your Camera and Mount During Flips
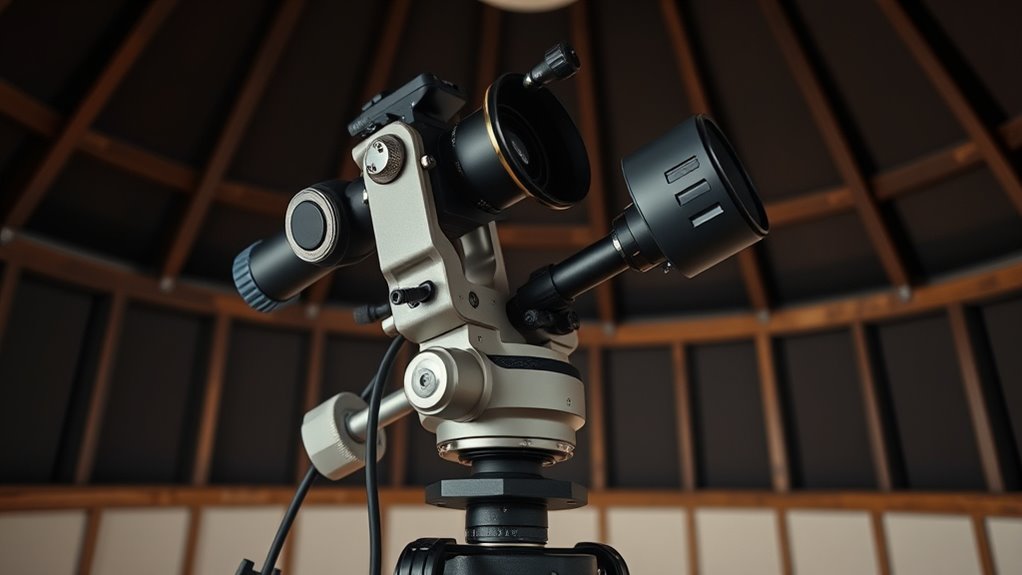
During a meridian flip, your camera and mount are vulnerable to sudden movements and mechanical stress, so taking proactive steps can prevent damage. Guarantee your polar alignment is precise before the flip, as misalignment can cause unnecessary strain on your mount. Double-check your focusing techniques to avoid abrupt shifts that could jostle your equipment. Secure all cables and accessories tightly, preventing them from catching or pulling during the flip. Use your mount’s safety locks or clamps, if available, to stabilize the gear. Consider using a weight counterbalance to reduce stress on the mount’s motors. Additionally, proper maintenance and regular inspections help ensure your equipment remains in good condition, reducing the risk of failure during critical operations. By preparing your setup with attention to polar alignment and focusing stability, you minimize risks and protect your camera and mount from potential damage during the flip.
Troubleshooting Common Flipping Issues
When a meridian flip doesn’t go as planned, it can disrupt your imaging session and cause frustration. Common issues often relate to polar alignment, weather considerations, or equipment settings. To troubleshoot:
- Check your polar alignment; misalignment can cause improper flips or equipment hitting limits.
- Review weather conditions; high humidity or wind can affect stability and safety during flips.
- Verify mount and software settings; incorrect flip points or outdated firmware may prevent proper execution.
- Inspect cables and connections for any looseness or damage that could interfere with the mount’s commands.
- Ensure your mount and software are compatible and properly configured for automatic flips to prevent unexpected issues.
Best Practices for Manual vs. Automated Flips
Manual and automated flips each have their own advantages and best use cases. Manual flipping offers greater control during tricky alignments or when weather monitoring is uncertain. Automated flips save time and reduce errors, especially during long sessions, and often integrate features like autonomous focusing to maintain sharp images. For best results, use automation when your equipment supports reliable weather monitoring to prevent damage from sudden conditions. Manual flips are ideal when you need direct oversight or troubleshooting. Additionally, considering weather monitoring tools can help determine the optimal method for your specific setup.
Confirming Data Integrity Post-Flip
After completing the flip, you need to verify that your data remains accurate and intact. Use your data verification procedures to check for any discrepancies or corruption. Also, confirm you have backup data strategies in place to protect your work before making further adjustments. Understanding fan culture can help you better interpret data patterns and ensure the integrity of your information.
Data Verification Procedures
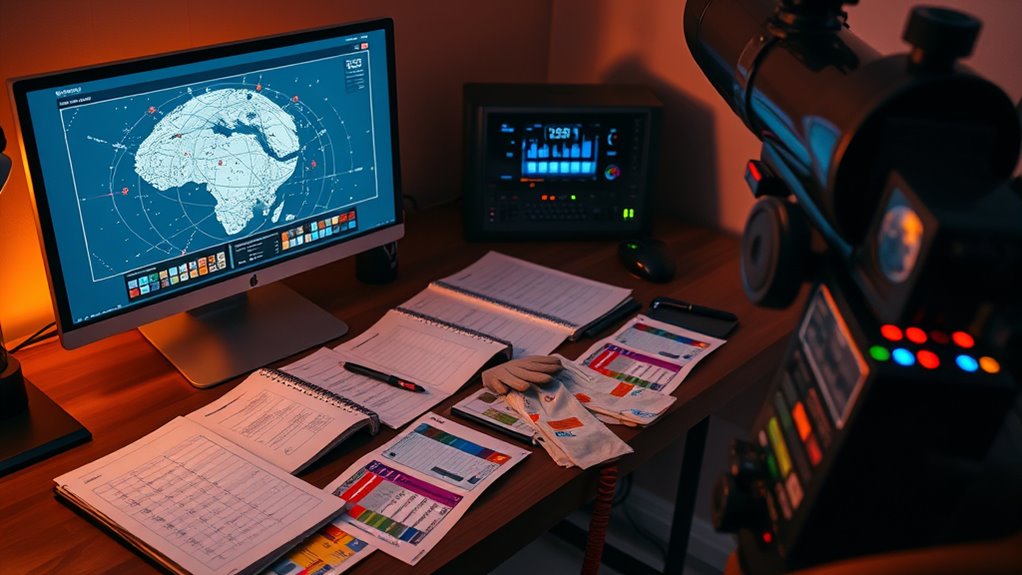
To guarantee your data remains accurate following a meridian flip, you should promptly verify data integrity by comparing current readings with prior measurements. Start by checking your software calibration to verify settings remain consistent. Next, review recent weather considerations that might have affected your data, like sudden temperature changes or humidity shifts. Then, examine your current image or measurement data against previously saved files to spot discrepancies. Finally, re-validate your guiding and tracking logs for anomalies. This process confirms your data’s accuracy, minimizes errors, and ensures your equipment is functioning correctly post-flip. Clear verification helps maintain the integrity of your observations and prevents costly mistakes down the line. Always include a quick review of calibration and weather notes for thorough data validation.
Backup Data Strategies
Implementing reliable backup data strategies guarantees your observations stay protected after a meridian flip. Start by creating multiple copies of your data, ensuring storage redundancy across different devices or cloud services. This way, if one backup becomes corrupted or inaccessible, others remain intact. Use data encryption to secure sensitive information, preventing unauthorized access during transfer and storage. Regularly verify the integrity of your backups by comparing checksum values or running validation tools. Automate backup processes to minimize human error and ensure consistency. After flipping, double-check that your latest data has been successfully backed up and encrypted. These steps help confirm your data’s integrity and safeguard your work, giving you confidence that your valuable observations are protected no matter what happens during the flip.
Tips for Maintaining Safe Operations During Extended Imaging Sessions

Extended imaging sessions require careful planning to guarantee safety and equipment integrity. To do this, consider these tips:
- Regularly check mount calibration to ensure accurate tracking during long exposures.
- Monitor weather conditions closely; abrupt changes can affect safety and image quality.
- Keep your equipment well-maintained and perform routine checks before starting your session.
- Set up remote monitoring tools so you can oversee operations without constant physical presence, especially during meridian flips or when the telescope crosses the meridian.
Frequently Asked Questions
How Do I Choose the Best Time Window for Performing a Flip?
To choose the best time window for a flip, you should consider your mount’s alignment calibration and balancing. Pick a window when the target is near the meridian, reducing the risk of misalignment during the flip. Make certain your mount is well balanced beforehand to avoid errors. Monitoring the target’s position helps you select a timing that minimizes disruption, ensuring smooth, accurate captures without unnecessary adjustments.
What Are the Signs of Potential Hardware Failure During a Flip?
During a flip, watch for hardware warning signs like unusual noises, vibrations, or sudden movements, which may indicate mechanical stability issues. If motors stall or you notice inconsistent tracking or slipping, these are red flags for potential hardware failure. Always stay alert for any irregularities, and if you see any, stop the process immediately to prevent damage. Regular maintenance and inspections help minimize risks during flips.
Can Software Updates Affect the Safety of My Flip Procedures?
Software updates can definitely impact the safety of your flip procedures. If the updates improve software stability, they can make your flips more reliable and reduce errors. However, frequent updates might introduce new bugs or compatibility issues, so it is crucial to test them thoroughly before use. Staying current with updates while ensuring stability helps maintain safe, smooth flipping operations, protecting your hardware and data from unexpected issues.
How Do Environmental Conditions Influence Flip Safety?
Environmental conditions directly impact flip safety by causing atmospheric turbulence and temperature fluctuations. You should monitor weather patterns and humidity levels regularly, as turbulence can shake your equipment, risking misalignment. Temperature swings can affect mechanical parts, leading to inaccuracies. By staying vigilant about these factors, adjusting your schedule when needed, and ensuring proper calibration, you enhance safety and achieve more precise flip procedures, making your observing sessions smoother and safer.
What Training Is Recommended for New Astronomers on Flip Safety Protocols?
You should undergo thorough training on flip safety protocols, including practicing safety drills regularly. Focus on understanding emergency procedures so you can respond quickly and confidently during a flip. Familiarize yourself with the telescope’s mechanical limits and safety features, and always double-check your setup before initiating a flip. Hands-on practice combined with clear safety guidelines will help you prevent accidents and guarantee smooth, safe operations during your astronomical observations.
Conclusion
Now that you know the essentials of a safe meridian flip, imagine the moment your telescope gracefully swings across the meridian, eyes fixed on the stars. Will your setup hold steady? Will your data remain pristine? With proper planning and attention, you can navigate this critical step confidently. But remember, one overlooked detail could turn a perfect night into a troubleshooting nightmare. Are you ready to master the flip and reveal the universe’s secrets?