
To perform a rough polar alignment with a laser pointer, securely mount the laser on your equatorial mount and aim it along the mount’s polar axis. Turn it on and observe the laser beam in relation to Polaris or the celestial pole. Adjust the mount’s azimuth and altitude until the laser closely points toward Polaris or the pole’s vicinity. This quick visual method helps you get close enough for more precise adjustments, and you’ll find out how to refine this process further.
Key Takeaways
- Mount a laser pointer securely along the equatorial mount’s polar axis for accurate alignment.
- Turn on the laser and align it so the beam points toward the celestial pole or Polaris.
- Use star charts or apps to identify Polaris or the celestial pole in your sky.
- Adjust azimuth and altitude until the laser beam directly coincides with Polaris or the celestial pole.
- Fine-tune the laser alignment to ensure it remains steady on the target during observation or imaging.

Rough polar alignment is the essential first step in setting up your equatorial mount for astrophotography or celestial observation. Without it, your images will likely be blurry, and tracking celestial objects accurately will be a challenge. The goal is to position your mount so that its axis points as close as possible to the celestial pole, allowing your telescope to follow the stars smoothly as they move across the sky. Using a laser pointer makes this process straightforward and efficient, especially if you’re new to celestial navigation. Proper alignment helps prevent issues like degarbling images and ensures your equipment functions optimally during long exposures. Start by mounting your laser pointer on your equatorial mount. Ensure it’s securely attached and aligned in such a way that the laser beam projects directly along the mount’s polar axis. Next, locate the celestial pole for your hemisphere. In the Northern Hemisphere, this is near Polaris, the North Star. In the Southern Hemisphere, you’ll aim toward Sigma Octantis, although it’s harder to spot without a star chart. For most amateur astronomers, Polaris is the primary guide, and since it’s close to the North Celestial Pole, it simplifies the alignment process. Once your laser pointer is aligned with the mount’s polar axis, switch it on. The laser beam will project a bright line or point onto your mount or nearby surface. Use an app or star chart to confirm Polaris’s position relative to the laser spot. If your laser is precisely aligned with the mount’s axis, the Polaris will appear close to the laser point. If it’s off, adjust the mount’s azimuth (left or right) and altitude (up or down) until the laser beam points directly at Polaris or the approximate position of the celestial pole. This method provides a quick visual cue that your mount is aligned with celestial navigation principles, even if it isn’t perfectly polar aligned yet.

Sky-Watcher Star Adventurer Mini – Motorized DSLR Night Sky Tracking Mount For Nightscapes, Time-lapse, and Panoramas
PORTABLE NIGHTSCAPE TRACKING PLATFORM: Motorized portable nightscape tracking platform perfect for capturing incredible detail of the Milky Way,...
As an affiliate, we earn on qualifying purchases.
Frequently Asked Questions
Can I Perform Rough Polar Alignment During the Day?
Yes, you can perform rough polar alignment during the day, but daytime visibility makes it more challenging. Use a laser pointer carefully, ensuring laser safety by avoiding direct eye exposure. Find the North celestial pole by aligning your mount with the approximate position of Polaris or the celestial pole using your laser, but remember that sunlight can wash out the laser beam, so be patient and precise for better results.
How Does Moonlight Affect Laser Pointer Alignment Accuracy?
Moonlight interference can reduce your laser pointer’s alignment accuracy because it causes background brightness that makes the laser beam harder to see. Additionally, moonlight may cause laser beam scattering, further diminishing visibility and precision. To improve your alignment, perform the process in darker conditions or shield your laser to block stray light. This way, you’ll get a clearer laser beam and a more accurate polar alignment.
What Safety Precautions Are Needed When Using a Laser Pointer Outdoors?
When using a laser pointer outdoors, prioritize laser safety by avoiding aiming at people, animals, or aircraft. Always keep the laser directed away from eyes and never point it at reflective surfaces. Follow outdoor precautions like checking local regulations, using the lowest effective power, and ensuring the area is clear of bystanders. Wearing protective eyewear and being aware of your surroundings help prevent accidents and guarantee safe, responsible use.
Is a Laser Pointer Suitable for Aligning Large Telescopes?
Yes, a laser pointer is suitable for aligning large telescopes, but only if you follow laser safety rules strictly. It can dramatically improve alignment accuracy, making your setup process smoother and faster. Just be cautious—never point it at people or aircraft, and use it at safe distances. Properly handling the laser guarantees you get precise results without risking safety, turning your telescope setup into an effortless, accurate process.
How Do Temperature Changes Impact Laser Pointer Stability?
Temperature changes can impact your laser pointer’s stability through thermal expansion, which causes slight shifts in its internal components, making the laser beam less precise. Additionally, atmospheric turbulence can distort the laser’s path, especially during temperature fluctuations. To maintain accuracy, avoid using your laser pointer in extreme or rapidly changing temperatures, and allow it to stabilize in a consistent environment for better alignment and more reliable readings.
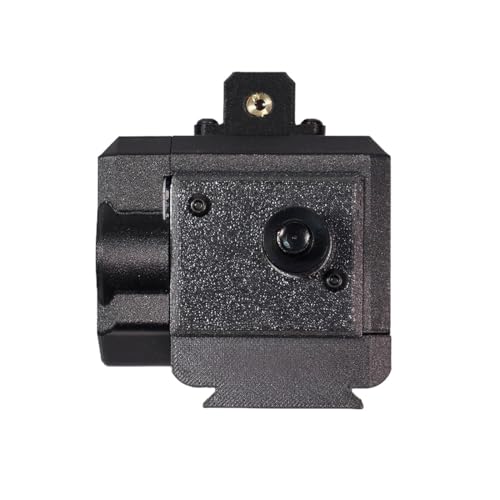
OrionU Star Tracking Equatorial Mount, Portable Single-Axis Star Tracker with High-Precision Alignment Pointer for DSLR & Mirrorless, Suitable for Beginners in Astrophotography (Matte Black)
Reinforced Steel Axis for Stable Tracking: Thick dual-screw steel shaft delivers solid single-axis tracking, supporting 4kg axial loads...
As an affiliate, we earn on qualifying purchases.
Conclusion
Once you’ve aligned your telescope roughly using a laser pointer, you’ll find it’s like setting a compass before a journey—getting your bearings makes the rest easier. This quick step gets you close enough to track celestial objects, saving you time and frustration. Remember, perfect alignment isn’t necessary at this stage, just like a rough map points you in the right direction. With patience, your stargazing experience will be as smooth as a clear night sky.
Sky-Watcher Star Adventurer Photo Kit – Motorized DSLR Night Sky Tracking Mount For Nightscapes, Time-lapse, and Panoramas
NEW FEATURES: The new, upgraded Star Adventurer 2i includes Wi-Fi, allowing for smartphone control using Sky-Watcher’s free SAM...
As an affiliate, we earn on qualifying purchases.

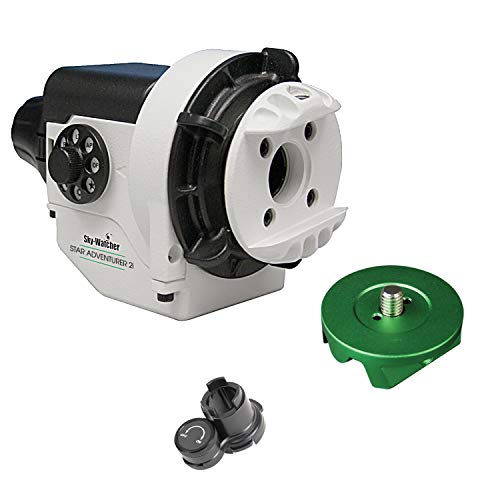
Sky-Watcher Star Adventurer 2i Pro Pack – Motorized DSLR Night Sky Tracker Equatorial Mount for Portable Nightscapes, Time-Lapse and Panoramas – Wi-Fi App Camera Control – Long Exposure (S20512)
Portable nightscape tracking platform: Motorized portable tracking platform perfect for capturing incredible detail of the Milky Way, eclipses...
As an affiliate, we earn on qualifying purchases.