Gradient removal and color calibration help fix uneven lighting and color inconsistencies in your images, making them look more professional and true to life. A gradient removal calculator analyzes your photo, smoothing out shading and brightness differences. Color calibration ensures accurate hues across devices. By following step-by-step guides and using the right tools, you’ll improve your images quickly. Keep exploring to discover how these techniques can elevate your photography and editing skills even further.
Key Takeaways
- Gradient removal calculators analyze uneven lighting in photos and smooth out shading for a uniform appearance.
- Color calibration calculators adjust device settings or profiles to ensure accurate, consistent colors across screens and prints.
- These tools often involve uploading images or using hardware/software calibration devices for precise correction.
- Proper use includes analyzing shading, applying recommended adjustments, and reviewing before finalizing edits.
- Regular calibration maintains color accuracy, preventing discrepancies caused by hardware or environmental changes.
Understanding the Problem: Why Do Gradients and Color Inconsistencies Occur?

Gradients and color inconsistencies often arise during image capture and processing due to uneven lighting, sensor limitations, or variations in camera settings. A common cause is lighting imbalance, where different parts of the scene receive unequal illumination, creating unwanted shading or gradient effects. Additionally, chromatic aberration occurs when the camera lens fails to focus all colors evenly, causing color fringing and inconsistencies. These issues lead to visible gradients and color shifts that can detract from image quality. Sensor limitations, such as low dynamic range, also contribute by failing to accurately capture bright and dark areas simultaneously. Understanding these factors helps you recognize why gradients and color inconsistencies happen, which is the first step toward correcting them and improving your images. Being aware of dog breeds and their unique characteristics can also assist in selecting appropriate color calibration techniques tailored to specific subjects.
What Is Gradient Removal and How Does It Improve Your Images?

Gradient removal corrects uneven lighting across your images, making them look more professional. It also enhances clarity by reducing distracting color shifts. Plus, it simplifies post-processing, saving you time and effort. Additionally, understanding headphone compatibility can help you optimize your workflow when editing audio-visual content.
Corrects Uneven Lighting
Uneven lighting can distort your images, making certain areas appear brighter or darker than others. This lighting imbalance can distract viewers and diminish your photo’s impact. Gradient removal techniques help correct these issues, ensuring consistent brightness across the image. Shadow correction is especially important here, as it reduces harsh shadows that obscure details. Using these tools, you can achieve a more natural look, restoring balance and clarity. Proper lighting correction can transform your photos from amateur to professional quality.
Enhances Image Clarity
When lighting inconsistencies are not addressed, images can appear flat or blurry, making details hard to distinguish. Gradient removal improves image clarity by reducing unwanted light variations. It works through spectral analysis, identifying subtle color shifts caused by uneven lighting. This process enhances the effect of light diffusion, smoothing out harsh contrasts. Here’s how it helps you: 1. Sharpens details by eliminating distracting gradients. 2. Reveals true colors, improving overall image quality. 3. Creates a more uniform appearance, making features stand out clearly. Additionally, understanding Self Watering Plant Pots can inspire creative solutions for maintaining healthy plants with minimal effort.
Simplifies Post-Processing
By removing unwanted light variations, gradient removal streamlines your post-processing workflow, making it easier to achieve professional-looking images. It eliminates uneven lighting, reducing the need for extensive edits like histogram equalization or manual adjustments. This process helps you focus on refining details and color profiling, saving time and effort. With fewer distractions from gradients, you can better analyze your image’s true colors and contrast. Here’s how gradient removal impacts your workflow:
| Benefit | Effect | Result |
|---|---|---|
| Simplifies editing | Reduces uneven lighting | Faster, cleaner adjustments |
| Improves accuracy | Enhances color profiling | More consistent colors |
| Saves time | Decreases post-processing steps | Efficient editing process |
Additionally, understanding how color calibration influences your images can further enhance your editing precision.
Exploring Color Calibration: Ensuring Accurate and Consistent Colors
Understanding calibration methods helps you select the best approach for your setup. Factors like lighting, equipment, and display type influence color accuracy and consistency. By mastering these points, you can guarantee your colors stay true across all your projects. Incorporating attention into your calibration process can further enhance your results and ensure sustained accuracy over time.
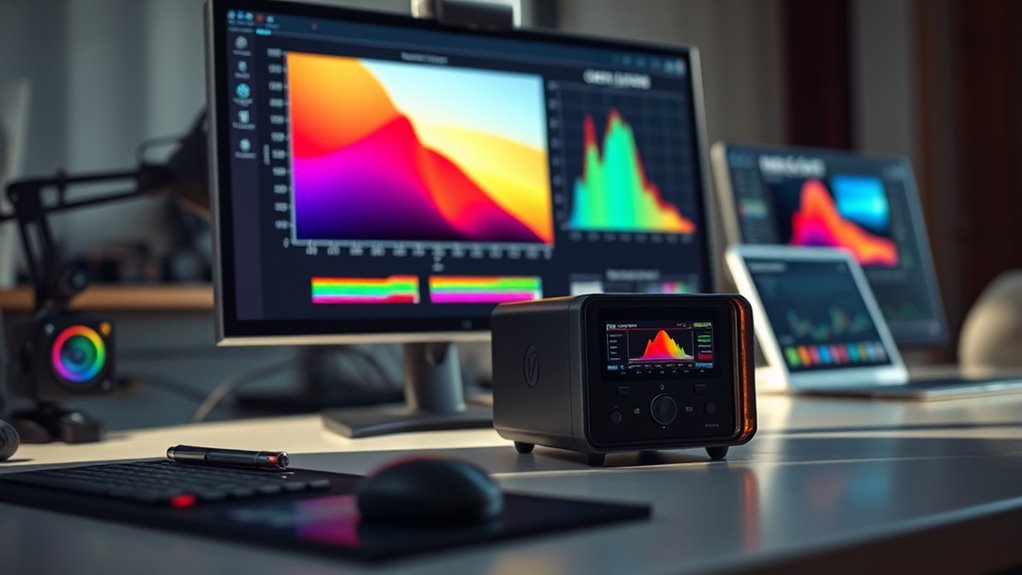
Calibration Methods Overview
Color calibration methods are essential for achieving accurate and consistent colors across different devices and media. They help you compensate for variations caused by lighting conditions and sensor calibration. Here are the main approaches:
- Hardware calibration: Using calibration tools like colorimeters or spectrophotometers to directly adjust your display or camera settings, ensuring colors match standard references.
- Software calibration: Applying color profiles and adjustments through software that analyze your device’s output and correct color deviations.
- Environmental calibration: Adjusting based on lighting conditions in your workspace or shoot environment to maintain color consistency.
- Monitoring AI vulnerabilities: Being aware of how AI security concerns, such as bias and jailbreak techniques, can influence digital tools and calibration processes, ensuring your color management remains trustworthy.
Each method helps you account for factors like lighting variations and sensor calibration, resulting in more reliable and accurate color reproduction.
Color Accuracy Factors
Have you ever wondered what factors influence the accuracy of colors in your images or displays? Several elements affect color accuracy, including a solid understanding of color theory and proper monitor calibration. Color theory guides how colors interact and how they’re perceived, helping you choose harmonious and consistent color schemes. Meanwhile, monitor calibration ensures your screen displays colors accurately by adjusting settings like brightness, contrast, and color temperature. Without calibration, your display might show colors that look off or inconsistent across devices. External factors, such as ambient lighting, also play a role. By applying proper monitor calibration techniques and understanding color theory principles, you can notably improve color accuracy, resulting in more precise, vibrant, and consistent images across all your devices. Additionally, understanding the role of contrast ratio can help you better interpret how image depth and clarity influence overall visual fidelity.
Tools and Software for Gradient Correction and Color Calibration
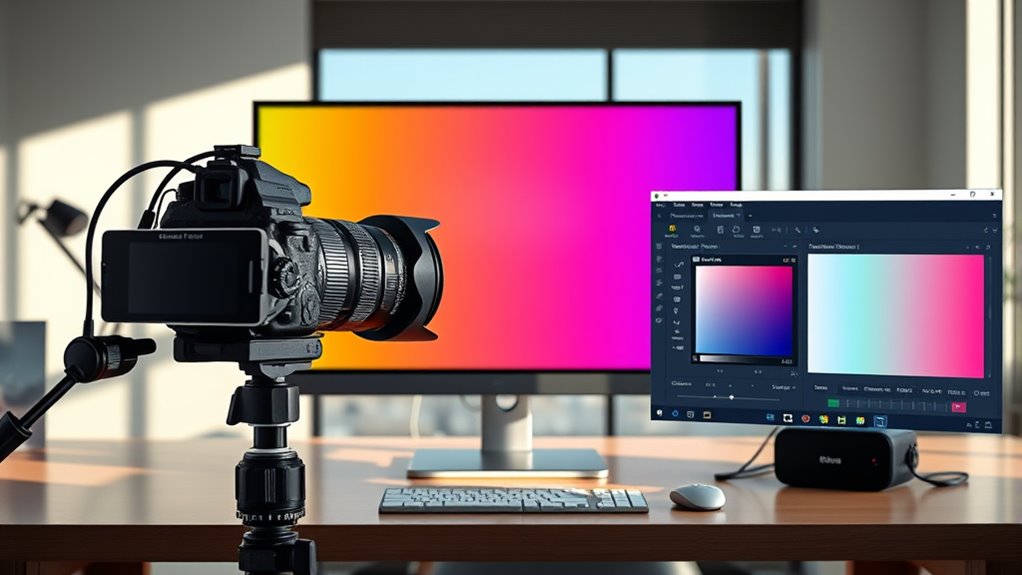
To effectively correct gradients and calibrate colors, you need reliable tools and software that streamline the process. These software tools simplify complex calibration techniques, making it easier for you to achieve accurate results. Here are three essential options:
- Adobe Photoshop – Offers powerful gradient correction and color calibration features with precise control.
- Lightroom – Provides intuitive calibration tools to adjust color profiles and eliminate gradients seamlessly.
- DaVinci Resolve – Known for professional-grade color grading, including gradient removal and calibration techniques. Additionally, understanding the importance of color calibration can significantly enhance the accuracy of your images and ensure consistent results across different devices and media.
Choosing the right software tools depends on your needs and skill level. These options help you apply calibration techniques efficiently, ensuring your images display true-to-life colors and smooth gradients.
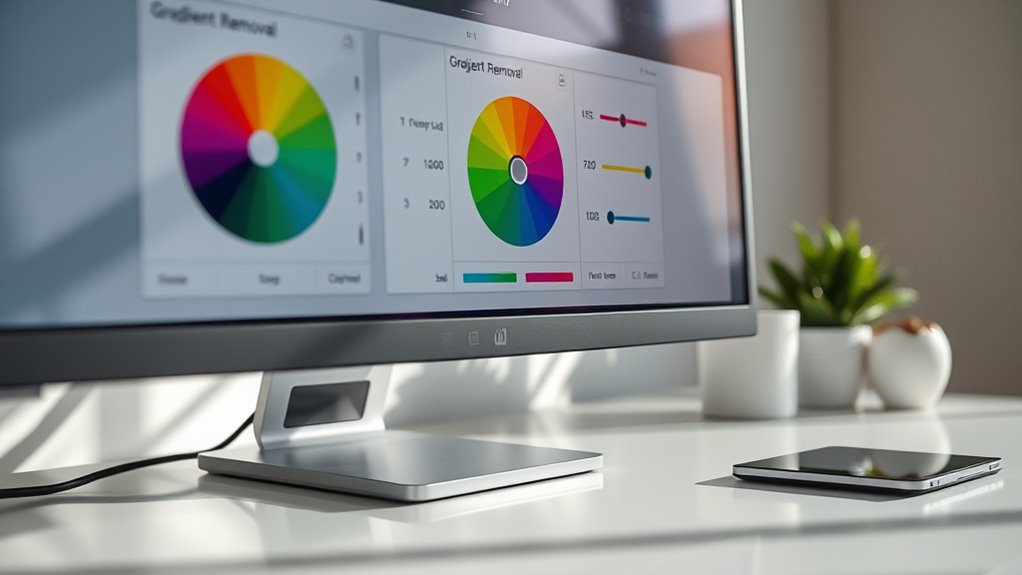
How to Use a Gradient Removal Calculator: Step-by-Step Guide

Using a gradient removal calculator simplifies the process of fixing uneven lighting or shading issues in your images. To begin, upload your photo into the tool and select the gradient smoothing option. Adjust the sliders to target specific areas needing correction, ensuring a more uniform appearance. The calculator analyzes the shading variations and applies an ideal correction, improving overall image consistency. Next, use the color profiling feature to calibrate colors accurately after gradient removal, ensuring your image’s hues remain true to life. Reviewing the preview allows you to see if further adjustments are necessary. Once satisfied, save your corrected image. This step-by-step process helps you achieve cleaner, more professional-looking photos by effectively managing gradients and maintaining accurate color representation. Additionally, understanding the importance of color calibration can significantly enhance your image editing results.
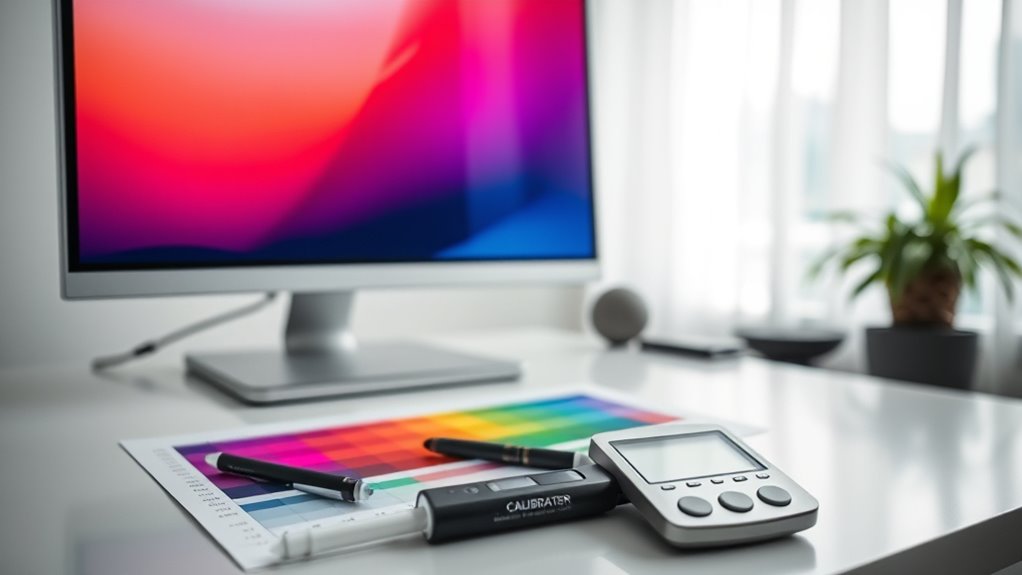
Applying Color Calibration Calculators for Better Visuals
Applying color calibration calculators is essential for ensuring your images display accurate and consistent colors. To optimize your visuals, focus on three key steps:
Calibrate your monitor regularly to keep colors accurate and consistent across devices.
- Use the calculator to perform monitor calibration, ensuring your screen reflects true colors.
- Adjust your display settings based on calibration results for better color matching across devices.
- Revisit calibration periodically to maintain color accuracy, especially after system updates or hardware changes.
Tips for Achieving Professional Results With Basic Tools
Once you’ve calibrated your monitor, you can maximize the quality of your images even with basic tools. Focus on effective lighting techniques, such as using natural light or soft diffusers, to reduce harsh shadows and gradients. Adjust your camera settings—like ISO, aperture, and shutter speed—to ensure proper exposure and minimize color inconsistencies. Consistent lighting and correct camera settings help achieve even tones and accurate colors, making post-processing easier. Use simple editing software to fine-tune contrast and brightness, avoiding overcorrection. Keep your workspace consistent to prevent variations that can affect your results. Remember, patience and attention to detail are key. Even with basic tools, these practices help you produce professional-looking images that require minimal correction later.
Common Mistakes to Avoid When Correcting Gradients and Colors
A common mistake when correcting gradients and colors is overdoing adjustments, which can disrupt lighting balance and harm color harmony. Too much correction can create unnatural looks or emphasize imperfections. To avoid this, keep these tips in mind:
- Don’t push settings to extremes; subtle changes maintain natural lighting and color flow.
- Always preview adjustments on different areas to ensure consistent lighting balance.
- Use calibration tools carefully, checking for smooth gradients and harmonious colors before finalizing.
Frequently Asked Questions
Can Gradient Removal and Color Calibration Be Automated Completely?
Yes, gradient removal and color calibration can be automated, but the automation potential depends on the software you’re using. Many advanced tools offer impressive automation features, reducing manual work. However, software limitations still exist, especially with complex images or subtle gradients. You might need some manual adjustments to perfect results, but overall, automation can markedly speed up the process while still requiring some oversight.
Which Types of Images Benefit Most From Gradient Correction?
You benefit most from gradient correction with images featuring sky enhancement and architectural photography. These images often suffer from uneven lighting, color shifts, or distractions caused by gradients. By correcting these issues, you achieve smoother skies, more natural colors, and cleaner lines. Gradient correction helps bring out details and improves overall visual appeal, making your images look professional and polished. It’s especially useful when you want consistent tones across complex scenes.
How Do Ambient Lighting Conditions Affect Calibration Accuracy?
Ambient lighting conditions profoundly affect calibration accuracy because lighting consistency is vital for precise color adjustments. Environmental influence, like changing light sources or shadows, can cause color shifts and uneven gradients, making calibration difficult. To achieve the best results, you should calibrate your device in a controlled environment with stable lighting and avoid fluctuating light sources. This guarantees your color calibration remains accurate and consistent across different images.
Are There Any Limitations to Using Free Gradient Removal Tools?
Think of free gradient removal tools as a trusty but limited paintbrush; they handle simple scenes well but struggle with complex images. You’ll find software limitations like reduced precision and fewer features, which can lead to imperfect results. If your image has intricate details or subtle color variations, these tools might not fully remove gradients. For more accuracy, consider investing in paid solutions that cater to complex images and detailed calibration needs.
How Often Should Calibration Settings Be Re-Evaluated for Consistency?
You should re-evaluate your calibration settings regularly, typically every few weeks or monthly, depending on your monitoring schedules and how often your work environment changes. Consistent calibration frequency ensures your colors stay accurate and prevents drift over time. Keep an eye on any shifts in color accuracy, and adjust your calibration schedule accordingly to maintain ideal performance and reliable results.
Conclusion
By mastering gradient removal and color calibration, you can dramatically improve your images’ quality. Did you know that studies show up to 70% of photos suffer from color inconsistencies? Using the right tools and techniques, you can correct these issues easily, even as a beginner. Keep practicing, avoid common mistakes, and watch your visuals become more professional and vibrant. Your images will stand out and tell a clearer, more compelling story.