To make flat frames that actually work, start by using a stable, uniform light source like a dedicated flat panel or evenly lit surface. Position your camera and telescope steadily, adjust exposure for mid-tone brightness, and capture 20-30 flats. Avoid uneven lighting and double-check for dust spots. Consistently calibrate and review your flats before applying them during post-processing. Keep following these steps, and you’ll discover how simple it is to improve your astrophotography results.
Key Takeaways
- Use a stable, evenly lit flat panel or diffused surface to ensure uniform illumination.
- Adjust exposure for mid-tone brightness, avoiding overexposure or underexposure.
- Capture 20-30 flat frames to reduce noise and improve calibration accuracy.
- Verify flat frames for even illumination and absence of hotspots before applying.
- Combine flats using median stacking for consistent, high-quality correction.

RALENO 19.5W LED Video Soft Light Panel, 650Lux/m 13" Camera Panel Light Built-in 8000mAh Battery, CRI>95 2500-6500K Photography Studio Lights for TikTok YouTube Video Recording Photography Streaming
【650LUX/M Soft and Eye-Friendly】The RALENO 13" led light panel offers a soft light that prevents eye strain, ensuring…
As an affiliate, we earn on qualifying purchases.
As an affiliate, we earn on qualifying purchases.
Why Flat Frames Are Essential in Astrophotography
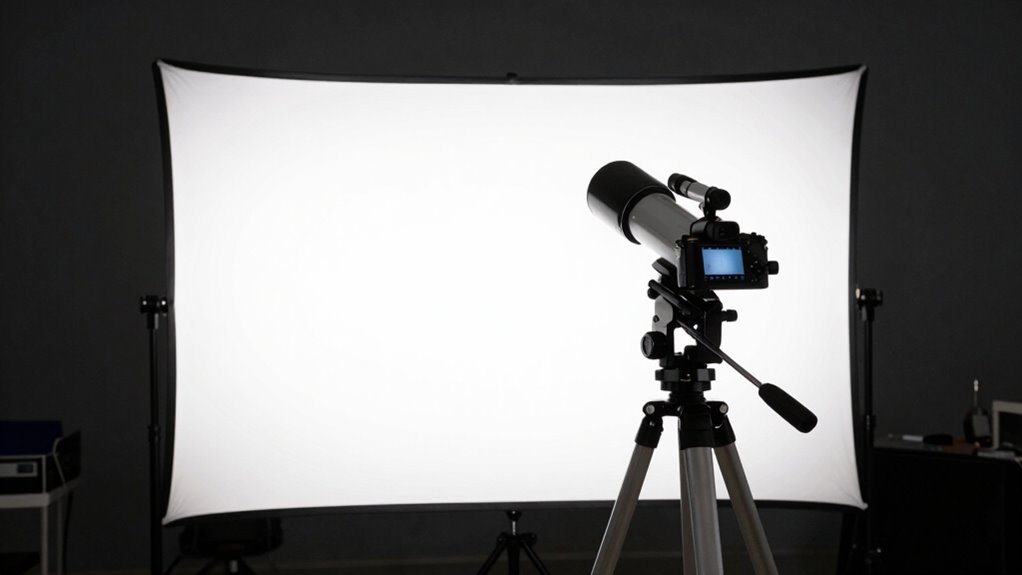
Flat frames are essential in astrophotography because they help correct uneven illumination and sensor imperfections that can distort your images. They are vital for proper sensor calibration, making sure that dust spots, vignetting, and pixel sensitivity variations are minimized. Without flat frames, light pollution and other environmental factors can cause uneven brightness across your shots, making post-processing more difficult. Flat frames also help balance the exposure, preventing areas of overexposure or underexposure caused by light pollution or optical system flaws. By capturing these calibration frames regularly, you improve the overall quality of your astrophotos. They guarantee your final images are clean, sharp, and true to the scene you observed, making flat frames an indispensable part of a successful astrophotography workflow. Additionally, exploring new content formats can enhance your understanding of how to effectively utilize flat frames in your astrophotography practice.
dedicated flat field panel for astrophotography
As an affiliate, we earn on qualifying purchases.
As an affiliate, we earn on qualifying purchases.
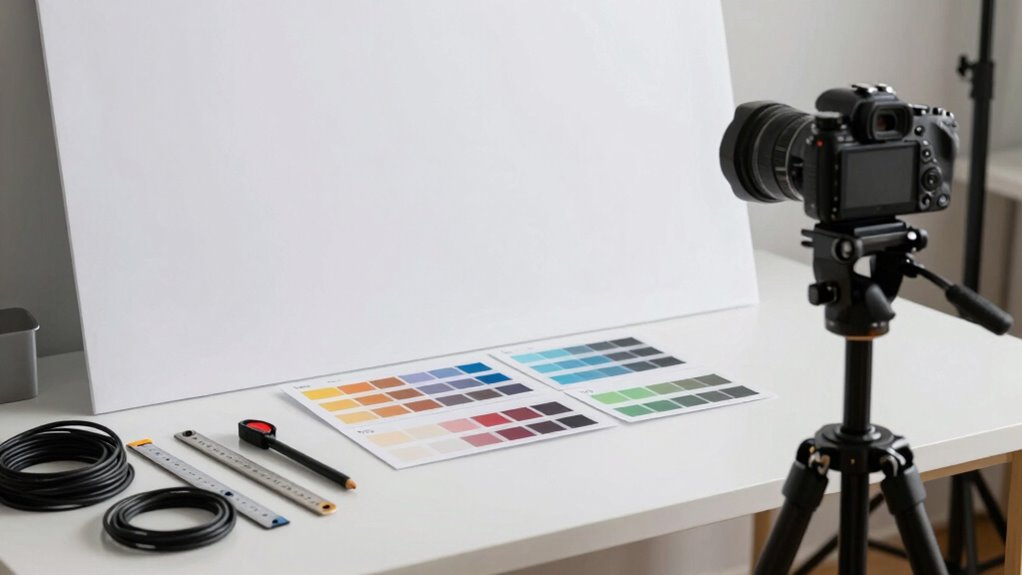
Choosing the Right Equipment for Flat Frames
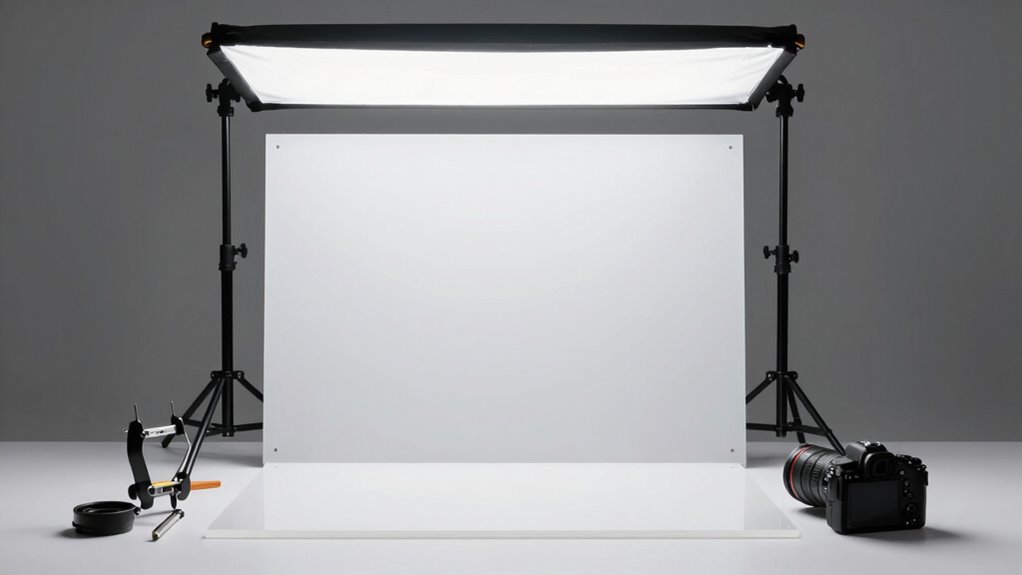
Selecting the right equipment for capturing flat frames is crucial to guarantee they effectively correct your astrophotos. You need a stable, uniform light source that minimizes sensor calibration errors and assures consistent illumination. Light pollution can interfere with flat frame quality, so a dedicated flat panel or a well-illuminated, evenly lit surface works best. Avoid light leaks and uneven lighting that can introduce artifacts. Use a high-quality, neutral diffuser to spread light evenly across your sensor, reducing the risk of calibration issues. Make sure your camera and telescope are securely mounted to prevent movement during capture. Proper equipment choices help achieve accurate, reliable flat frames, even in challenging conditions with light pollution, ultimately improving the overall quality of your astrophotography. Additionally, understanding color accuracy in your imaging setup can further enhance the fidelity of your results. Considering the importance of educational resources in your setup will also provide valuable insights into optimizing your flat frame captures.
evenly lit surface for astrophotography flats
As an affiliate, we earn on qualifying purchases.
As an affiliate, we earn on qualifying purchases.
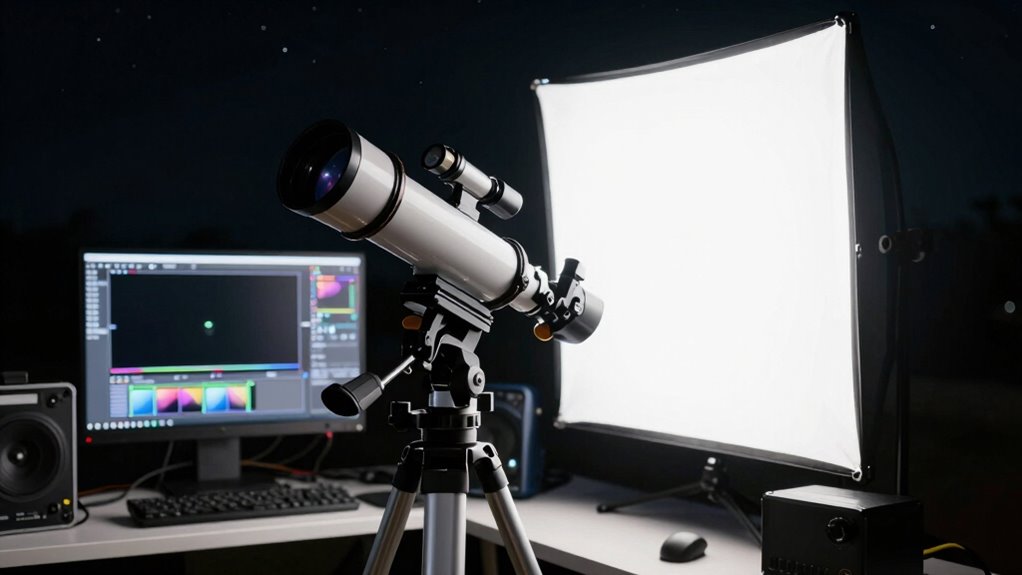
How to Capture Flat Frames Step-by-Step
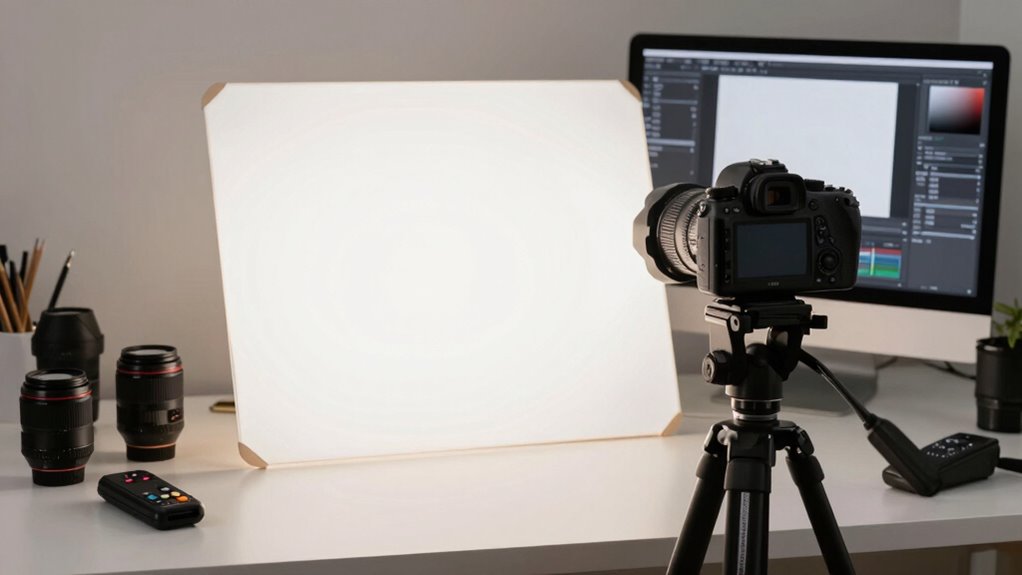
Capturing flat frames accurately is essential for correcting your astrophotos, and doing so involves a clear, step-by-step process. First, verify your equipment is calibrated properly to avoid introducing artifacts. Set up your light source—such as a flat panel or evenly illuminated surface—and position your camera or telescope to evenly capture the light. Adjust the exposure so the image isn’t overexposed or underexposed; you want a uniform, mid-tone brightness. Take multiple flat frames, typically 20 to 30, to average out noise. Use calibration techniques like median stacking to combine these flats. Consistent setup and careful attention to equipment calibration will guarantee your flats effectively correct vignetting and dust, resulting in cleaner, more accurate astrophotos.
astrophotography flat frame calibration kit
As an affiliate, we earn on qualifying purchases.
As an affiliate, we earn on qualifying purchases.
Common Flat Frame Mistakes and How to Fix Them

Even experienced astrophotographers can fall into common pitfalls when capturing flat frames, which can compromise the quality of their final images. Calibration errors often occur when equipment isn’t properly calibrated, leading to uneven illumination or inconsistent flat frames. Make sure your flat panel or sky flats are evenly illuminated and free of hotspots. Poorly calibrated equipment can cause streaks or uneven gradients, so regularly check and calibrate your mount, filters, and camera settings. Avoid rushing the process; inconsistent exposure times or dirty optics can introduce artifacts. Also, don’t reuse flat frames without verifying their quality—bad calibration can propagate errors. Fix these issues by ensuring your equipment is correctly calibrated before capturing flats, and always review your flat frames for consistency before applying them to your light frames. Additionally, investing in cabling solutions can help streamline your setup and minimize interference during imaging.
Integrating Flats Into Your Post-Processing Workflow
Integrating flat frames into your post-processing workflow is a crucial step to guarantee your final image is free of artifacts and properly calibrated. Flat frames correct for uneven illumination and sensor dust, ensuring accurate camera calibration. When dealing with light pollution, flats help reduce gradients caused by artificial lights, making your image cleaner. To incorporate flats, start by applying them after stacking your light frames. Use your editing software’s calibration tools to subtract flats and normalize brightness across the image. This step prevents issues like vignetting or dust spots from appearing in the final result. Properly integrated flats improve the overall quality, especially in areas affected by light pollution, giving your astro images a professional, polished look.
Frequently Asked Questions
How Often Should I Recapture Flat Frames During a Session?
You should recapture flat frames whenever there’s a noticeable change in lighting, equipment setup, or temperature, guaranteeing calibration consistency throughout your session. It’s best to take new flats at the start and midway through your session if it’s long. Frequent updates help maintain accurate calibration, especially if your equipment calibration shifts or environmental conditions fluctuate. Regular flat captures prevent uneven illumination and ensure your images stay consistently well-calibrated.
Can Flat Frames Be Reused Across Multiple Imaging Sessions?
Did you know that flat frames are reusable up to a point? Yes, you can reuse your flat frames across multiple sessions if your camera sensor remains stable. Flat frame calibration benefits from consistent sensor conditions, so avoid using old flats if your setup or lighting changes. Regularly recapturing flats ensures ideal calibration, but under stable conditions, reusing them saves time and maintains calibration accuracy.
What’s the Best Time of Day to Capture Flat Frames?
You should capture flat frames during the day, ideally when ambient light is stable and evenly distributed, such as late morning or early afternoon. This guarantees consistent lighting conditions. Make sure your equipment remains stable, preventing any movement that could cause uneven flat frames. Avoid direct sunlight or changing ambient light, as fluctuations can compromise flat frame quality. Proper timing and stable setup lead to better calibration and clearer astrophotography results.
How Do Temperature Changes Affect Flat Frame Quality?
Temperature changes can greatly impact your flat frame quality, causing uneven sensor calibration and affecting thermal stability. As temperatures fluctuate, your camera’s sensor may produce inconsistent noise patterns, leading to poor calibration. To guarantee high-quality flats, you need to capture them in a stable, controlled environment, ideally at the same temperature as your imaging sessions. This consistency keeps your sensor calibrated properly and maintains thermal stability, resulting in clearer, more reliable flat frames.
Are There Software Tools to Automate Flat Frame Capture?
Yes, you can use software automation tools to streamline flat frame capture. Programs like Sequence Generator Pro, NINA, or AstroImaging Studio offer capture scheduling features, allowing you to automate the process entirely. These tools enable you to set specific parameters for flat frames, ensuring consistent quality while freeing you from manual operation. With automation, you’ll get more reliable flat frames and save time during your astrophotography sessions.
Conclusion
Now that you’ve revealed the secrets to capturing effective flat frames, your astrophotography journey will shine brighter than ever. Think of flats as the gentle brushstrokes that smooth out your cosmic masterpiece, revealing the universe’s true colors. With your new skills, you’re ready to tame the shadows and highlight the stars. Keep experimenting, stay patient, and let your images soar across the night sky like a comet blazing through the darkness.