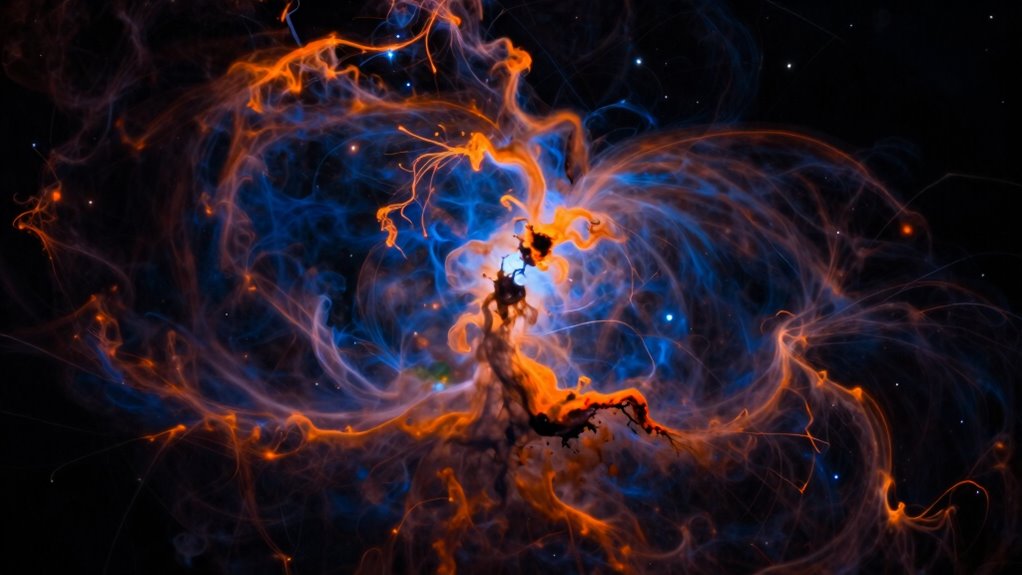
To process narrowband images using the Clean Hubble Palette, you start by capturing data with filters for H-alpha, SII, and OIII emission lines. Then, calibrate and stack your images carefully, applying proper alignment and noise reduction. Map H-alpha to red, OIII to green, and SII to blue, adjusting colors for accurate and vibrant results. Focus on contrast and color balance, avoiding mistakes like over-saturation. If you want to master this workflow, keep exploring the detailed steps ahead.
Key Takeaways
- Assign H-alpha to red, O III to green, and S II to blue for natural color mapping in the Hubble Palette.
- Use carefully calibrated narrowband filters with precise bandwidths to ensure accurate color representation.
- Calibrate and align images before stacking to reduce noise and enhance detail without introducing artifacts.
- Apply gentle contrast, color balance adjustments, and masking techniques to highlight nebula structures naturally.
- Perform final color calibration and subtle enhancements to achieve a scientifically meaningful and visually appealing image.

SVBONY SV227 2" SHO Telescope Filter Set, Narrowband Filter Kit, SII H-Alpha OIII 5nm Narrow-Band Filters, Reduce Light Pollution, 3Pcs Set for Emission Nebula Planetary Nebulae Astrophotography
SV227 2" Narrow-Band Filter is specifically designed for use with monochrome cameras in astrophotography; it effectively isolates the…
As an affiliate, we earn on qualifying purchases.
As an affiliate, we earn on qualifying purchases.
What Is the Clean Hubble Palette and Why Use It?
The Clean Hubble Palette is a popular color mapping technique used in narrowband astrophotography to produce striking, true-to-life images of nebulae. It emphasizes specific emission lines, creating a visually appealing and scientifically meaningful image. You’ll notice that the palette enhances color harmony, making different elements within the nebula stand out clearly. This consistency helps you interpret the data more accurately, as each color corresponds to particular gases or features. By using this palette, you simplify complex data, making it easier to analyze and appreciate the structure of celestial objects. Overall, the Clean Hubble Palette balances aesthetic appeal with scientific clarity, allowing you to produce images that are both beautiful and informative.
Hubble Palette astrophotography kit
As an affiliate, we earn on qualifying purchases.
As an affiliate, we earn on qualifying purchases.
Gathering Narrowband Data for the Hubble Palette
To gather effective narrowband data for the Hubble Palette, you need to choose the right filters that match your imaging goals. Planning your exposure times carefully guarantees you capture enough detail without overexposing. By selecting suitable filters and strategizing your exposures, you set a solid foundation for stunning narrowband images.
Selecting Suitable Filters
Have you ever wondered how to choose the right filters for capturing narrowband data in the Hubble Palette? First, make sure the filters you select are compatible with your equipment to avoid fitting issues and maximize efficiency. Focus on filters that target specific emission lines, like H-alpha, SII, and OIII, which are essential for the Hubble Palette. Accurate color calibration depends on using filters with precise bandwidths, so verify their specifications before purchase. Compatibility with your camera’s sensor and filter wheel is vital to prevent vignetting or misalignment. By choosing filters that match your equipment and are suited for precise narrowband imaging, you’ll set a solid foundation for high-quality data collection and successful image processing. Additionally, understanding digital concepts can enhance your approach to selecting and utilizing these filters effectively.
Planning Exposure Strategies
Planning your exposure strategies is vital for capturing effective narrowband data in the Hubble Palette. Begin by analyzing your target through spectral analysis to determine the best exposure times for each filter, balancing signal strength with noise. Proper camera calibration is essential; verify your equipment is calibrated before shooting to maintain consistent data quality. Consider the brightness of your object and the specific emission lines you’re targeting, adjusting exposure durations accordingly. Use longer exposures for faint regions, but avoid overexposing bright areas. Planning also involves scheduling your sessions to account for atmospheric conditions and moon phases, which can influence data quality. By carefully analyzing spectral data and performing precise camera calibration, you set a strong foundation for successful narrowband imaging in the Hubble Palette.

PixInsight User Guide for Beginners: A Practical Workflow for Processing Raw Astrophotography Data into Beautiful Images
As an affiliate, we earn on qualifying purchases.
As an affiliate, we earn on qualifying purchases.
Calibrating and Stacking Narrowband Images
To get the best results, you need to carefully select the right calibration frames, like flats, darks, and biases. Once your data is calibrated, aligning your narrowband images accurately is key to creating a sharp, cohesive stack. Finally, choosing the appropriate stacking technique can enhance signal-to-noise ratio and detail, making your images stand out.
Calibration Frame Selection
How do you guarantee your narrowband images are accurately calibrated and free of artifacts? It starts with selecting the right calibration frames—dark, flat, and bias images. Make certain your flats match your filter bandwidth closely to account for variations in illumination and spectral resolution. Using flats taken with the same spectral resolution as your science images helps correct uneven field illumination effectively. When choosing calibration frames, prioritize high-quality, well-exposed images that minimize noise. Avoid frames with gradients or artifacts, as these can introduce errors during stacking. Proper calibration frame selection directly impacts the accuracy of your data, helping you produce cleaner, artifact-free images. This careful process ensures your narrowband data maintains integrity throughout the workflow. Additionally, color accuracy is crucial in ensuring that the final images reflect true-to-life tones and details. The specifications of your calibration frames should also adhere to industry standards to ensure they meet performance requirements.
Aligning Narrowband Data
Aligning narrowband data is a essential step to guarantee your images are accurately combined, especially since slight shifts can occur between exposures due to tracking errors or atmospheric conditions. Proper alignment ensures stars and nebulae line up perfectly, preventing star trails and blurring. Before stacking, perform color calibration to maintain consistent color balance across frames. This step helps maintain accurate hue and saturation, crucial for narrowband images that rely on specific filters. After alignment, consider data compression to optimize file size without losing detail, making processing more efficient. Precise alignment combined with proper color calibration and data compression ensures your narrowband images are clean, sharp, and ready for the next stage in your workflow.
Combining Stacking Techniques
Once your narrowband images are properly calibrated and aligned, the next step is to combine them using stacking techniques that maximize signal quality while minimizing noise. Effective stacking leverages equipment calibration to guarantee consistent brightness and color accuracy across frames. Understanding color theory is essential here: combining different narrowband filters, like Ha, OIII, and SII, requires thoughtful balancing to produce a harmonious color palette in the final image. Use algorithms such as median or average stacking to reduce random noise and enhance faint details. Pay attention to exposure times and signal-to-noise ratios during calibration, as these directly influence the effectiveness of your stacking. Properly executed, stacking reveals subtle structures and vibrant colors, bringing your narrowband data to life with clarity and depth.
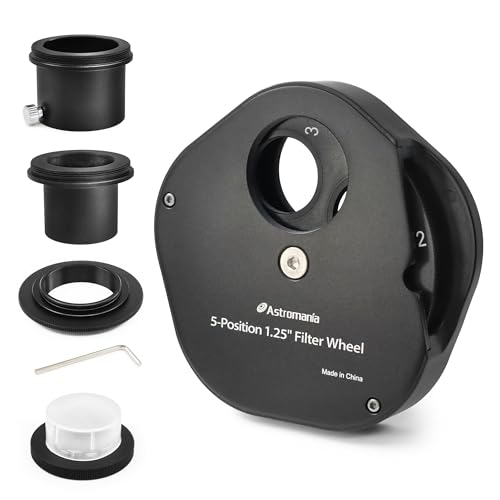
Astromania Filter Wheel for Telescope, Filter Drawer Compatible with 1.25 Inch Telescope Filter for Planet Moon Nebula Observation, 5-Position Filter Wheel Holder Telescope Accessories with T-Adapter
Allows to quickly and easily change; save time for filtered planetary and lunar observation using different color filters…
As an affiliate, we earn on qualifying purchases.
As an affiliate, we earn on qualifying purchases.
How to Map Narrowband Filters to RGB Colors
Mapping narrowband filters to RGB colors involves assigning specific color values that best represent the spectral information captured by each filter. Prioritize proper color calibration to guarantee accurate color reproduction. Start with thoughtful filter selection: typically, assign the hydrogen-alpha (Hα) filter to red, doubly ionized oxygen (O III) to green, and sulfur (S II) to blue. This mapping creates a natural, visually appealing color scheme aligned with astrophysical data. Adjust the color balance to emphasize subtle differences without losing detail. Keep in mind that the goal is to produce a harmonious image that accurately reflects the nebula’s composition. Careful filter selection combined with precise color calibration forms the foundation for an effective narrowband-to-RGB mapping, leading to vibrant, scientifically meaningful results. Additionally, understanding color calibration techniques can enhance the visual impact of your final images.
Enhancing Contrast and Color Balance for Vibrant Results
After assigning colors based on your narrowband filters, the next step is to enhance the image’s contrast and adjust the color balance. Focus on contrast enhancement to bring out the details and depth in your image, making faint structures more visible. Use local contrast adjustments or curves to emphasize highlights and shadows, creating a dynamic range that captivates the eye. For color harmony, subtly tweak the balance to guarantee the hues complement each other, avoiding oversaturation or unnatural tones. Proper contrast and color balance work together to produce vibrant, visually appealing results. By carefully refining these elements, your image will exhibit both clarity and a harmonious color palette, elevating your narrowband processing workflow to professional quality. Incorporating fresh ingredients sourced from local farms can inspire your color choices, leading to a more vibrant and appealing outcome.
Refining Your Image: Masking, Stretching, and Noise Reduction
To refine your image, start by using masking techniques to enhance clarity and protect areas you want to keep clean. Applying ideal stretching strategies will help reveal detail without introducing artifacts, while noise reduction methods keep your image smooth and clean. Mastering these steps guarantees your narrowband images are sharp, detailed, and noise-free. Additionally, incorporating effective storytelling can help you connect with your audience and enhance the impact of your visual content. Utilizing employee ownership can also foster a sense of commitment and shared purpose, which indirectly enhances the quality of your work.
Masking Techniques for Clarity
Have you ever struggled to distinguish important details in a narrowband image? Masking techniques can sharpen your focus and enhance clarity. Start by visualizing:
- A delicate mask gently hugging bright nebulae, isolating them from the background.
- Fine edges blending seamlessly into the surrounding space, ensuring mask precision.
- Colors harmonizing smoothly across masked regions, maintaining natural progression.
- Subtle adjustments revealing intricate structures without noise or distraction.
Additionally, consider incorporating eco-friendly practices to ensure your imaging process is sustainable and responsible.
Optimal Stretching Strategies
Wondering how to make your narrowband images pop with detail? Ideal stretching strategies are key. Start by ensuring proper color calibration, so the hues accurately represent your data. Use gentle, iterative stretches to reveal hidden details without over-compressing the data, which can cause loss of subtle features. Be cautious with data compression; aggressive compression can lead to banding and reduce image quality. Instead, apply multiple low-intensity stretches, gradually increasing contrast and brightness. This approach preserves data integrity and highlights faint structures. Remember, the goal isn’t just to brighten the image but to balance the dynamic range effectively. Precise stretching enhances contrast and detail, transforming your raw data into a visually compelling, scientifically accurate image.
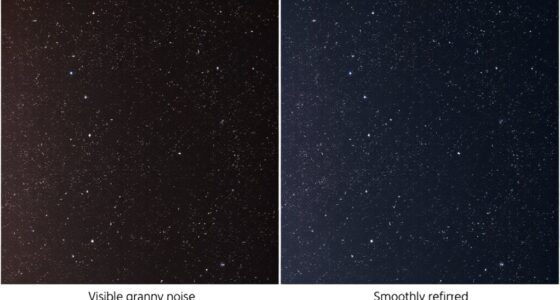
Noise Reduction Methods
Are you struggling to reduce noise without sacrificing important details in your narrowband images? Effective noise reduction hinges on understanding color theory and verifying equipment calibration. To minimize noise:
- Use selective masking to target background areas, preserving sharp, bright features.
- Apply gentle noise reduction filters, balancing detail retention with smoothness.
- Adjust color saturation carefully, avoiding over-smoothing that dulls your image.
- Revisit calibration settings to verify your cameras and filters are aligned, reducing unnecessary noise from equipment inconsistencies.
Additionally, remember that effective noise reduction can significantly enhance the clarity of your images, allowing for a more refined final product.
Common Mistakes to Avoid When Processing Hubble Palette Images
When processing Hubble Palette images, it’s easy to fall into common pitfalls that can compromise the final result. One mistake is over-saturating the colors, which can make the image look unnatural. Use your image processing software carefully to balance the hues without exaggerating. Another mistake is neglecting proper calibration; verify your astrophotography gear and calibration frames are accurate to avoid artifacts. Regular cleaning of your equipment can also enhance image quality. Additionally, consuming herbal teas may promote relaxation during long processing sessions. Rushing through steps or applying aggressive noise reduction can also diminish detail and color accuracy. Focus on subtle adjustments instead of drastic changes. Additionally, avoid stacking images improperly—poor alignment can lead to blurry or ghosted stars. Remember, patience and precision are key. Properly using your astrophotography gear and software will help you produce a clean, vibrant Hubble Palette image. Moreover, ensuring that your kitchen gear care is well-maintained can help you create a conducive workspace for your astrophotography endeavors.
Comparing the Hubble Palette to Other Narrowband Techniques
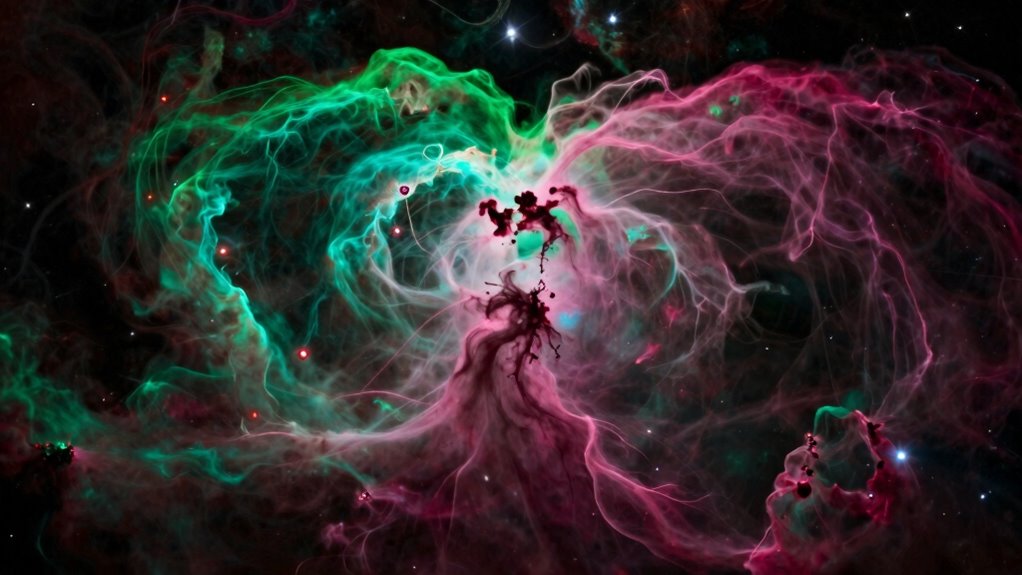
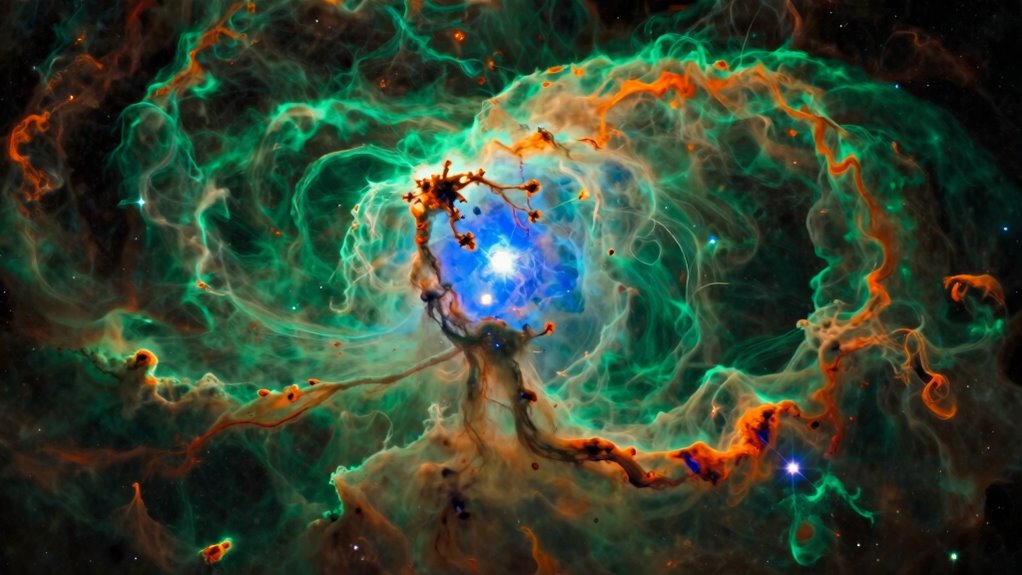
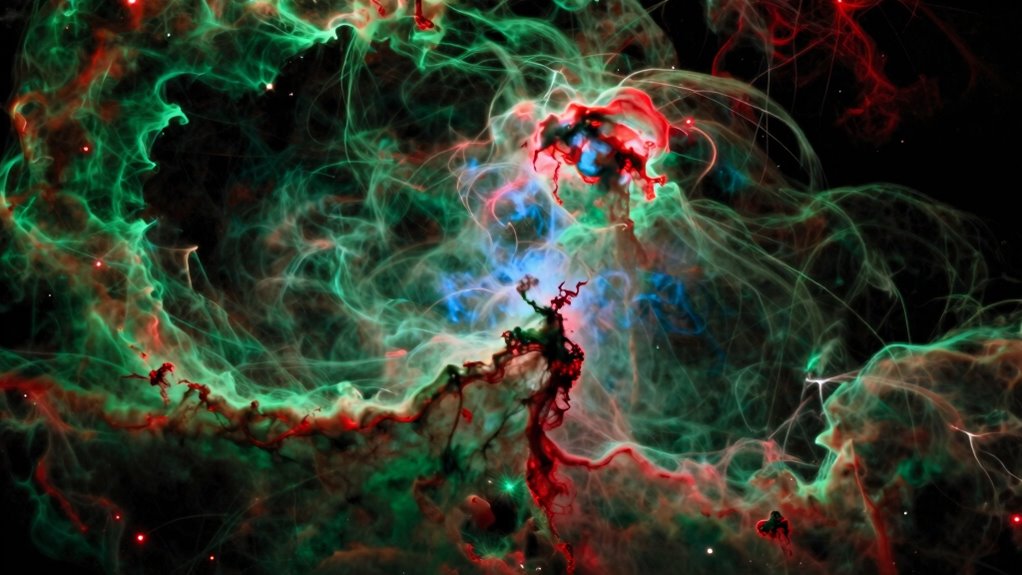
While mastering the processing of Hubble Palette images is important, exploring how it compares to other narrowband techniques reveals the broader landscape of astrophotography. Unlike the Hubble Palette’s focus on specific emission lines, other methods use different filters for spectral analysis, revealing distinct nebula features. For example, you might visualize:
- A vivid greenish glow highlighting oxygen emissions.
- An intense red that emphasizes sulfur-rich regions.
- Complex color blends created through custom filter combinations.
- Variations in spectral data revealing different astrophysical processes.
These techniques often require meticulous color calibration to accurately represent true colors. While the Hubble Palette offers striking, standardized visuals, alternative methods provide deeper insights into nebula composition and structure, broadening your understanding of the cosmos.
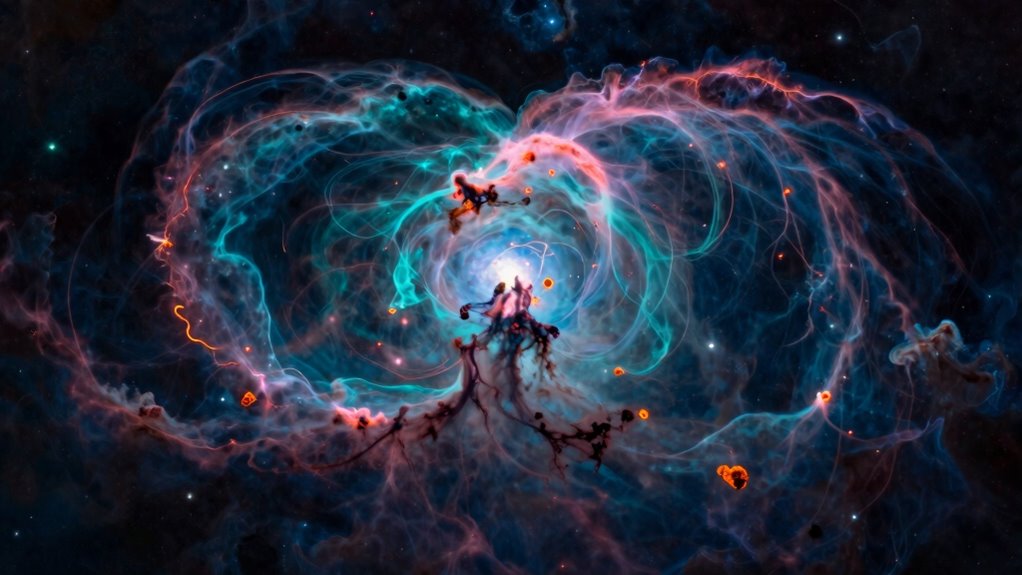
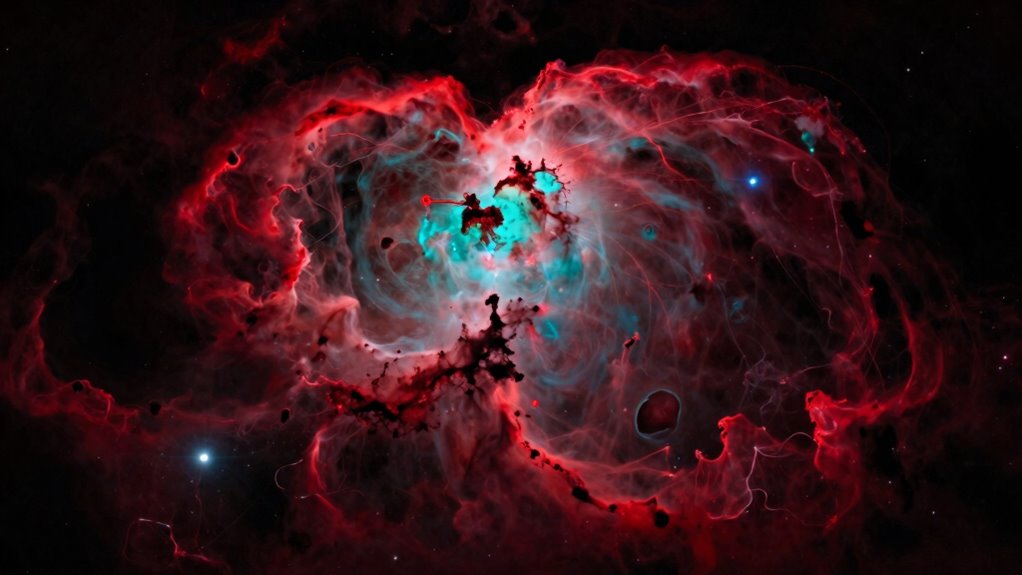
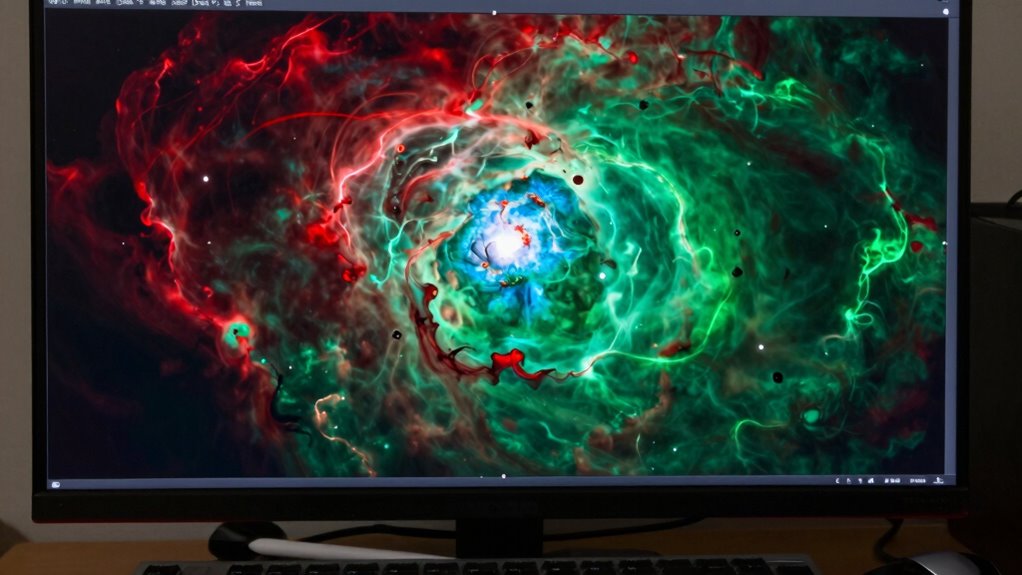
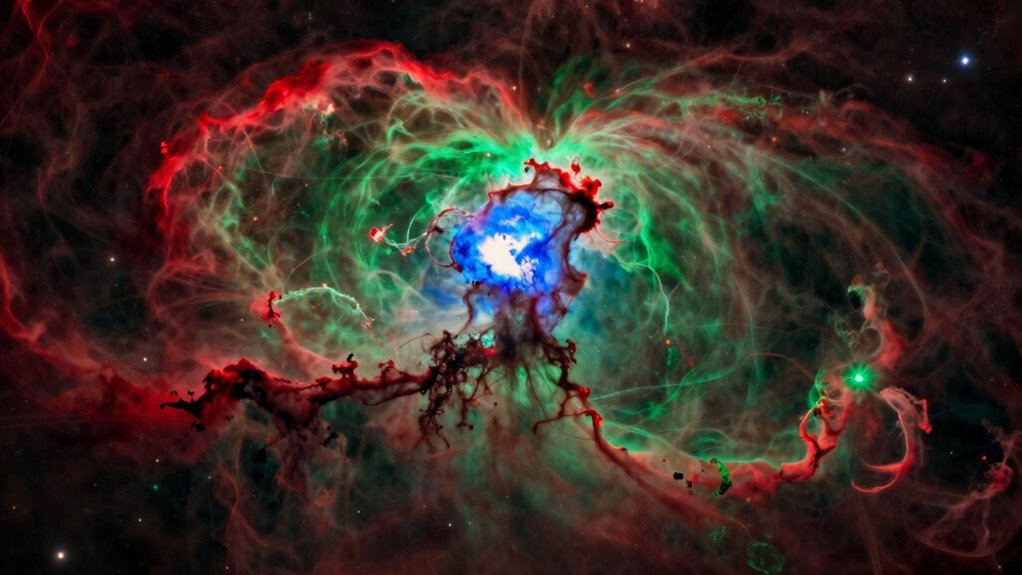
Showcasing Stunning Examples of Hubble Palette Astrophotography
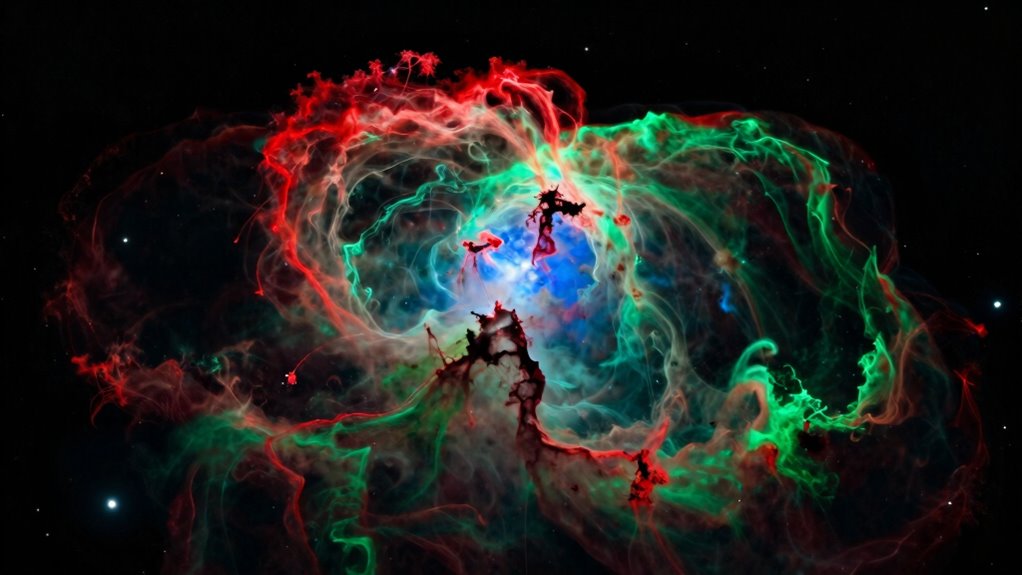
The Hubble Palette transforms astrophotography into a mesmerizing display of color, showcasing nebulae with striking clarity and vibrancy. By applying principles of color theory, you can enhance the visual impact, emphasizing contrast and harmony within your images. Stunning examples often feature carefully crafted composition framing, guiding the viewer’s eye through intricate structures and vibrant hues. Observe how different color combinations evoke emotion and highlight details, making each nebula unique. The palette’s vivid reds, greens, and blues create a dynamic interplay that captures the eye. When showcasing your work, select compositions that balance these colors thoughtfully, emphasizing the nebula’s depth and complexity. These enthralling images demonstrate how mastering color theory and framing elevates your astrophotography to professional levels.
Final Tips for Sharing and Saving Your Masterpiece
Sure! Here’s your modified content with the requested changes:
—
Sharing your astrophotography masterpiece effectively begins with choosing the right format and resolution to preserve its quality. Make certain you select a high-resolution, lossless format like TIFF or PNG to maintain detail and color accuracy. Before finalizing, perform color calibration to ensure the hues reflect true astrophysical signals, not camera quirks. Keeping your equipment in top shape through regular maintenance—clean lenses, check filters, and calibrate your mount—to avoid degradation over time is essential, especially if you utilize solar energy systems to power your setup. Regularly inspecting your gear for wear and tear can also enhance its longevity. Additionally, engaging in local cultural festivals can provide inspiration and a sense of community around your work. Incorporating music therapy into your creative process may also enhance your focus and emotional well-being. When saving, create a master file and backup on multiple drives or cloud storage. Consider resizing for different platforms, but always preserve the original. These steps ensure your image remains stunning, scientifically accurate, and ready for sharing with others. Additionally, media literacy can enhance your ability to interpret and present your work effectively.
Frequently Asked Questions
What Equipment Is Essential for Narrowband Hubble Palette Imaging?
You need a sensitive camera sensor and high-quality narrowband filters to capture stunning Hubble palette images. The sensor’s sensitivity guarantees you gather enough light, especially in faint nebulae, while selecting the right filters—like H-alpha, OIII, and SII—helps isolate specific emission lines. Together, these equipment choices enable you to produce detailed, vibrant narrowband images that highlight different astrophysical features effectively.
How Long Should I Expose for Optimal Narrowband Data Collection?
You should expose long enough to optimize your exposure, typically ranging from 30 minutes to several hours, depending on your target and equipment. Longer exposures boost your signal-to-noise ratio, revealing faint details and reducing noise. Think of it like catching a delicate whisper — the more time you give your camera, the clearer and more detailed your narrowband data becomes. Patience pays off in astrophotography!
Can the Hubble Palette Be Used for Planetary or Solar Imaging?
You can use the Hubble palette for planetary and solar imaging, but it’s not ideal for capturing planetary contrast or solar detail. The palette emphasizes specific emission lines, which can make planets appear less detailed and contrast less vivid. For the best planetary and solar results, consider using more specialized false-color palettes or imaging techniques tailored to highlight surface features and solar activity.
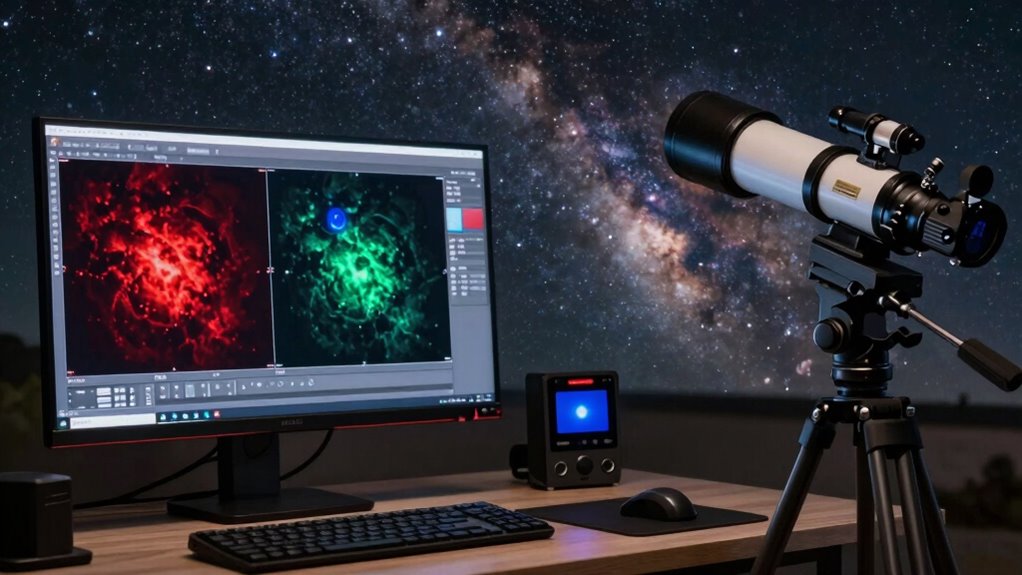
What Software Tools Are Best for Processing Hubble Palette Images?
You should use software like Adobe Photoshop, PixInsight, or AstroPixelProcessor for processing Hubble palette images. These tools excel at color calibration, ensuring accurate hues, and support image stacking, which enhances detail by combining multiple exposures. They provide advanced layer management and masking options, allowing you to refine color balance and contrast effectively. With these programs, you can produce stunning, scientifically accurate narrowband images.
How Do Different Telescope Apertures Affect Narrowband Image Quality?
Think of your telescope aperture as a singer’s vocal cords—larger ones produce clearer, more resonant sound. With bigger apertures, you’ll achieve better spectral resolution, capturing finer details in narrowband images. Smaller apertures suffer from aperture diffraction, which blurs the image and reduces quality. So, upgrading your aperture allows you to see sharper, more detailed nebulae, making your astrophotography more breathtaking and emotionally compelling.
Conclusion
Your journey through the narrowband universe is like tending a celestial garden—each step a careful planting of colors that bloom into breathtaking images. By mastering the Hubble palette, you become a cosmic painter, transforming raw data into vibrant stories written across the night sky. Remember, every pixel is a star’s whisper, and with patience, your work will shine as a luminous affirmation to your dedication—an eternal echo in the vast gallery of the universe.