Narrowband imaging with DSLR cameras offers a budget-friendly way to capture specific emission lines like H-alpha, OIII, and SII, helping you reveal deep-sky objects’ details. You’ll need quality filters and patience for longer exposures, as sensitivity and noise can be challenges. Proper alignment and image processing are essential for good results. If you keep exploring, you’ll discover effective options and techniques that can elevate your astrophotography experiences.
Key Takeaways
- DSLR cameras can capture narrowband images by pairing with appropriate filters like H-alpha, OIII, or SII.
- Filter bandwidth selection influences image contrast, exposure time, and sensitivity, posing a key challenge.
- Longer exposures are often required due to DSLR sensor limitations and narrowband filter restrictions.
- Precise image stacking and processing are essential to reduce noise and enhance faint celestial details.
- Balancing filter options and processing techniques determines the quality and success of narrowband DSLR astrophotography.
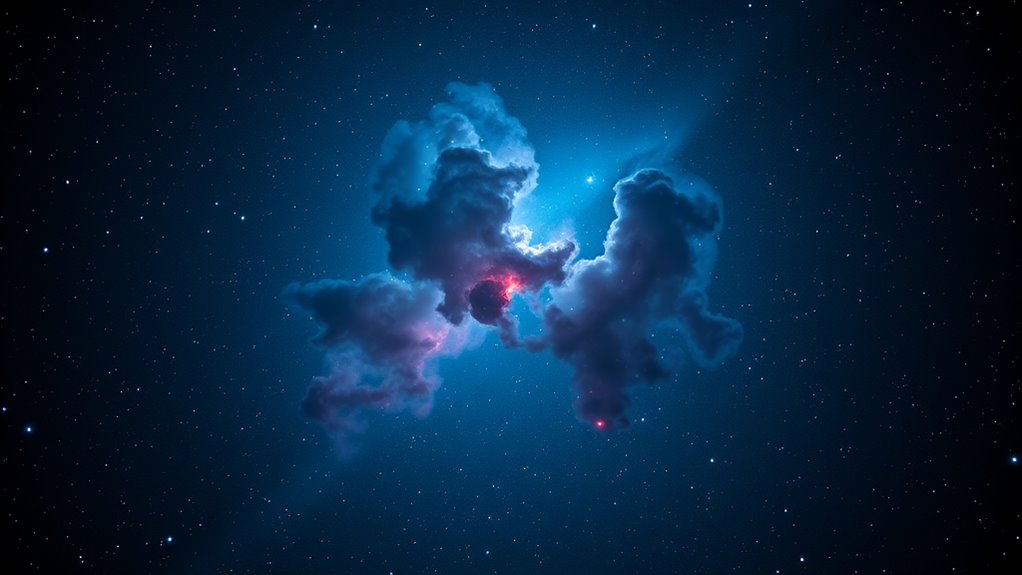
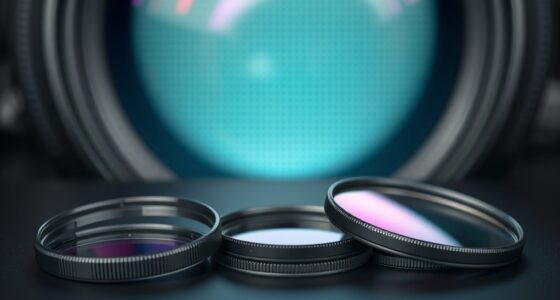
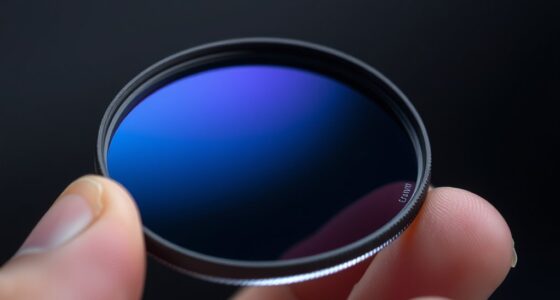
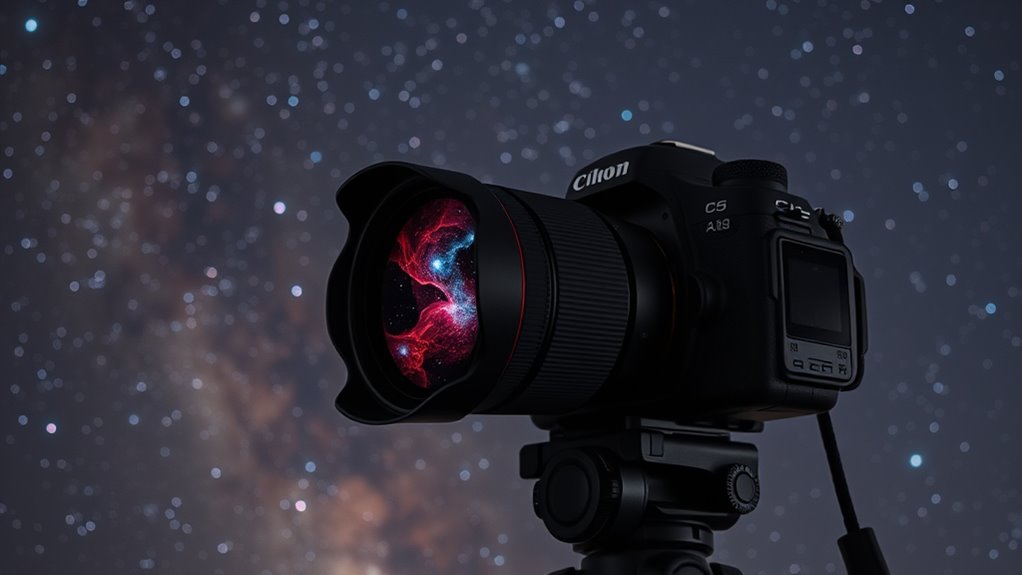
While DSLR cameras are traditionally used for daytime photography, they can also be powerful tools for narrowband imaging of celestial objects. This approach involves capturing specific wavelengths of light emitted by nebulae, supernova remnants, and other deep-sky objects. However, to succeed, you’ll need to pay close attention to filter selection and image processing techniques. Choosing the right filters is essential because narrowband filters isolate particular emission lines—such as H-alpha, OIII, or SII—allowing you to highlight specific features of your target object. These filters help mitigate the effects of light pollution and atmospheric interference, resulting in clearer, more detailed images. When selecting filters, consider their bandwidth; narrower bandwidths improve contrast but may require longer exposure times, while slightly wider filters can make imaging more forgiving for beginners.
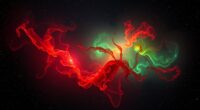
Once you’ve captured your images through these filters, the next critical step is image processing. Narrowband imaging with a DSLR isn’t just about taking pictures; it’s about combining multiple exposures to enhance detail and suppress noise. You’ll need to stack your images carefully, aligning them precisely to account for any tracking errors or atmospheric shifts. During processing, techniques like stretching the histogram help bring out faint details without overexposing brighter areas. Color mapping also plays a significant role—assigning different narrowband channels to RGB channels allows you to create stunning false-color images that reveal the structure and composition of nebulae. Software tools such as DeepSkyStacker, Photoshop, or PixInsight can assist in these tasks, but mastering their features is essential for optimal results. Additionally, understanding the sensor limitations of your DSLR can help you tailor your imaging approach to achieve better sensitivity and image quality.
Frequently Asked Questions
Can I Use Standard DSLR Lenses for Narrowband Imaging Effectively?
Yes, you can use standard DSLR lenses for narrowband imaging effectively. Just verify lens compatibility with your camera body, and consider focal length considerations to frame your target properly. Keep in mind that some lenses may introduce chromatic aberrations or vignetting at narrowband wavelengths, so choosing high-quality optics helps. Using the right focal length allows you to capture detailed images, making your narrowband imaging sessions more successful.
What Are the Best Filters for Different Astrophotography Targets?
Think of filter selection like choosing the right lens for a specific scene—each astrophotography target demands precision. For nebulae, opt for H-alpha filters to highlight hydrogen emissions; for galaxies, a broadband filter enhances detail. Your goal is target specificity, so match your filter to the object’s emission lines. Using the right filter helps you capture stunning, detailed images, much like a painter selecting perfect brushes for each stroke.
How Does Sensor Size Impact Narrowband Imaging Quality?
Sensor size especially impacts your narrowband imaging quality by affecting light sensitivity and sensor resolution. A larger sensor captures more light, resulting in brighter, more detailed images, particularly vital for faint nebulae. Additionally, bigger sensors typically have higher resolution, allowing you to capture finer details. Smaller sensors may limit your ability to gather enough light, leading to noisier images. Choosing a camera with a larger sensor enhances your overall narrowband astrophotography results.
Are There Specific Camera Settings Optimized for Narrowband Captures?
Imagine your camera as a finely tuned instrument, capturing the subtle glow of nebulae. To optimize your narrowband captures, you should set a low ISO to minimize noise, use longer exposures for detail, and guarantee precise camera calibration. Adjust exposure settings carefully to avoid overexposure or underexposure, and consider stacking multiple images to enhance signal-to-noise ratio. These steps help you achieve clearer, more vibrant astrophotography results.
How Do I Process Narrowband Images for Optimal Results?
To process narrowband images for ideal results, start with thorough image calibration, including darks, flats, and biases, to remove sensor noise and imperfections. Use dedicated post-processing techniques like contrast stretching, histogram adjustment, and noise reduction to enhance details. Carefully combine your calibrated images in stacking software, then fine-tune color balance and sharpness, ensuring your final image highlights the narrowband emissions vividly and accurately.
Conclusion
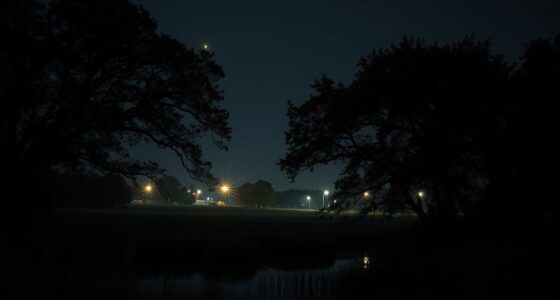
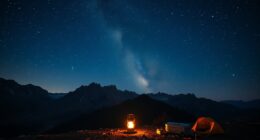
In the world of astrophotography, using a DSLR for narrowband imaging is like trying to catch fireflies in the dark—it’s challenging but rewarding. With the right filters and techniques, you can reveal stunning details hidden in the night sky. Remember, patience is your guiding star, and each successful shot brings you closer to capturing the universe’s secrets. Embrace the journey, and watch your images blossom like stars blooming in a midnight sky.