To prevent cropping your best astrophotography data, you need to match your camera sensor size with your telescope’s focal length and field of view. Use a sensor that suits your telescope to maximize sky coverage and detail, avoiding unnecessary cropping. Proper calibration, alignment, and adjustments—like focal reducers—also help capture complete images. Keep these principles in mind, and you’ll find ways to improve your setup for wider, more detailed sky shots as you explore further.
Key Takeaways
- Match your sensor size to your telescope’s focal length to maximize field of view and prevent unnecessary cropping.
- Use focal reducers or extenders to optimize sensor coverage and reduce cropping caused by mismatched optics.
- Ensure proper sensor alignment and calibration to maintain full data integrity and minimize edge distortions.
- Select a sensor with appropriate size and pixel resolution to capture more celestial data without sacrificing detail.
- Regularly calibrate and carefully process images to preserve the full data set and prevent cropping during post-processing.
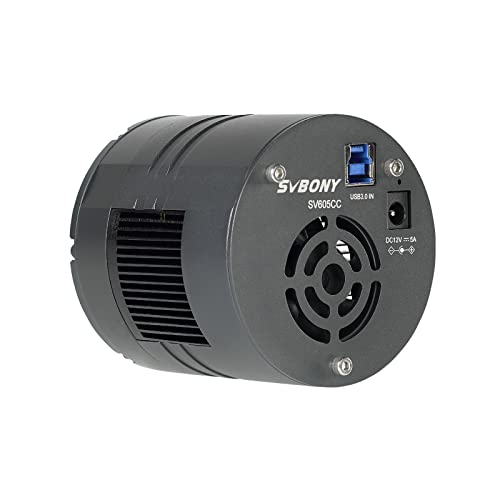
SVBONY SV605CC Cooled Astrophotography Camera, Double Layer Semiconductor Refrigeration, 9MP IMX533 USB3.0 CMOS Color Telescope Camera, for Deep Sky Astrophotography Panoramic Astronomy&Lucky Imaging
SV605CC deep sky camera is suitable for deep space photography enthusiasts; suitable for deep space photography; panoramic astronomy;…
As an affiliate, we earn on qualifying purchases.
As an affiliate, we earn on qualifying purchases.
Understanding How Aperture Affects Your Astrophotography Images
Certainly! Here’s the updated content with the requested modifications:
—
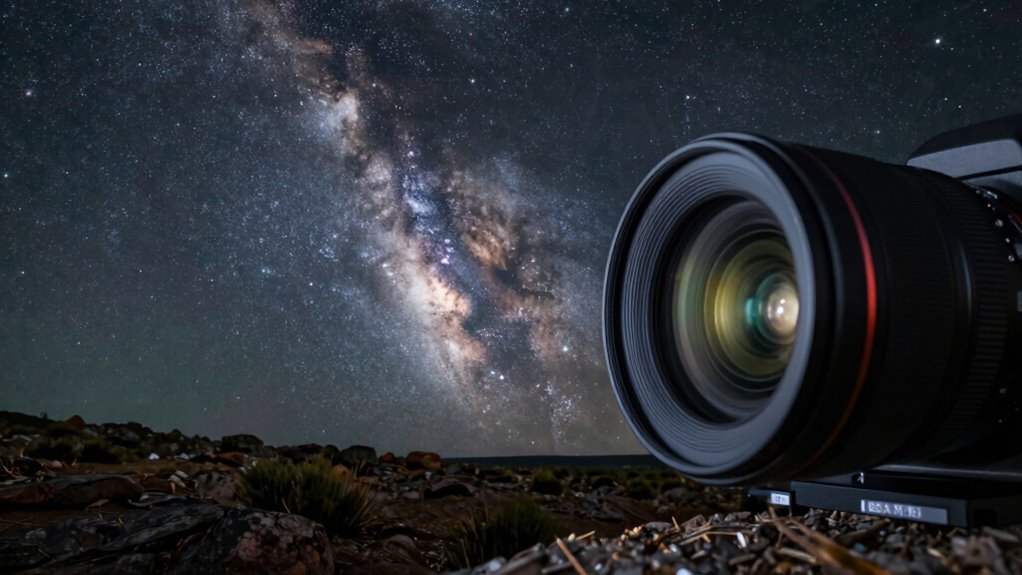
Aperture plays a crucial role in shaping the quality of your astrophotography images because it determines how much light your telescope can gather. A larger aperture lets in more light, enhancing your sensor’s ability to capture fine details, especially with higher sensor resolution. This means stars appear sharper, and faint objects become visible. Additionally, a wider aperture reduces the need for long exposure times, minimizing potential issues with image stabilization. When you use a telescope with an appropriate aperture, your images will have better clarity and less noise. Furthermore, incorporating landscaping techniques can enhance the overall aesthetic of your astrophotography setup, making it more inviting. Keep in mind that a bigger aperture doesn’t just improve brightness; it also boosts the overall quality of your data, allowing you to produce clearer, more detailed astrophotos. Moreover, projector technology can significantly impact the clarity of images, especially when used in conjunction with other optical equipment. Furthermore, studies indicate that sound waves can influence brainwave patterns, which may inspire creative approaches to capturing the night sky. Furthermore, exploring digital content formats can help you present your astrophotography findings in innovative ways that engage your audience. Support networks can also play a vital role in enhancing your overall experience as you navigate the challenges of astrophotography.
—
Let me know if you need any further adjustments!

Celestron – Focal Reducer & Field Corrector Imaging Accessory – Reduces Focal Length & Ratio 37% – f/10 to f/6.3 – Ideal for Deep-Sky Observing & Astroimaging – Works w/Schmidt-Cassegrain Telescopes
LIKE HAVING TWO TELESCOPES IN ONE: Your long focal length Schmidt-Cassegrain is well suited to lunar and planetary…
As an affiliate, we earn on qualifying purchases.
As an affiliate, we earn on qualifying purchases.
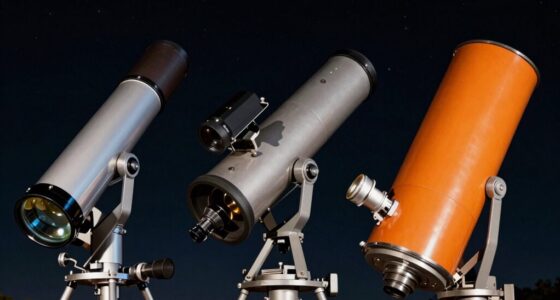
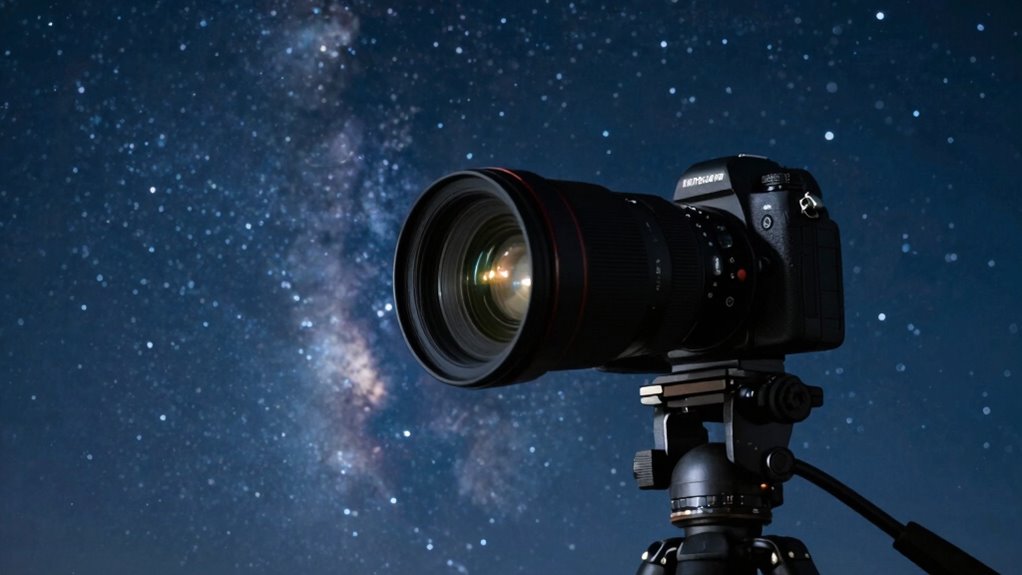
How Sensor Size Influences Your Field of View

Sensor size directly impacts the field of view (FOV) you can capture with your telescope, meaning larger sensors allow you to see more of the sky in a single shot. The sensor dimensions determine how much of the image circle from your telescope’s focal length is utilized. A bigger sensor, such as a full-frame, captures a wider FOV because it covers more of the telescope’s image circle. Conversely, smaller sensors like APS-C or micro four-thirds crop the view, effectively reducing your FOV. The focal length also influences the view; longer focal lengths narrow the FOV, regardless of sensor size. To maximize your sky coverage, choose a sensor size that complements your focal length, ensuring you don’t crop out valuable details of your celestial targets.

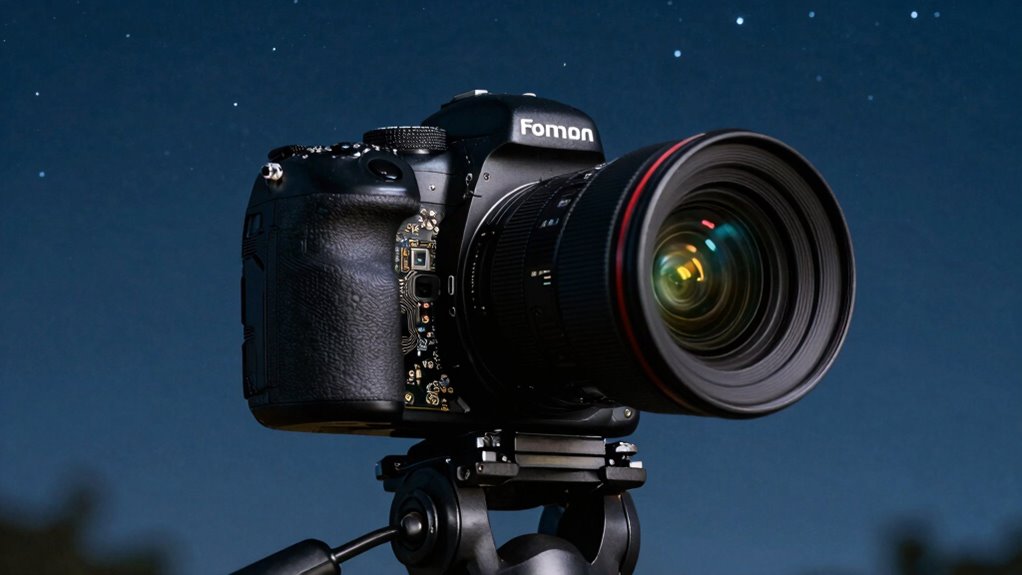
Canon EOS 5D Mark IV Digital SLR Camera (Body Only), Full-Frame DSLR Camera, 30.4 Megapixel CMOS Sensor, 4K Video, Content Creator Camera, EF Mount, Black
High Image Quality: EOS 5D Mark IV digital 4K camera features a 30.4 megapixel full-frame CMOS sensor for…
As an affiliate, we earn on qualifying purchases.
As an affiliate, we earn on qualifying purchases.
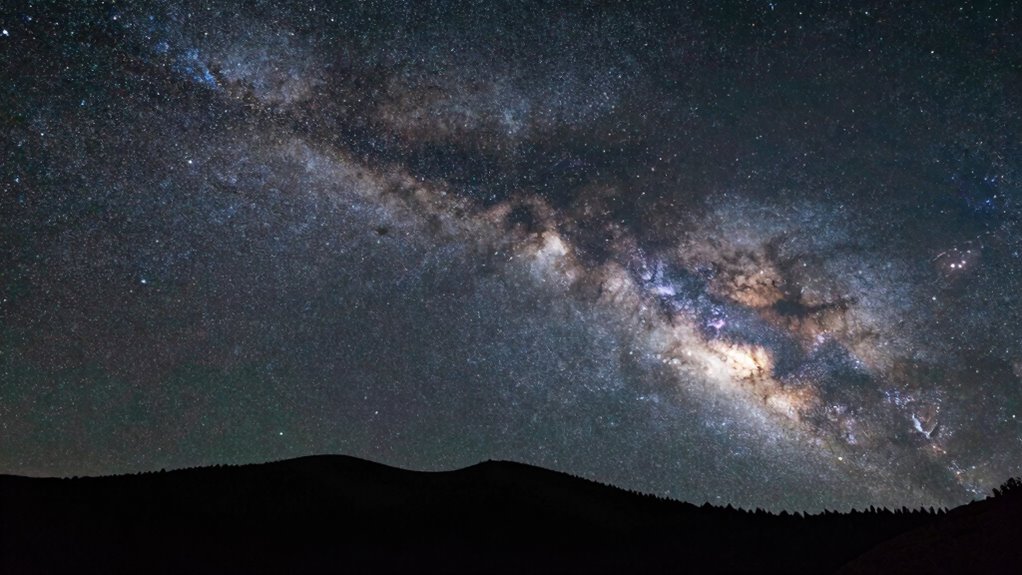
Matching Sensor Size and Telescope for Full-Frame Images
To capture full-frame images that maximize your telescope’s potential, you need to match your sensor size carefully with your telescope’s specifications. Proper sensor calibration guarantees your data is accurate, reducing distortions that could affect your framing. When your sensor aligns with your telescope’s focal length, you avoid cropping and preserve the full field of view. This setup allows you to gather more data per exposure, which is vital for effective data stacking. Data stacking combines multiple images, enhancing detail and reducing noise, but only works at its best if your sensor captures the entire frame without cropping. By choosing the right sensor size and calibrating it correctly, you ensure your images are both complete and high-quality, making the most of your telescopic setup.

Estink Focal Length Extension Tube Kit, 8 PCS Aluminum Alloy M48X0.75 Astronomical Extension Tube Kit 3 5 7 10 12 15 20 30mm Extending Ring for Astronomical Telescope Photography
ALUMINUM ALLOY CONSTRUCTION: Designed with an all-metal structure and anodized aluminum process, our astronomical extension tube kit ensures…
As an affiliate, we earn on qualifying purchases.
As an affiliate, we earn on qualifying purchases.
Common Cropping Mistakes in Astrophotography
Cropping mistakes are a common pitfall in astrophotography that can greatly weaken your images. When you crop too early or excessively, you risk losing essential data and reducing image quality. Always make sure your sensor is properly calibrated to avoid introducing noise or artifacts that can become more apparent after cropping. Proper sensor calibration, including dark frames and flat-fielding, helps maintain data integrity during post-processing. Additionally, skipping or rushing image stacking can cause you to overlook the benefits of combining multiple exposures, which can improve detail and reduce noise. When cropping, do so carefully, preserving as much of your original data as possible. Remember, cropping should enhance your image, not diminish the information captured. Proper calibration and thoughtful stacking are key to avoiding common cropping mistakes.
Choosing the Best Camera Sensor for Your Sky Targets
Choosing the Best Camera Sensor for Your Sky Targets
Choosing the right camera sensor is vital because it directly influences the quality and detail of your astrophotographs. A well-calibrated sensor ensures accurate data collection, minimizing noise and artifacts. Consider sensors with good sensitivity and dynamic range to capture faint sky targets effectively. Larger sensors can gather more light, but they also require precise calibration to prevent issues like vignetting. Additionally, the intersection of art and science highlights the importance of understanding how technology enhances creative expression in astrophotography. Image stacking is indispensable for improving signal-to-noise ratio, so select a sensor compatible with effective stacking techniques. Pay attention to pixel size; smaller pixels offer higher resolution but may need longer exposures. Ultimately, balancing sensor size, calibration needs, and stacking capabilities helps you optimize your data collection, leading to sharper, more detailed astrophotos of your sky targets. Additionally, using a free online tool can help you convert text into various capitalization styles, ensuring your data presentation is clear and professional.
Troubleshooting Sensor and Telescope Compatibility

If your images aren’t fitting the telescope’s field of view properly, you might need to adjust your sensor and telescope match. Ensuring the sensor size aligns with your telescope’s optics helps prevent vignetting and cropping issues. Keep an eye on the field of view to make sure your setup captures what you intend. Additionally, incorporating latest wall art trends can inspire your creative approach to visual data representation.
Matching Sensor and Telescope
Matching your sensor to a telescope requires understanding how their sizes work together to produce a clear, well-framed image. Sensor compatibility is key; a mismatched sensor can lead to cropped images or vignetting. Optical matching ensures your telescope’s focal length and aperture suit your sensor’s size, maximizing image quality. For example, a camera with a large sensor needs a telescope with sufficient aperture and focal length to avoid excessive cropping. Conversely, a small sensor works well with shorter focal lengths, preventing star distortion. Check that your camera’s mount and connection are compatible with your telescope’s eyepiece or camera port. Confirming proper optical matching and sensor compatibility helps you capture sharp, full-field images without unnecessary cropping or loss of detail.
Correcting Field of View
Have you noticed your images are consistently cropped or show distorted stars at the edges? This often happens when your sensor’s field of view doesn’t match your telescope’s optics. To fix this, start with proper sensor calibration to ensure accurate data capture. Next, check your image stabilization settings to prevent motion blur that can exaggerate edge distortions. Adjust your camera’s crop factor or use software to correct for mismatched field of view. Consider using a focal reducer or extender if needed. These steps help align your sensor’s view with your telescope’s optics, reducing cropping issues. Regular sensor calibration also improves overall image quality, making your data more reliable. With these adjustments, you’ll get a wider, more accurate field of view, capturing your celestial targets more completely.
Frequently Asked Questions
How Does Pixel Size Affect Astrophotography Image Quality?
Pixel size directly impacts your astrophotography image quality by influencing sensor noise and image resolution. Larger pixels gather more light, reducing sensor noise and improving detail, especially in low-light conditions. Smaller pixels offer higher resolution but can introduce more noise, which may degrade image clarity. Balancing pixel size helps you capture detailed, low-noise images that reveal faint celestial objects without sacrificing resolution.
Can Sensor Size Impact Exposure Times Needed for Deep-Sky Imaging?
Sensor size does impact your exposure times for deep-sky imaging, as larger sensors often require longer exposures to capture faint details fully. You’ll need to take into account sensor compatibility with your telescope and may need to adjust focal length or exposure settings accordingly. By fine-tuning these factors, you guarantee your camera captures all the celestial beauty without unnecessary cropping or data loss, resulting in clearer, more detailed images.
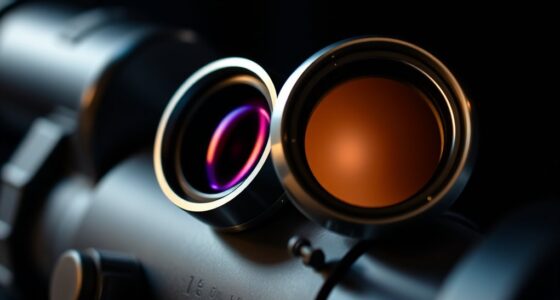
What Are the Best Practices to Avoid Vignetting With Different Sensors?
To avoid vignetting, guarantee your lens compatibility with your sensor size, using lenses designed for your camera’s sensor. Consider focal length, as shorter focal lengths tend to reduce vignetting risks, especially with larger sensors. Use appropriate lens mounts and filters, and test your setup with your specific telescope or camera system. Regularly check for vignetting during your setup to make adjustments early, ensuring even illumination across your images.
How Do Cooling Systems Influence Sensor Performance in Astrophotography?
Cooling systems can truly be a game-changer in astrophotography, transforming your image quality. They optimize thermal regulation, reducing sensor heat that causes noise and distortions. Better cooling efficiency means your sensor stays cooler longer, preserving detail and color accuracy. This prevents thermal noise from overwhelming your data, allowing you to capture the cosmos’s true beauty. With effective cooling, you’ll achieve cleaner, sharper images that rival the universe’s brilliance itself.
Is It Better to Upgrade My Camera or Telescope for Improved Data?
Upgrading your telescope often offers more noticeable improvements in data quality, especially if your current setup lacks optical matching and sensor compatibility. A better telescope provides higher resolution and light-gathering power, reducing cropping. While a new camera can help, make certain it’s compatible with your existing gear. If you want sharper, more detailed images, prioritize upgrading your telescope first, then consider a camera that complements your optical system.
Conclusion
Remember, the right combination of sensor size and telescope is like a well-tuned orchestra—each part must work in harmony. Don’t let cropping cut your best data short; instead, focus on matching your gear to your sky targets. As the saying goes, “A chain is only as strong as its weakest link.” Keep your equipment aligned, and you’ll capture stunning, full-field astrophotos that truly showcase the universe’s beauty.