
To become confident in meridian flip planning, start by understanding why flips are necessary to keep your target centered and images sharp during long exposures. Use scheduling software and celestial tools to identify the exact timing when your target crosses the meridian. Automate your mount’s flip process and verify equipment compatibility. Regularly check calibration and post-flip alignment to guarantee smooth progression. Keep practicing, and you’ll master flawless flips that enhance your astrophotography—more tips are just ahead.
Key Takeaways
- Understand the importance of meridian flips for continuous, high-quality astrophotography and proper tracking during long exposures.
- Use sky planning software and alerts to identify optimal flip timing based on target position and focal length.
- Ensure your mount and automation software are compatible and properly calibrated for seamless, hands-free flip execution.
- Schedule flips just before the target crosses the meridian, verifying timing with celestial navigation and software tools.
- Post-flip, recheck polar alignment and target positioning to maintain image sharpness and reduce processing adjustments.

Astromania Finder Scope Mount Universal Dovetail Base, Telescope Dovetail Base Compatible with Optical Telescope, Quick Release Aluminum Base Ideal for Installation of Red Dot Optical Finderscope
Drilled "but not threaded" to accommodate screws up to 5mm in diameter; center-to-center screw hole spacing on your…
As an affiliate, we earn on qualifying purchases.
As an affiliate, we earn on qualifying purchases.
Understanding the Basics of Meridian Flips
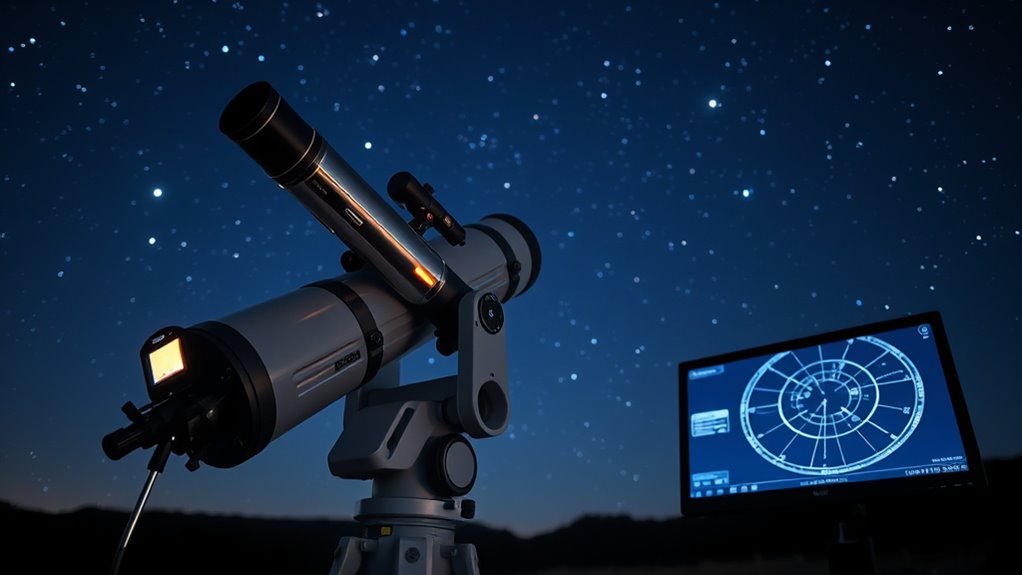
Have you ever wondered what a meridian flip is and why it’s necessary during astrophotography? When you’re capturing images, your telescope tracks celestial objects as they move across the sky, but due to Earth’s rotation, objects cross the meridian—the imaginary line running from north to south. To continue imaging without interruption, you need to perform a meridian flip, which repositions your telescope to the opposite side of the mount. Proper polar alignment is essential here; if your setup isn’t aligned accurately, the flip can cause miscalculations, leading to tracking errors. Light pollution also impacts your imaging, making it vital to plan your flips carefully to avoid unnecessary adjustments or data loss. Understanding this process helps you maintain precise tracking and achieve clearer, more consistent astrophotos.

Astromania Polar Alignment Scope for EQ-5, Quickly and Easily Align Your Equatorial Mount with The North Celestial Polar – The Foundations for Successful Astrophotography
Full metal; Good alignment of the mount with the North Celestial Pole can be achieved in a short…
As an affiliate, we earn on qualifying purchases.
As an affiliate, we earn on qualifying purchases.
Why Meridian Flips Are Necessary in Astrophotography

You need to perform a meridian flip to prevent field rotation, which can blur your images over time. Without it, your camera’s view shifts as the telescope tracks objects across the sky. This flip guarantees your imaging continues smoothly and keeps your data sharp. Additionally, understanding the contrast ratio of your telescope setup can help you optimize image clarity during long exposures.
Preventing Field Rotation
To prevent field rotation in astrophotography, understanding the importance of meridian flips is essential. When your telescope is accurately polar aligned, it maintains its orientation relative to the sky, reducing unwanted movement. Proper gear calibration ensures smooth tracking, preventing errors that could cause rotation during long exposures. Without these steps, the star trails can distort your images, reducing their quality. Meridian flips are necessary because, as objects cross the meridian, your mount needs to reverse its tracking direction. This process keeps your target centered and minimizes field rotation. Maintaining precise polar alignment and well-calibrated gears helps you execute flips seamlessly, preserving the integrity of your images and ensuring your astrophotography sessions are successful.
Ensuring Continuous Imaging
Maintaining continuous imaging during astrophotography sessions requires understanding the role of meridian flips. As your telescope tracks celestial objects, it approaches the meridian, where the object crosses the local north-south line. Without a meridian flip, your focal length and polar alignment could cause field rotation or obstruction of the camera. By planning for a meridian flip, you guarantee uninterrupted imaging, especially with longer focal lengths that magnify tracking errors. Proper polar alignment minimizes drift, reducing the frequency of flips needed. When your target nears the meridian, prepare to execute the flip smoothly. This shift keeps your object centered, preserves image quality, and prevents gaps in your session, allowing you to capture consistent, high-quality astrophotos without interruptions.
meridian flip automation device
As an affiliate, we earn on qualifying purchases.
As an affiliate, we earn on qualifying purchases.
Identifying When a Meridian Flip Is Required
A meridian flip becomes necessary when your telescope reaches the point where the target object crosses the local meridian, causing it to move from one side of the mount to the other. To identify this moment, use celestial navigation techniques to track the object’s position accurately. Proper mount calibration helps ensure your mount’s tracking is precise, making it easier to spot when the object approaches the meridian. Many astronomers watch for the hour angle or check software alerts that indicate when the target nears the meridian. Recognizing this point early prevents unexpected interruptions during imaging sessions. Understanding how to interpret mount behavior and using accurate celestial navigation, you can confidently plan for the flip and minimize disruptions in your observing schedule.
Night Photography: Pocket Guide: Camera Settings, Focusing Techniques, and Shooting Strategies for Night Photography (The Pocket Guide Series for Photographers)
As an affiliate, we earn on qualifying purchases.
As an affiliate, we earn on qualifying purchases.
Tools and Software for Planning Your Flip
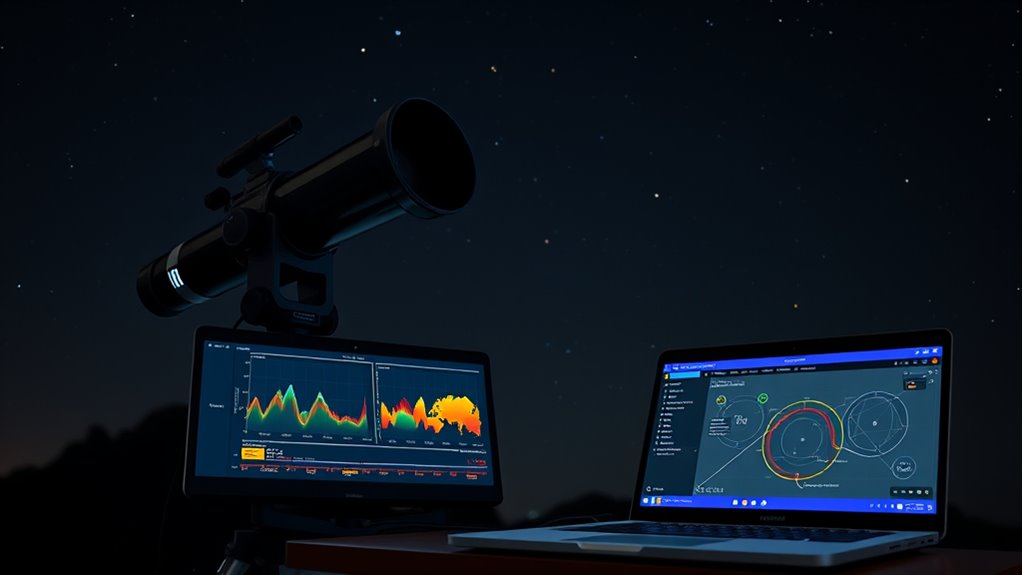
You can streamline your flip planning with tools for automated scheduling, which help set precise times and conditions. Software for sky planning allows you to visualize your target’s position and plan your sessions accordingly. These tools make the process more efficient, so you can focus on capturing great images with confidence. Additionally, understanding the optimal timing for your sessions can minimize side effects of juice detox and enhance your overall success.
Tools for Automated Scheduling
Automated scheduling tools have become essential for streamlining your property flip planning process. They help you coordinate timing, avoid conflicts, and maximize your viewing sessions. These tools often integrate features like celestial navigation, which guarantees accurate sky tracking, and mount calibration, critical for precise telescope positioning. Using software with automation capabilities lets you set up observation sequences with minimal manual input. Additionally, AI-driven solutions are revolutionizing how you plan and execute flips by providing predictive insights and optimizing schedules based on real-time data.
Consider these benefits:
- Automated alerts for ideal flip timing
- Precise mount calibration reminders
- Scheduling based on celestial events
- Seamless integration with sky planning tools
Software for Sky Planning
To effectively plan your property flip, utilizing specialized sky planning software is essential. These tools help you determine *best* times for meridian flips by enabling precise star tracking and accurate telescope calibration. With star tracking features, you can simulate the night sky from your location, ensuring your equipment aligns with celestial targets. Telescope calibration tools within the software help you fine-tune your setup for pinpoint accuracy, reducing errors during imaging sessions. Many programs also offer real-time sky visualization, so you can anticipate object movement and plan your flip accordingly. By integrating these features, you gain confidence in your planning, minimize wasted time, and maximize your imaging quality. Additionally, understanding Kia Tuning options can optimize your equipment’s performance, ensuring smooth operation during your astrophotography sessions. Ultimately, choosing the right sky planning software streamlines your workflow and enhances your astrophotography success.
Setting Up Your Mount for Seamless Flips

Remember these key points:
- Balance your mount thoroughly for stability
- Double-check your polar alignment before imaging
- Use a high-quality mount with reliable motors
- Calibrate your mount regularly for best results
- Incorporate grocery savings strategies into your routine to ensure you have the resources needed for quality equipment and accessories.
Timing Your Meridian Flip for Optimal Imaging
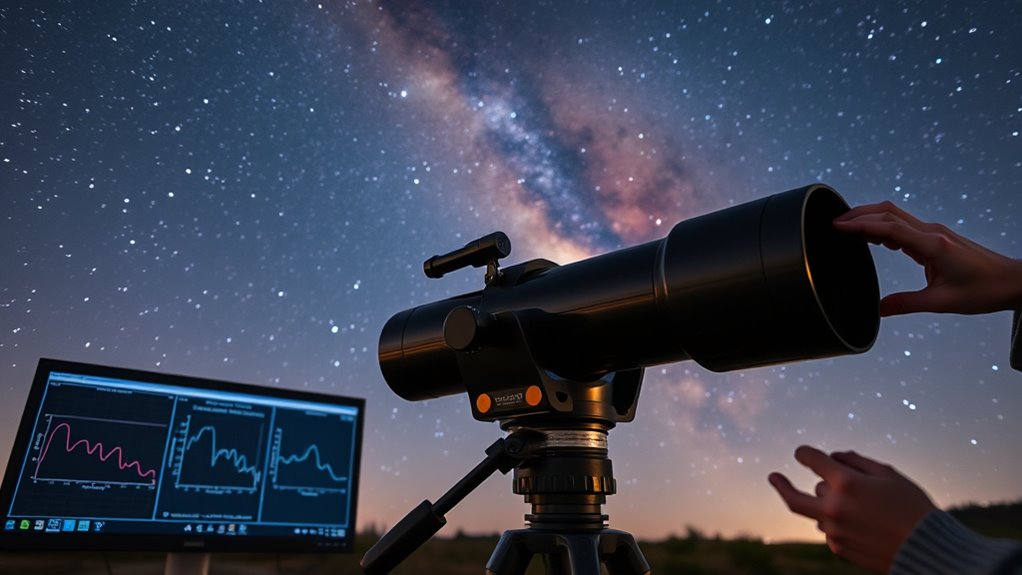
Scheduling your meridian flip at the right moment can make a big difference in your imaging session. Precise polar alignment guarantees your mount tracks accurately, helping you determine the ideal time for the flip. Generally, plan to flip when the target is near the meridian but before it crosses it, minimizing tracking errors and field rotation. For longer focal lengths, timing is critical, as even slight inaccuracies can introduce star trails or blur. Keep an eye on your mount’s tracking performance as you approach the meridian, and prepare to flip just before your target reaches the meridian line. By aligning your timing with your polar setup and focal length, you’ll maximize image quality and reduce post-processing adjustments. Proper timing guarantees a smooth transition and sharp, consistent images. Innovative European Cloud Servers offer reliable support for your imaging data storage and processing needs, ensuring your sessions are seamless and well-managed.
Automating Meridian Flips With Your Equipment
To automate your meridian flips, start by checking that your hardware is compatible with your automation software. Once confirmed, set up the software to communicate seamlessly with your mount and camera. Proper configuration guarantees smooth, hands-free flips during your imaging sessions. Additionally, being aware of grocery store hours can help you plan your equipment maintenance or shopping trips around your imaging schedule.
Hardware Compatibility Checks
Confirming your equipment is compatible is a vital first step before automating meridian flips. You need to verify mount compatibility—whether your mount supports automated slewing and park functions. Check if your hardware allows seamless software integration, ensuring the control software can communicate effectively with your mount and camera.
Consider these points:
- Confirm your mount supports automated commands.
- Ensure your camera and filter wheel can be controlled via software.
- Verify the availability of reliable drivers for your hardware.
- Check if your control software can send precise commands for flip execution.
Automation Software Setup
Setting up automation software is a crucial step to smoothly execute meridian flips during your astrophotography sessions. Accurate polar alignment ensures your mount tracks objects precisely, minimizing the risk of failed flips. When configuring your software, input your telescope’s focal length, as it influences the flip point calculations. Longer focal lengths require more precise timing to avoid image distortion or framing issues. Confirm your automation software is compatible with your mount and camera control systems. Program the flip point based on your target’s declination and focal length, so the software can automatically initiate the meridian flip at the ideal moment. This setup not only saves time but also helps maintain sharp, well-aligned images throughout your session. Proper automation setup streamlines your workflow and boosts your confidence in capturing high-quality astrophotography. Incorporating Accurate polar alignment enhances the effectiveness of your automation, reducing errors during flips and ensuring consistent image quality.
Troubleshooting Common Meridian Flip Challenges
Meridian flip challenges can disrupt your imaging session if you’re not prepared to troubleshoot them effectively. One common issue is poor polar alignment, which can cause tracking errors during the flip. Also, a long focal length increases sensitivity to even minor misalignments, making flips trickier. To resolve these problems:
- Double-check your polar alignment before starting.
- Ensure your mount is properly calibrated for the focal length you’re using.
- Monitor the mount’s tracking during the flip to catch any slipping.
- Keep your software updated to avoid communication glitches.
- Regularly perform maintenance on your mount to ensure optimal performance.
Being proactive with these steps helps minimize delays and keeps your session on track. Addressing polar alignment issues and understanding focal length impacts are key to smooth, successful meridian flips.
Best Practices for Post-Flip Imaging
After completing a meridian flip, verifying your camera and mount settings promptly before resuming imaging is essential. First, double-check your polar alignment, as even slight shifts can affect image quality, especially with longer focal lengths. Make sure your mount’s tracking is accurate to prevent star trailing during exposure. Reconfirm that your camera’s orientation and filter positions remain correct. If your setup involves a focal length that magnifies alignment errors, take a few moments to re-verify star positions or perform a quick plate solve. Maintaining consistent settings minimizes the need for extensive recalibration and helps preserve image quality. These best practices ensure your post-flip imaging continues smoothly, delivering sharp, well-aligned astrophotos without unnecessary delays.
Tips to Improve Your Overall Observation and Imaging Workflow
Optimizing your observation and imaging workflow can substantially enhance your productivity and the quality of your astrophotography sessions. Start with accurate mount calibration to guarantee precise tracking and avoid unnecessary re-adjustments. Use celestial navigation to confirm your target’s position quickly, reducing setup time. Streamline your process by preparing gear and scripts beforehand, minimizing delays during sessions. Regularly review your procedures to identify bottlenecks and refine them. Consider creating checklists for setup, calibration, and imaging sequences. This helps maintain consistency and reduces errors. Proper mount calibration and celestial navigation are vital for smooth meridian flips and efficient data collection. By tightening your workflow, you’ll spend more time capturing quality images and less time troubleshooting.
Frequently Asked Questions
Can I Perform a Meridian Flip Manually Without Software?
Yes, you can perform a manual operation of a meridian flip without software. To do this, monitor the flip timing carefully, ensuring you’re ready to stop tracking when the telescope reaches the meridian. Carefully rotate the mount by hand or adjust the mount controls, then realign your target once the flip is complete. Just make sure to double-check your positioning to avoid losing your target or damaging your equipment.
How Does Meridian Flip Timing Affect Image Quality?
Think of your telescope as a dancer performing a routine; timing your meridian flip is like catching the perfect beat. If you flip too early or late, your images suffer, especially if your polar alignment isn’t precise. Accurate tracking during the flip is essential, as it maintains stellar alignment. Proper timing ensures sharp, clear images, minimizing star trails and blurring caused by tracking errors, so your astrophotos stay crisp and vibrant.
What Are Common Signs My Mount Is Not Ready for a Flip?
You’ll notice signs your mount isn’t ready for a flip if it shows inconsistent star tracking, sudden gear slippage, or if calibration points shift unexpectedly. Before flipping, double-check your mount calibration to guarantee accuracy. Gear slippage can cause misalignment, so tighten gears if necessary. If your mount struggles to maintain alignment or drifts during tracking, it’s a clear sign you need to address these issues before proceeding with the flip.
Are There Safety Precautions During a Meridian Flip?
Imagine your mount as a rollercoaster—safety gear and emergency procedures are your seatbelts and harnesses. During a meridian flip, always double-check that your safety gear is secure, and have emergency procedures on hand in case things go awry. Keep your hands clear of moving parts, stay alert, and never rush. These precautions facilitate a smooth shift, so you don’t end up upside down—literally or figuratively.
How Do I Adjust My Workflow for Different Telescope Models?
To adjust your workflow for different telescope models, start by checking mount compatibility with your software. Make certain your control software integrates smoothly with your specific mount to avoid connection issues. Update firmware if needed, and customize your meridian flip settings accordingly. Practice the process with your current setup to identify any adjustments needed. Always refer to your telescope’s manual for model-specific instructions, and test before actual observing sessions.
Conclusion
Now that you’re a meridian flip maestro, it’s time to conquer the night sky without losing your mind—or your photos. Remember, flips are just cosmic dance moves your mount must learn. Embrace the chaos, automate where you can, and keep troubleshooting. Soon, you’ll be flipping like a pro, all while wondering why you ever hesitated. Happy imaging, and may your stars stay aligned—preferably after a flip!