To capture the Veil Nebula Complex‘s eastern and western sections, use a telescope with at least 2000mm focal length, a stable mount with precise tracking, and a cooled camera with narrowband filters like H-alpha or OIII. Spend time aligning your equipment and capturing multiple long exposures to gather detail. Proper calibration, stacking, and careful processing reveal its intricate filaments. Keep experimenting, and you’ll uncover even more of its delicate beauty as you refine your technique.
Key Takeaways
- Use a telescope with at least 2000mm focal length and narrowband filters (H-alpha, OIII) for detailed imaging of both nebula regions.
- Ensure precise polar alignment and stable tracking to capture long exposures without star trails.
- Capture multiple long exposures with calibration frames, then stack and process for enhanced faint detail.
- Focus carefully and maintain consistent framing to differentiate the Eastern and Western Veil features.
- Adjust image stretching, color balance, and sharpening to highlight delicate filaments and structure in both nebula parts.
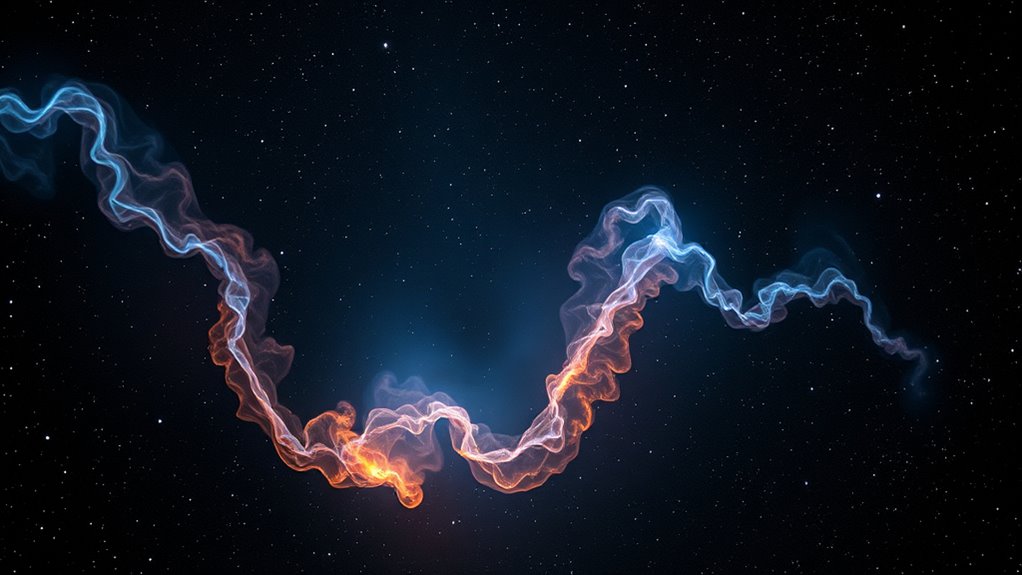
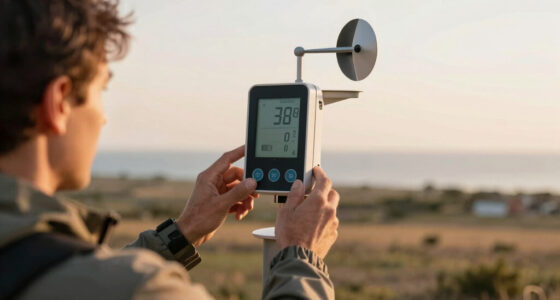
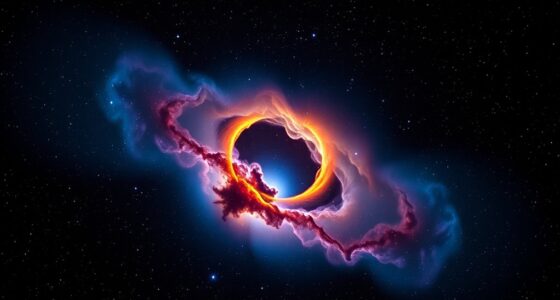
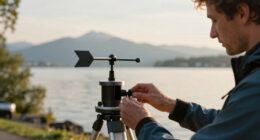
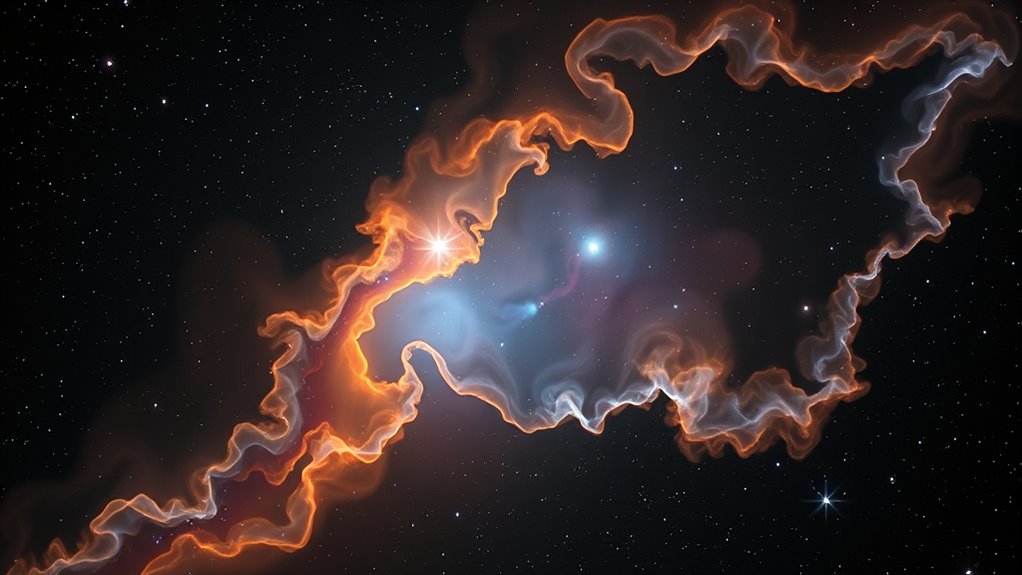
The Veil Nebula Complex is one of the most stunning and intricate remnants of a supernova explosion, offering astrophotographers a challenging yet rewarding target. To capture its delicate filaments and vibrant colors, you need a solid plan for your equipment setup and a good grasp of image processing techniques. Starting with equipment, it’s essential to select a telescope with a suitable focal length—around 2000mm or more works well for detailed images of the nebula. Pair this with a stable mount that can track the night sky accurately, reducing star trails during long exposures. A cooled CCD or CMOS camera is ideal, as it minimizes noise, especially during extended imaging sessions. Use a high-quality narrowband filter, like H-alpha or OIII, to isolate specific emissions and enhance the nebula’s intricate structures. Set up your camera and mount carefully, ensuring all connections are secure, and that your polar alignment is precise to keep the nebula centered during your session.
Additionally, understanding resources and tools available for astrophotography can significantly improve your results by providing access to specialized software and equipment recommendations.
Once your equipment is ready, it’s time to focus on image processing. Capturing the Veil Nebula requires multiple long exposures—often several minutes each—to gather enough light without overexposing. The key is to take a series of images in different filters if possible, and then stack them to improve signal-to-noise ratio. After capturing your raw data, you’ll process the images using software like PixInsight or Adobe Photoshop. Start with calibration frames—darks, flats, and biases—to correct sensor noise and optical imperfections. Once calibrated, stack the images to amplify faint details, then apply stretching techniques carefully to bring out the nebula’s delicate filaments without losing contrast. Use masks and selective adjustments to enhance specific areas, emphasizing the vibrant hues of the emission lines. Sharpening and noise reduction should be balanced to preserve detail while maintaining a natural look. When you’re satisfied with your processed image, compare it to professional astrophotography to see what details you might still bring out.
Capturing the Veil Nebula is as much about patience and technique as it is about equipment. Proper setup ensures you gather high-quality data, and refined image processing transforms raw captures into breathtaking visuals. With each session, your skills will improve, revealing more of the complex beauty hidden within this cosmic ghost. The effort is worth it, as you’ll create a stunning record of one of the universe’s most beautiful remnants.
Smart Telescope, Professional Refractor Auto-focus Portable Digital Electronic Telescopes with 4K Astrophotography Camera, Internal And External Dual Screens Spotter for Adults and Beginners Astronomy
Exceptional Optical Performance:Equipped with a powerful 80mm aperture and 300mm focal length (f/8.89), this telescope for adults delivers…
As an affiliate, we earn on qualifying purchases.
As an affiliate, we earn on qualifying purchases.
Frequently Asked Questions
What Equipment Is Best for Astrophotography of the Veil Nebula?
For astrophotography of the Veil Nebula, you should choose equipment that offers precise tracking and stability. A high-quality equatorial telescope mount is essential for long exposures, reducing star trails. Pair it with a sensitive DSLR or dedicated astro camera, and a durable telephoto or reflector telescope with good aperture. Use narrowband filters to enhance details, and guarantee your mount’s payload capacity matches your camera and lens setup for ideal results.
How Long Should Exposure Times Be for Detailed Images?
Think of your camera as a time traveler, revealing hidden details in the nebula. To capture the Veil Nebula’s intricate structures, set your exposure duration between 5 to 15 minutes per shot. Longer exposures allow more light to gather, enhancing image detail and revealing faint features. Just remember, patience is key—stacking multiple long exposures helps reduce noise and creates a stunning, detailed cosmic masterpiece.
Which Filters Enhance the Nebula’s Features Most Effectively?
You should use narrowband filters like H-alpha, OIII, and SII to enhance the nebula’s features most effectively. These filters isolate specific wavelengths, bringing out intricate details and improving contrast. They also promote natural color enhancement, making the nebula’s structures more vivid and defined. By using narrowband filters, you can capture stunning, detailed images that reveal the complex beauty of the Veil Nebula with greater clarity.
What Are Common Challenges When Photographing the Veil Nebula?
You’ll face challenges like light pollution, which dims the nebula’s delicate features, and atmospheric distortion that can blur details. To combat this, choose a dark sky site away from city lights and plan your shoot on nights with stable atmospheric conditions. Using proper filters helps, but minimizing light pollution and waiting for clear, steady air are key for capturing sharp, detailed images of the Veil Nebula.
How Can I Process Images to Highlight the Nebula’s Structure?
To make the nebula’s structure stand out, you’ve got to roll up your sleeves with image processing techniques. Start with contrast enhancement to bring out faint details, then use local adjustments to emphasize specific features. Playing with curve adjustments and noise reduction can also help reveal intricate filaments. Don’t be afraid to experiment—sometimes, the smallest tweak can turn a good shot into a stunning one.

SVBONY SV220 Telescope Filter, H-Alpha & OIII, 3nm Dual-Band 1.25" Nebula Filter, Cut-Off Depth OD5, Minimal Halo Coating Design, Peak Transmittance 85%, for Deep-Sky Objects Astrophotography
Average OD5: SV220 3nm Dual-Narrowband Filter offers a wide cutoff range of 300-1050nm; its transmittance is as low…
As an affiliate, we earn on qualifying purchases.
As an affiliate, we earn on qualifying purchases.
Conclusion
Now that you’ve captured the Veil Nebula Complex, you’ve discovered a piece of the universe’s most breathtaking cosmic masterpiece. Your images don’t just show stars and gas; they reveal the universe’s most epic, awe-inspiring fireworks show, rivaling the grandest explosions in history. With every shot, you’ve become a cosmic explorer, bringing back celestial secrets that leave everyone in awe. You didn’t just photograph the nebula—you captured the universe’s most spectacular, mind-blowing spectacle!

iEXOS-100-2 PMC-Eight Equatorial Tracker System Tripod and Mount for Astrophotography with WiFi and Bluetooth Compatible
Integrated Explore Scientific PMC-Eight system that transcends the industry standard single processor by utilizing eight CPUs that operate…
As an affiliate, we earn on qualifying purchases.
As an affiliate, we earn on qualifying purchases.

SVBONY SV405CC Cooled Telescope Camera, 11.7 MP USB3.0, BI IMX294 CMOS Color Sensor, Astrophotography Camera with AR Coating, Astronomy Electronic Eyepiece for Deep Sky Astrophotography&Lucky Imaging
High-Sensitivity 4/3" Sensor: Back-illuminated IMX294 with 4.63μm pixels (4144×2822) for excellent light capture. The 63ke- full well capacity…
As an affiliate, we earn on qualifying purchases.
As an affiliate, we earn on qualifying purchases.